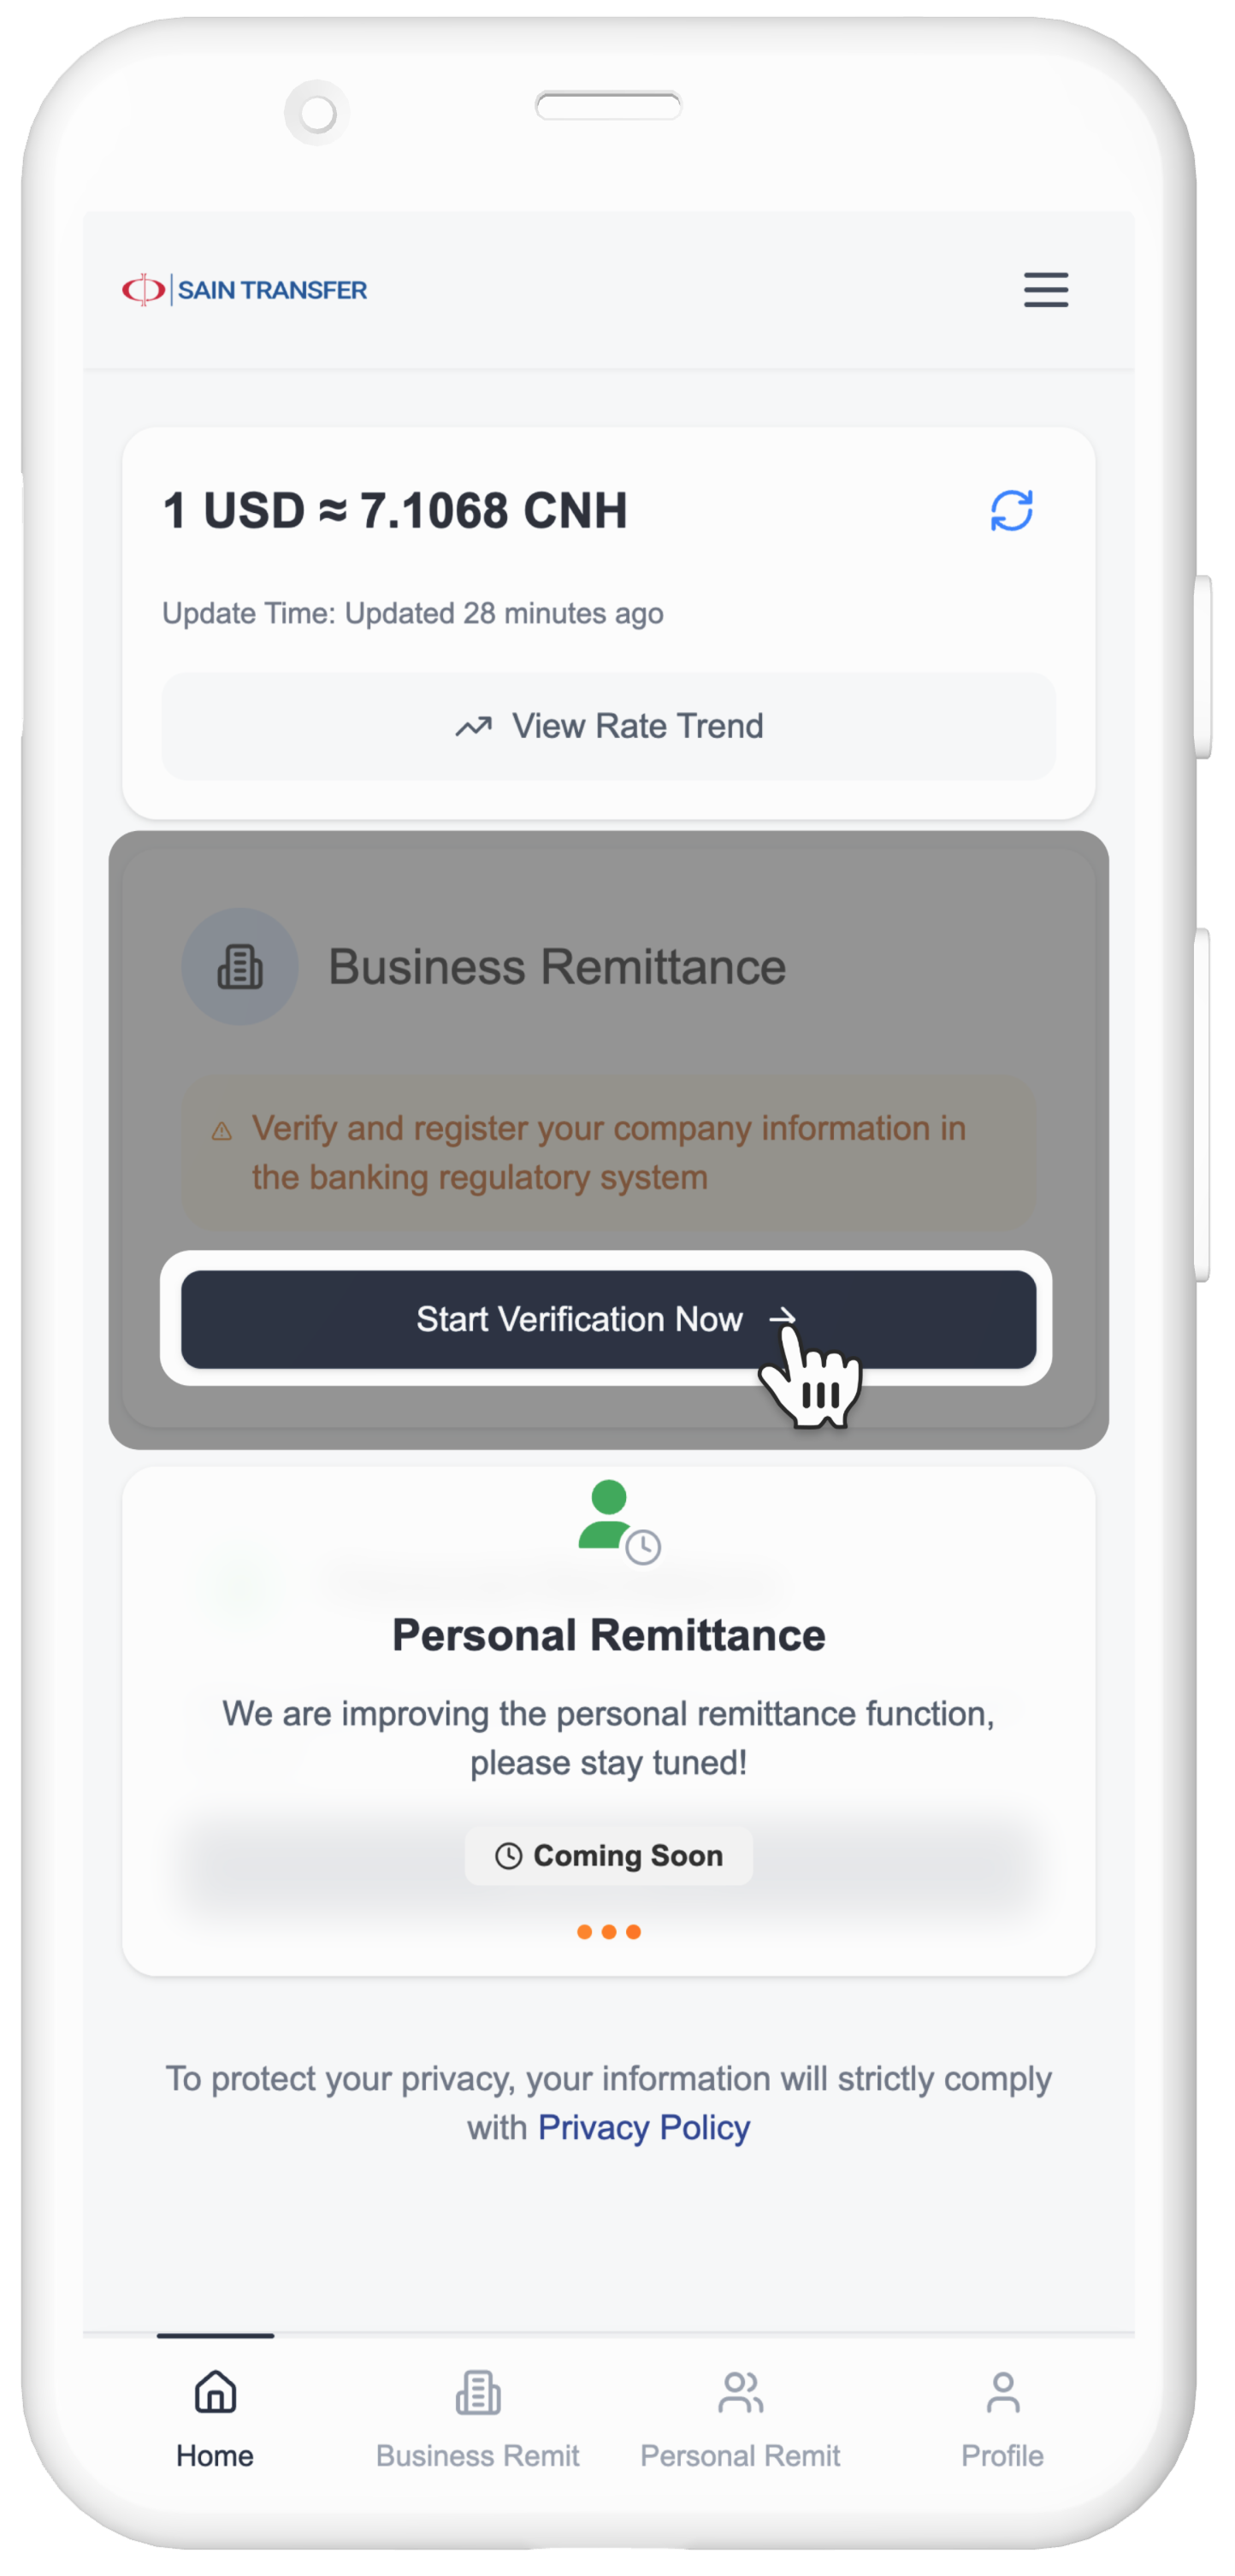
Step 1: Register an Account via QR Code
1. Scan the QR Code at the Service Counter

2. First-time use requires verification
3. Select Company Information Verification Method
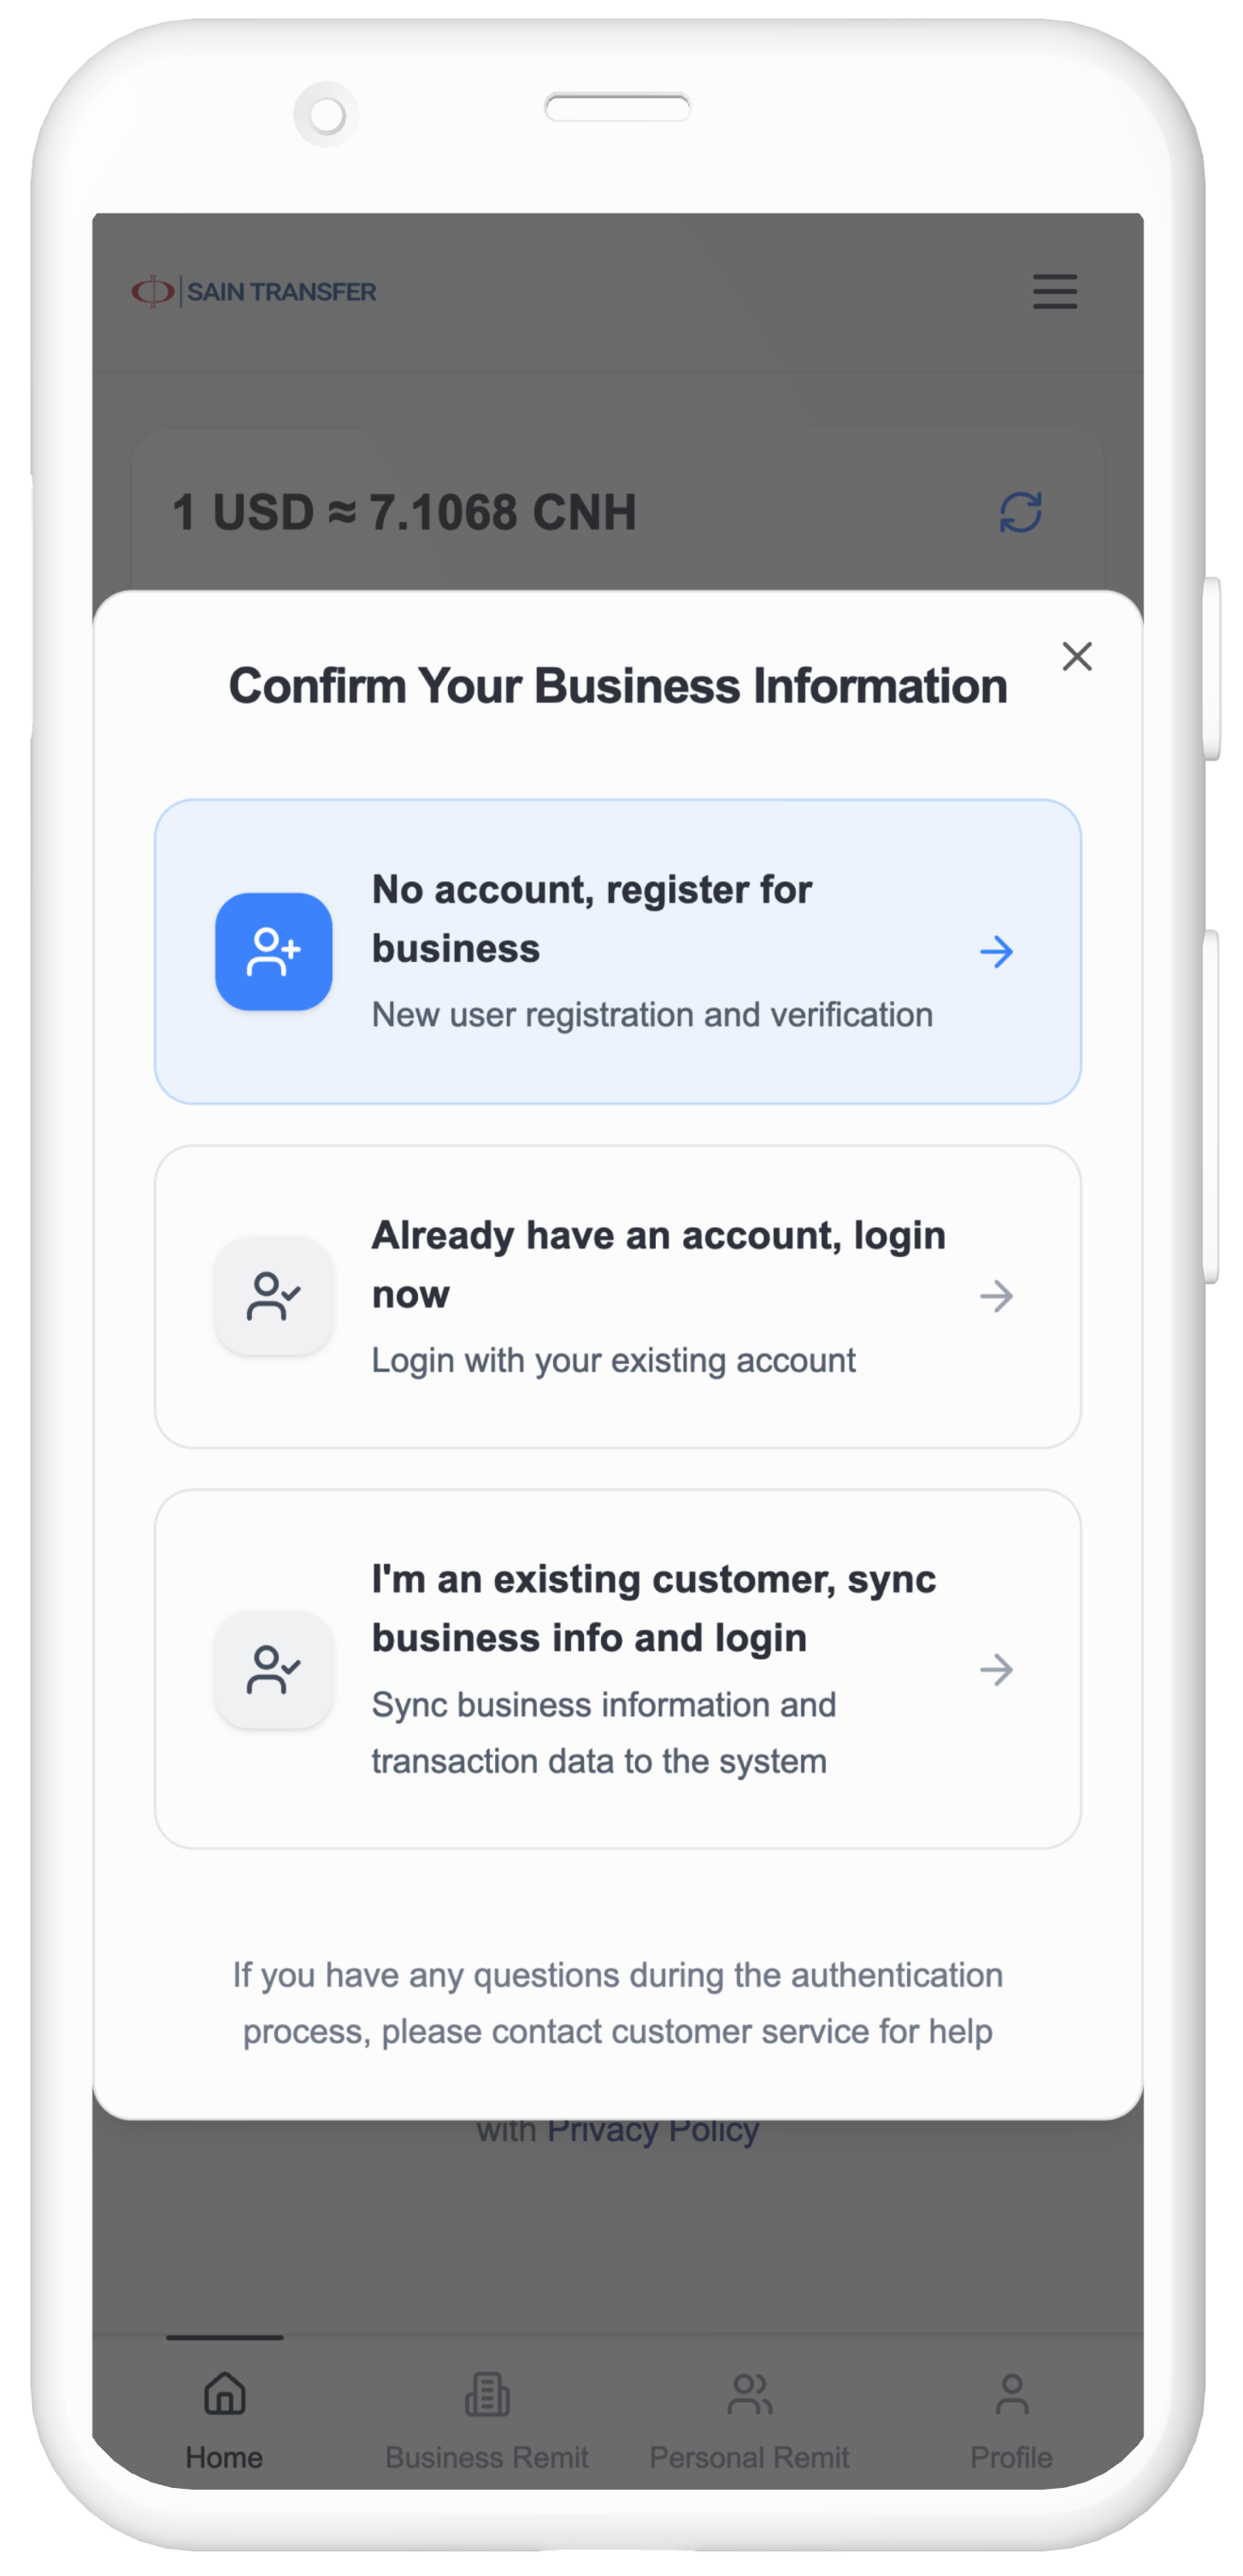
New user: 【No account, register for business】
Existing user:【Already have an account, login now】
Used the service before:
【I'm an existing customer, sync business info and login】
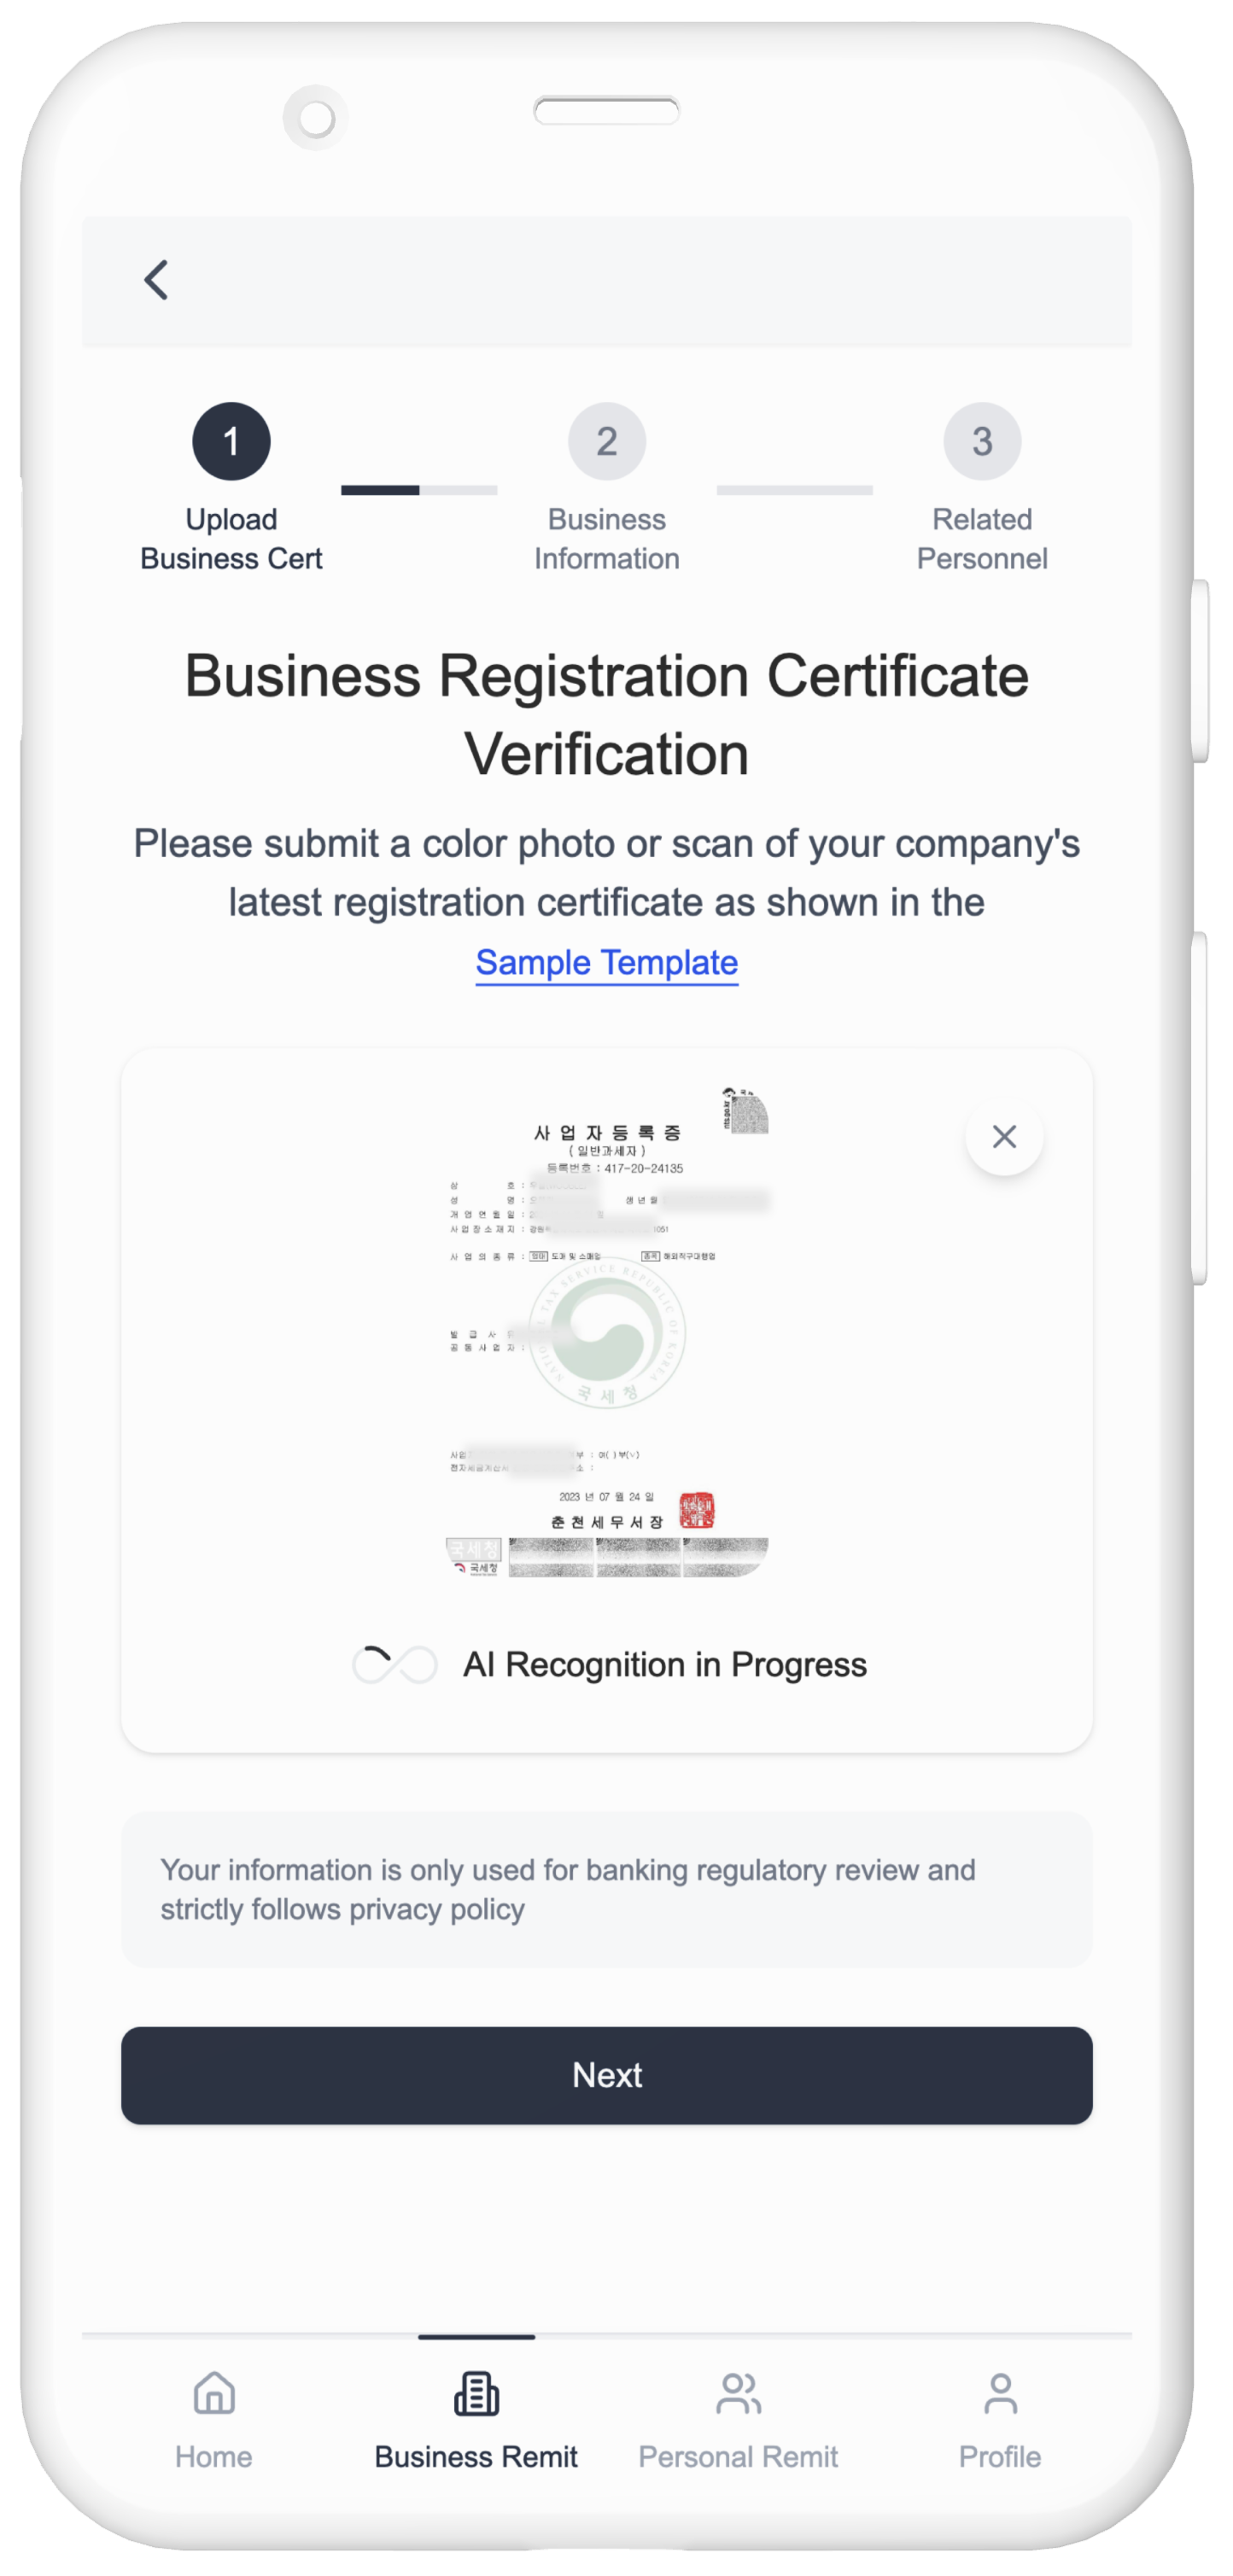
Step 2: Complete Company Verification
Prepare required documents and start company information verification
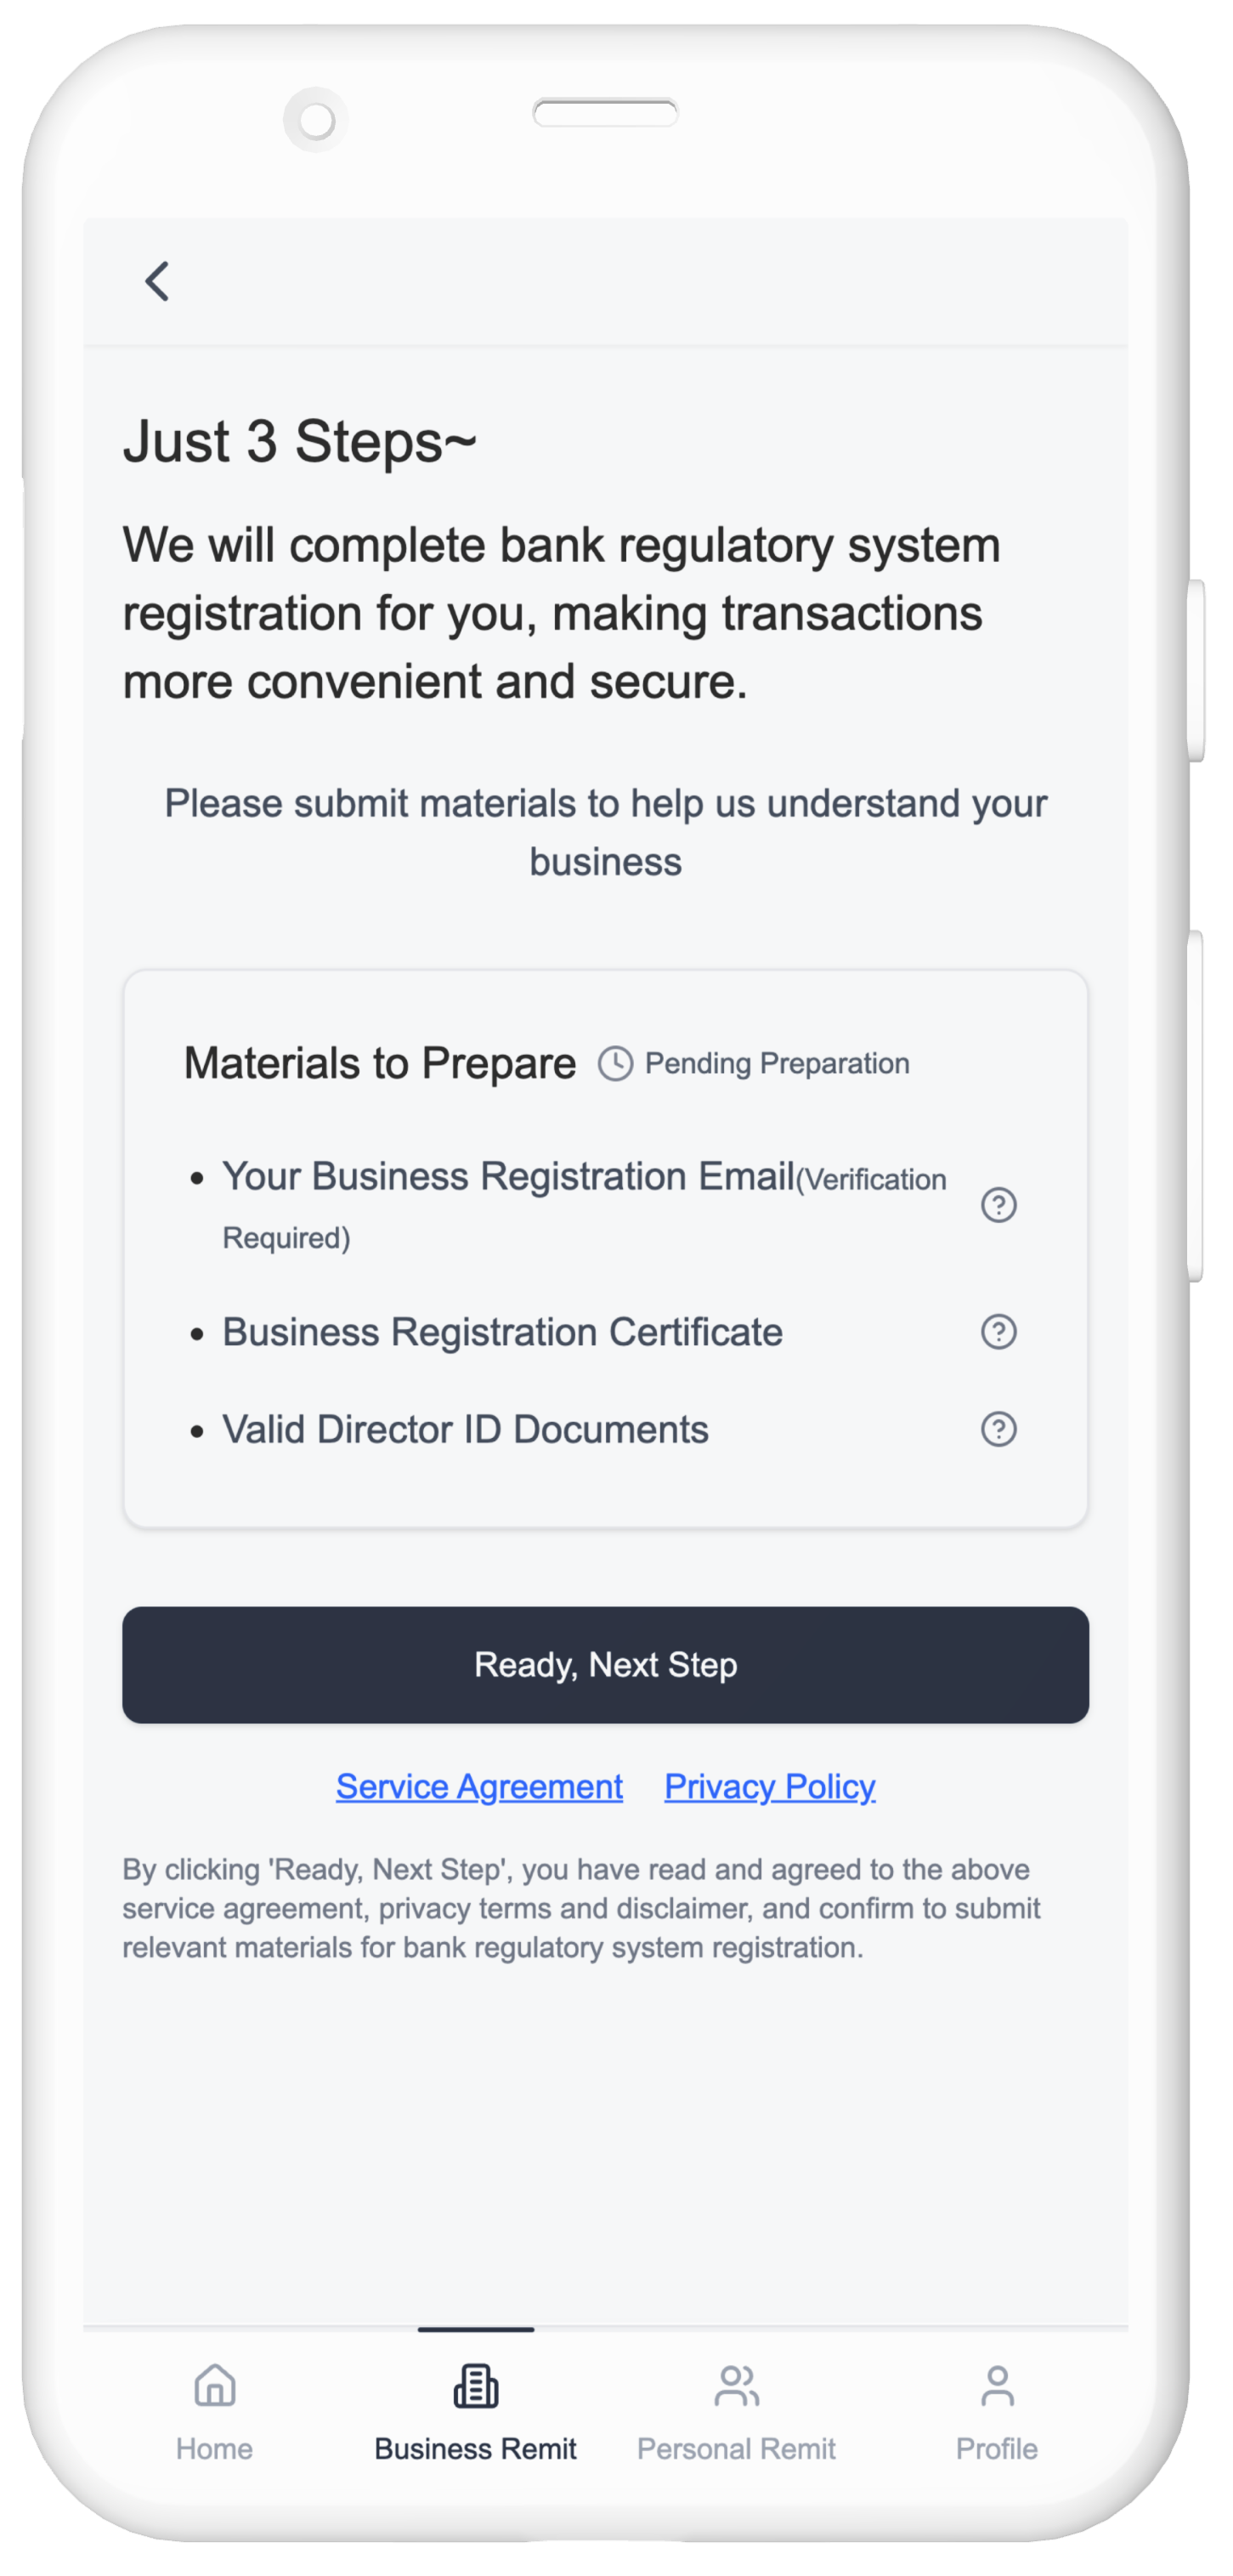
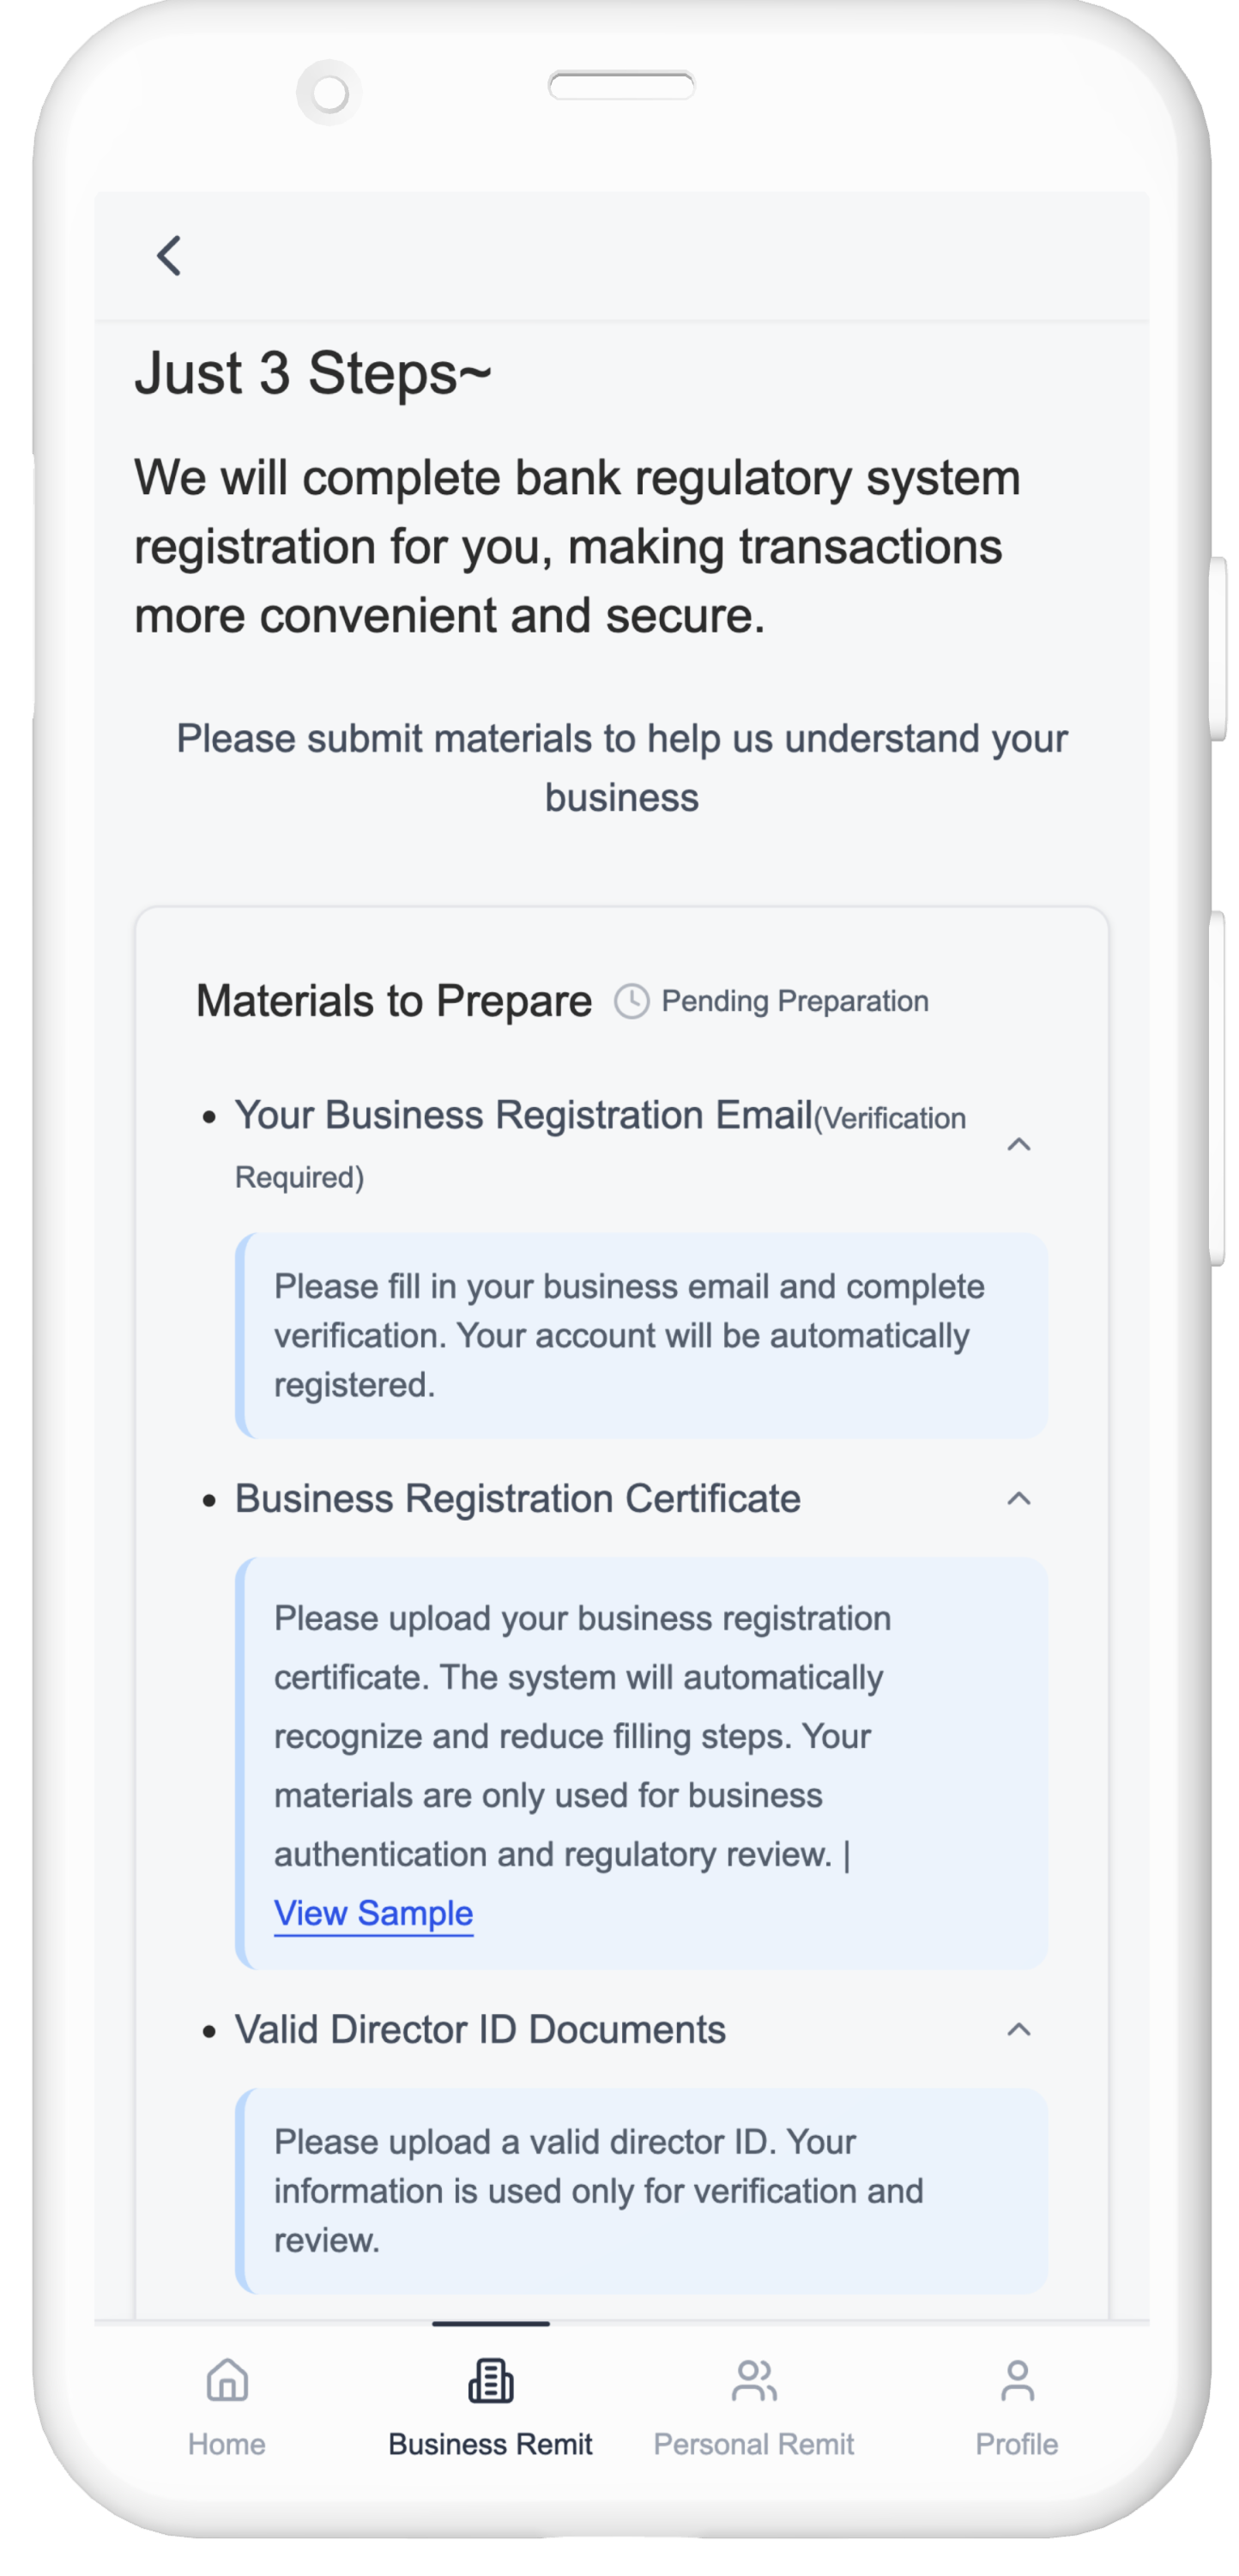
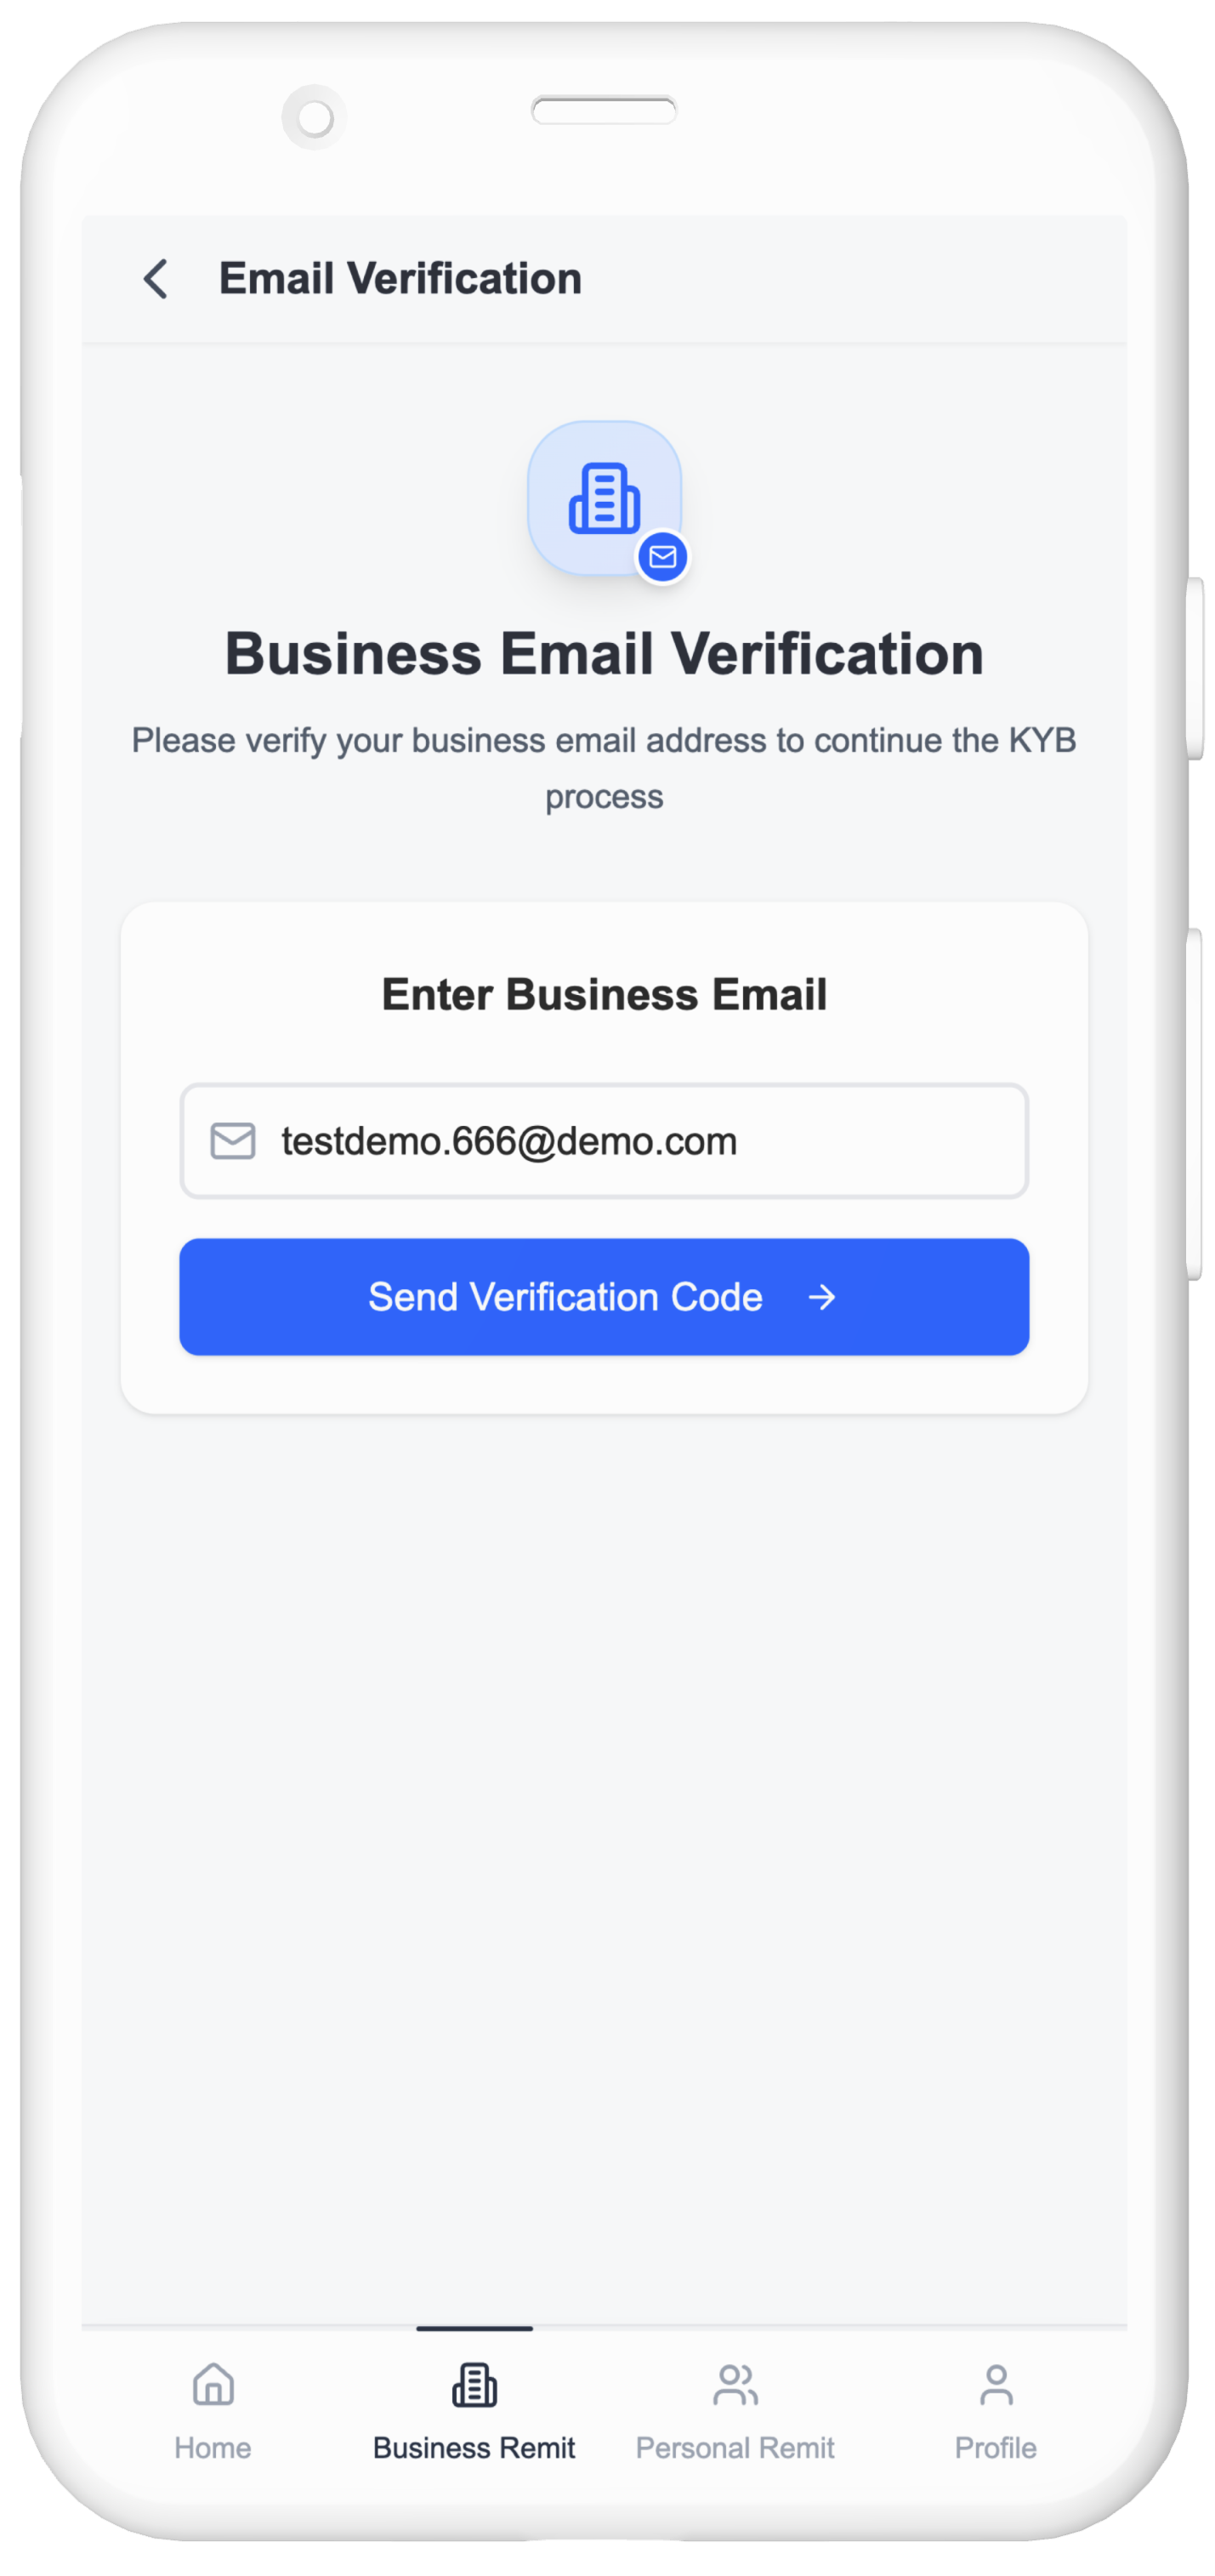
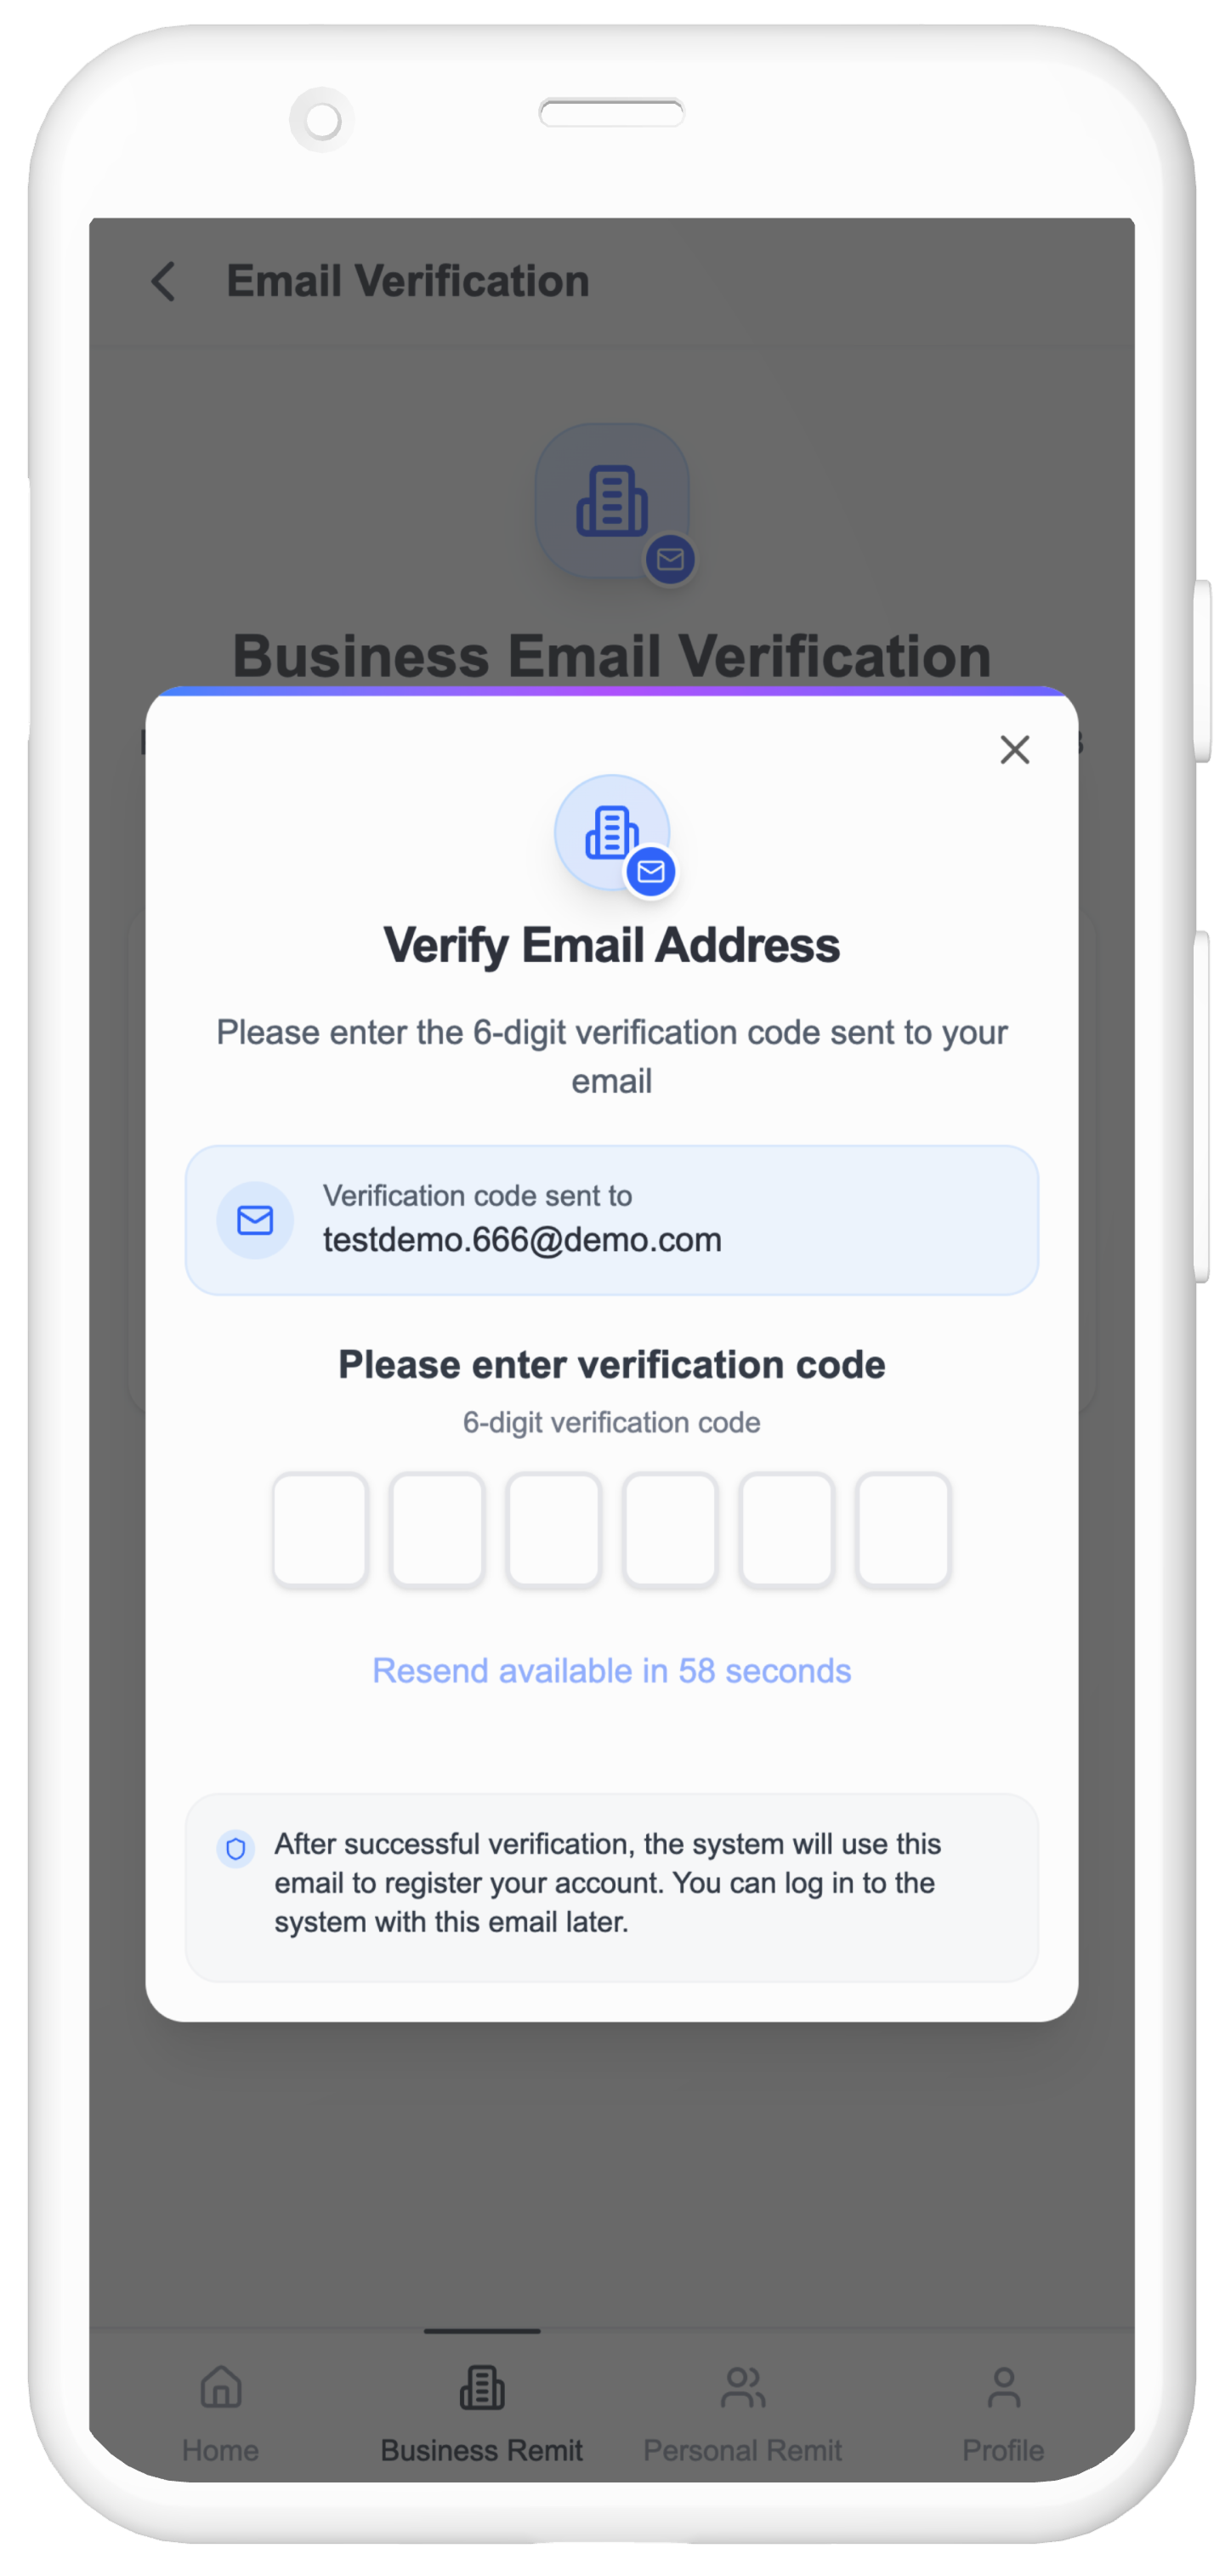
New users are required to provide and verify their registered corporate email before proceeding.
1. Upload Company Registration Certificate
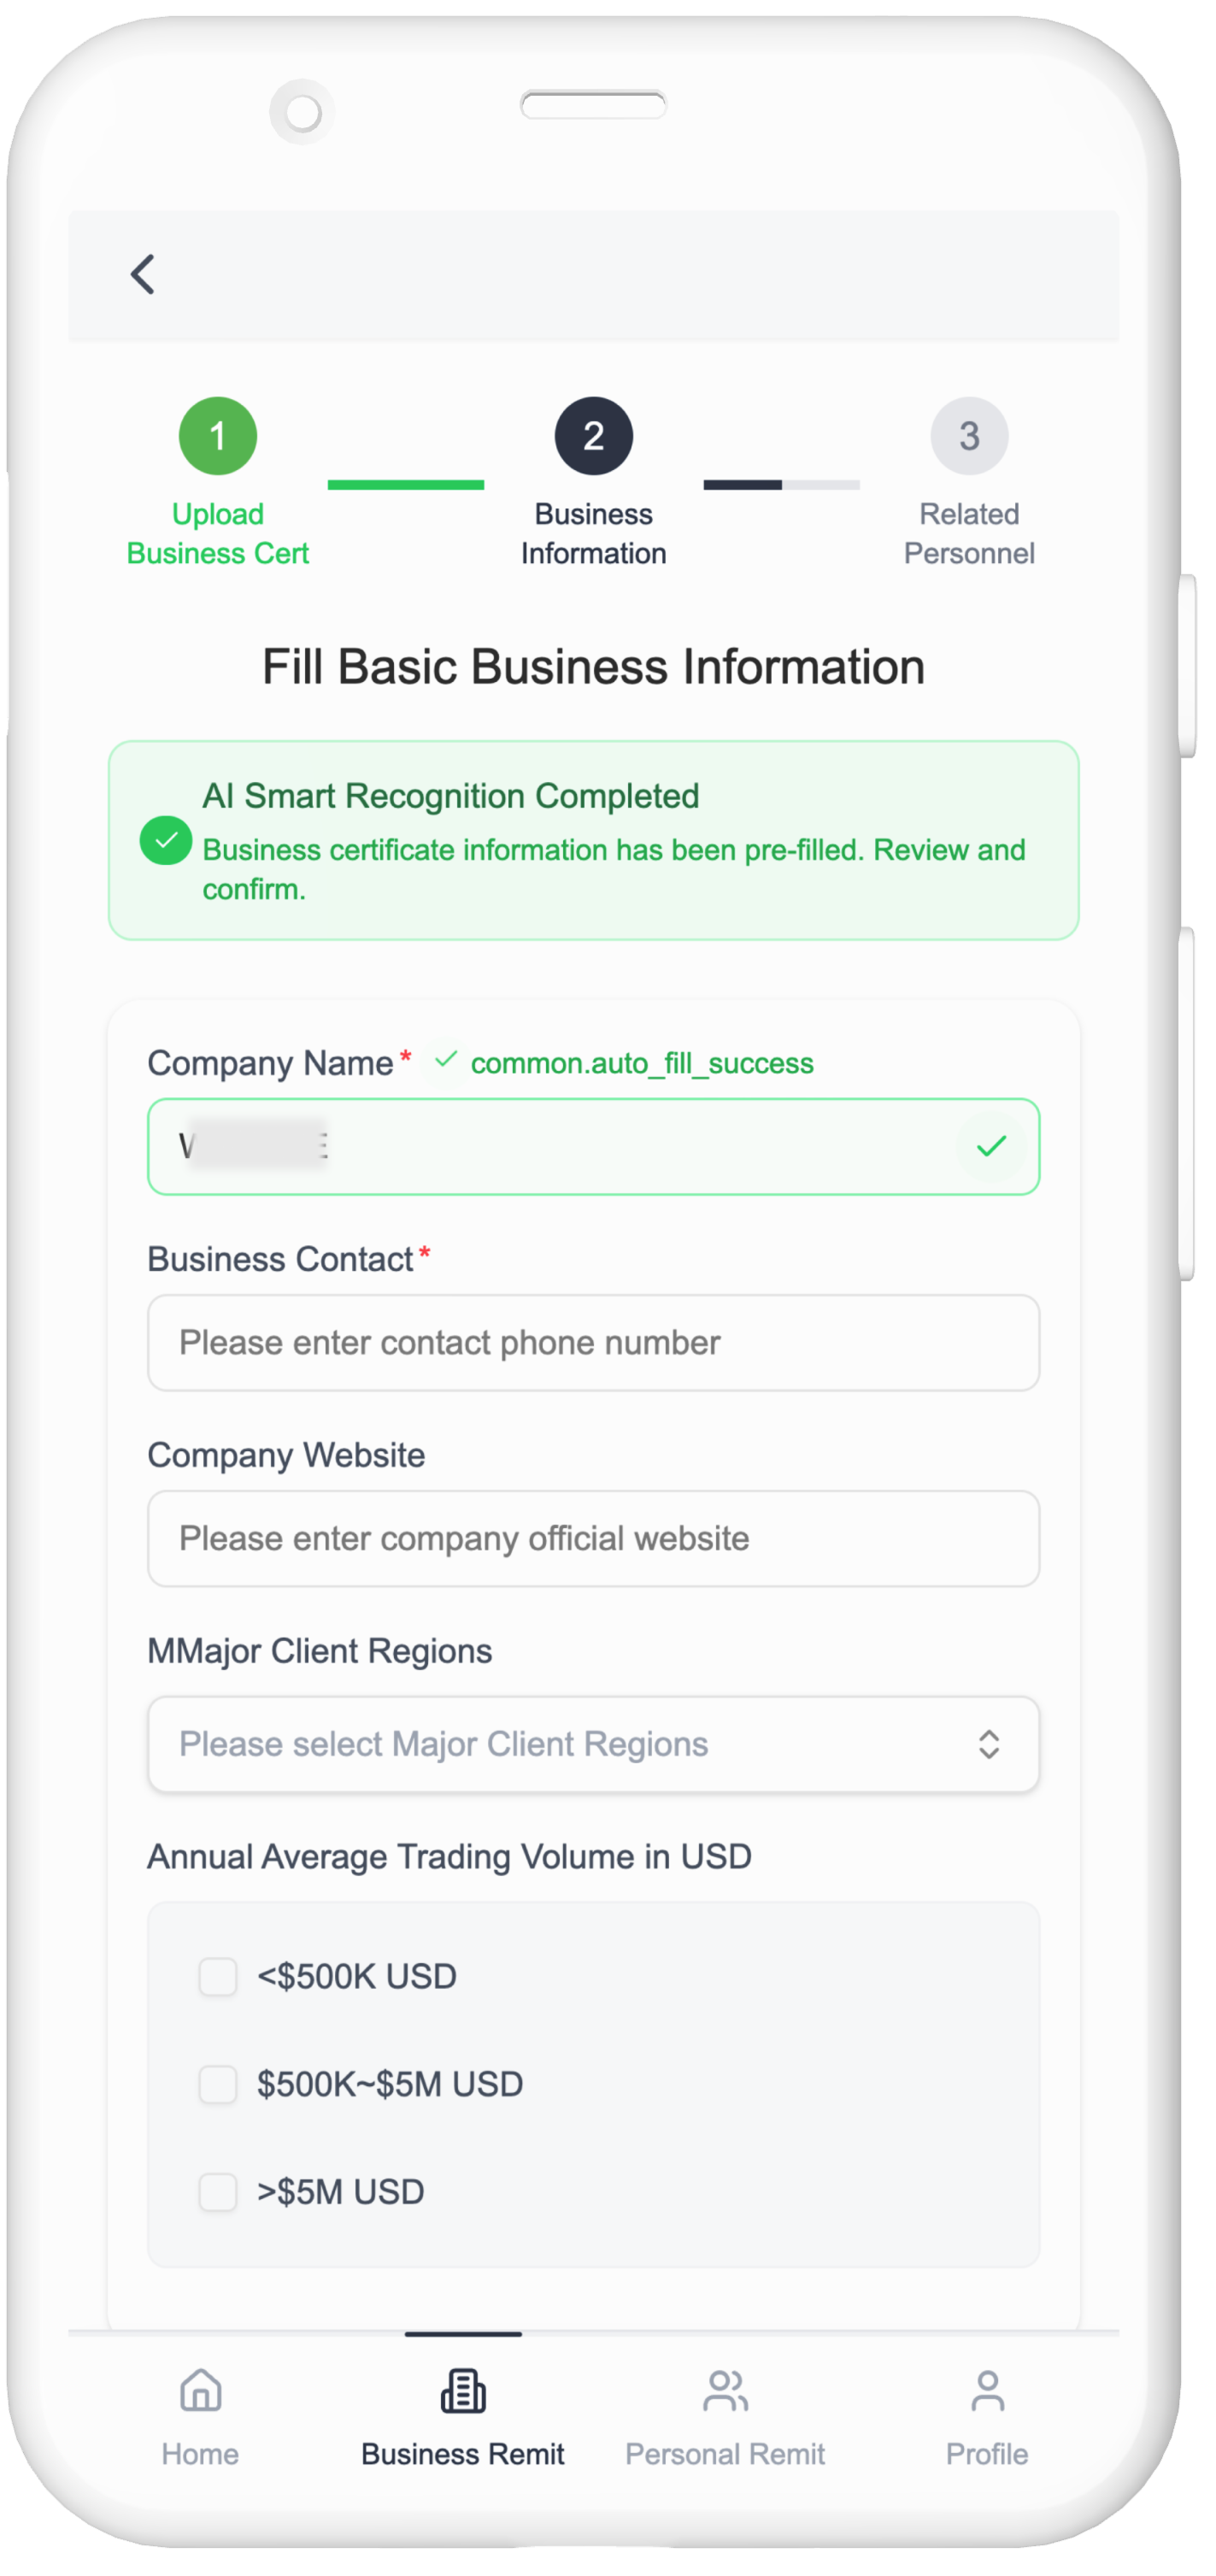
2. Fill in Basic Company Information
3. Provide Related Personnel Information
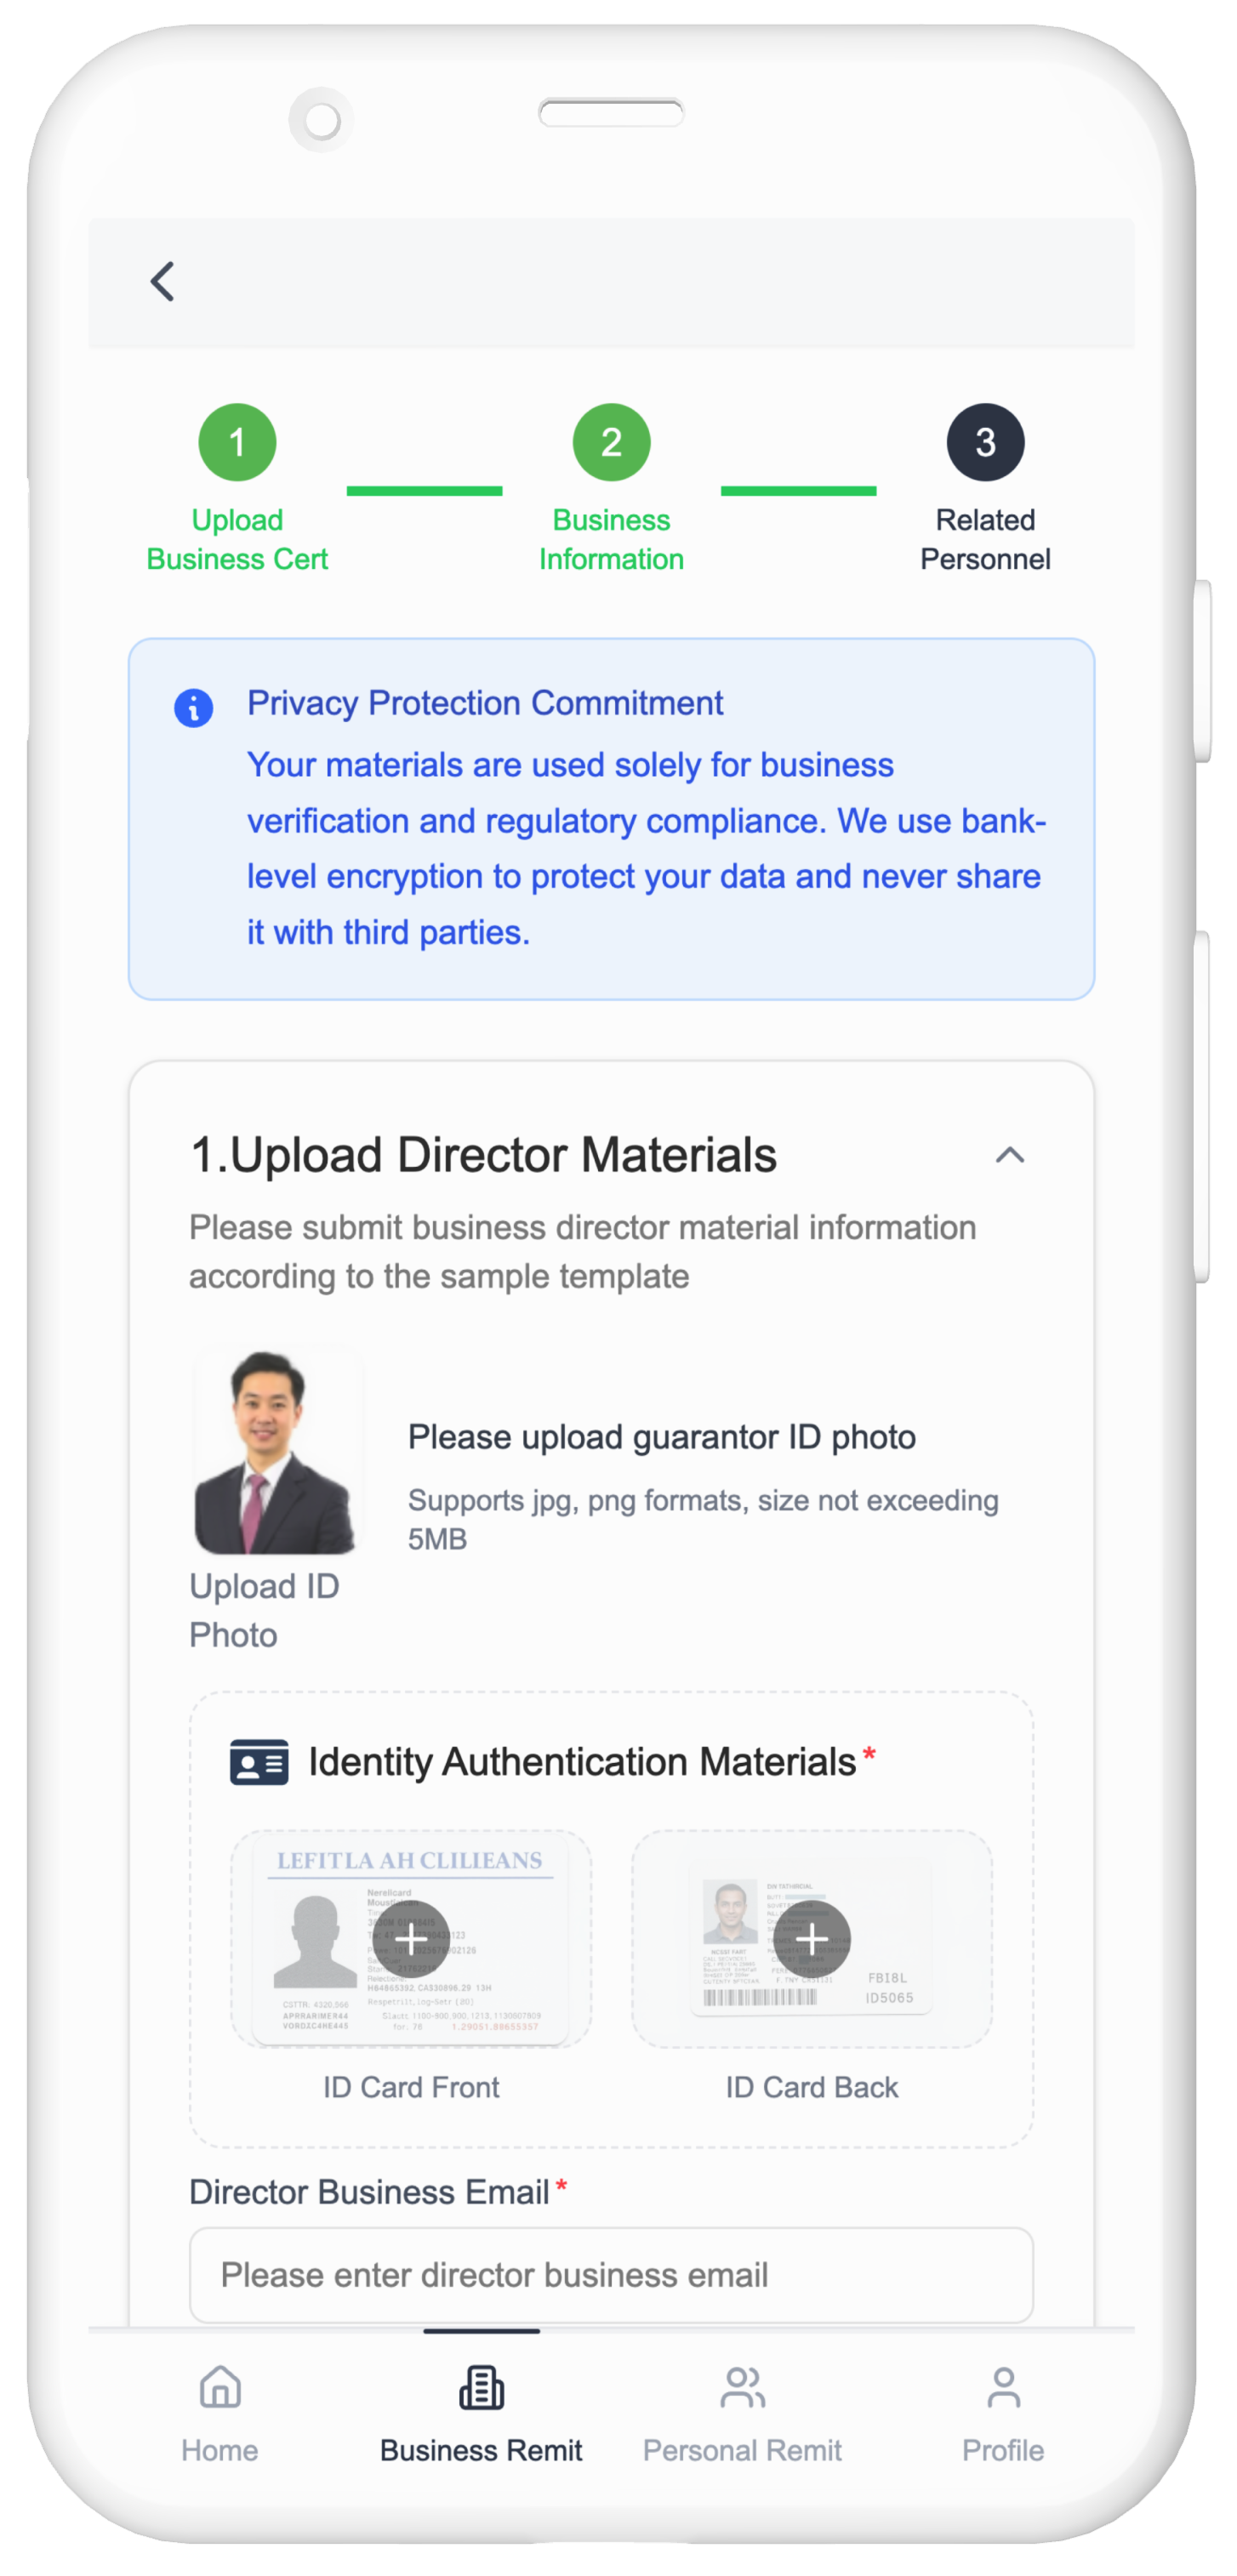
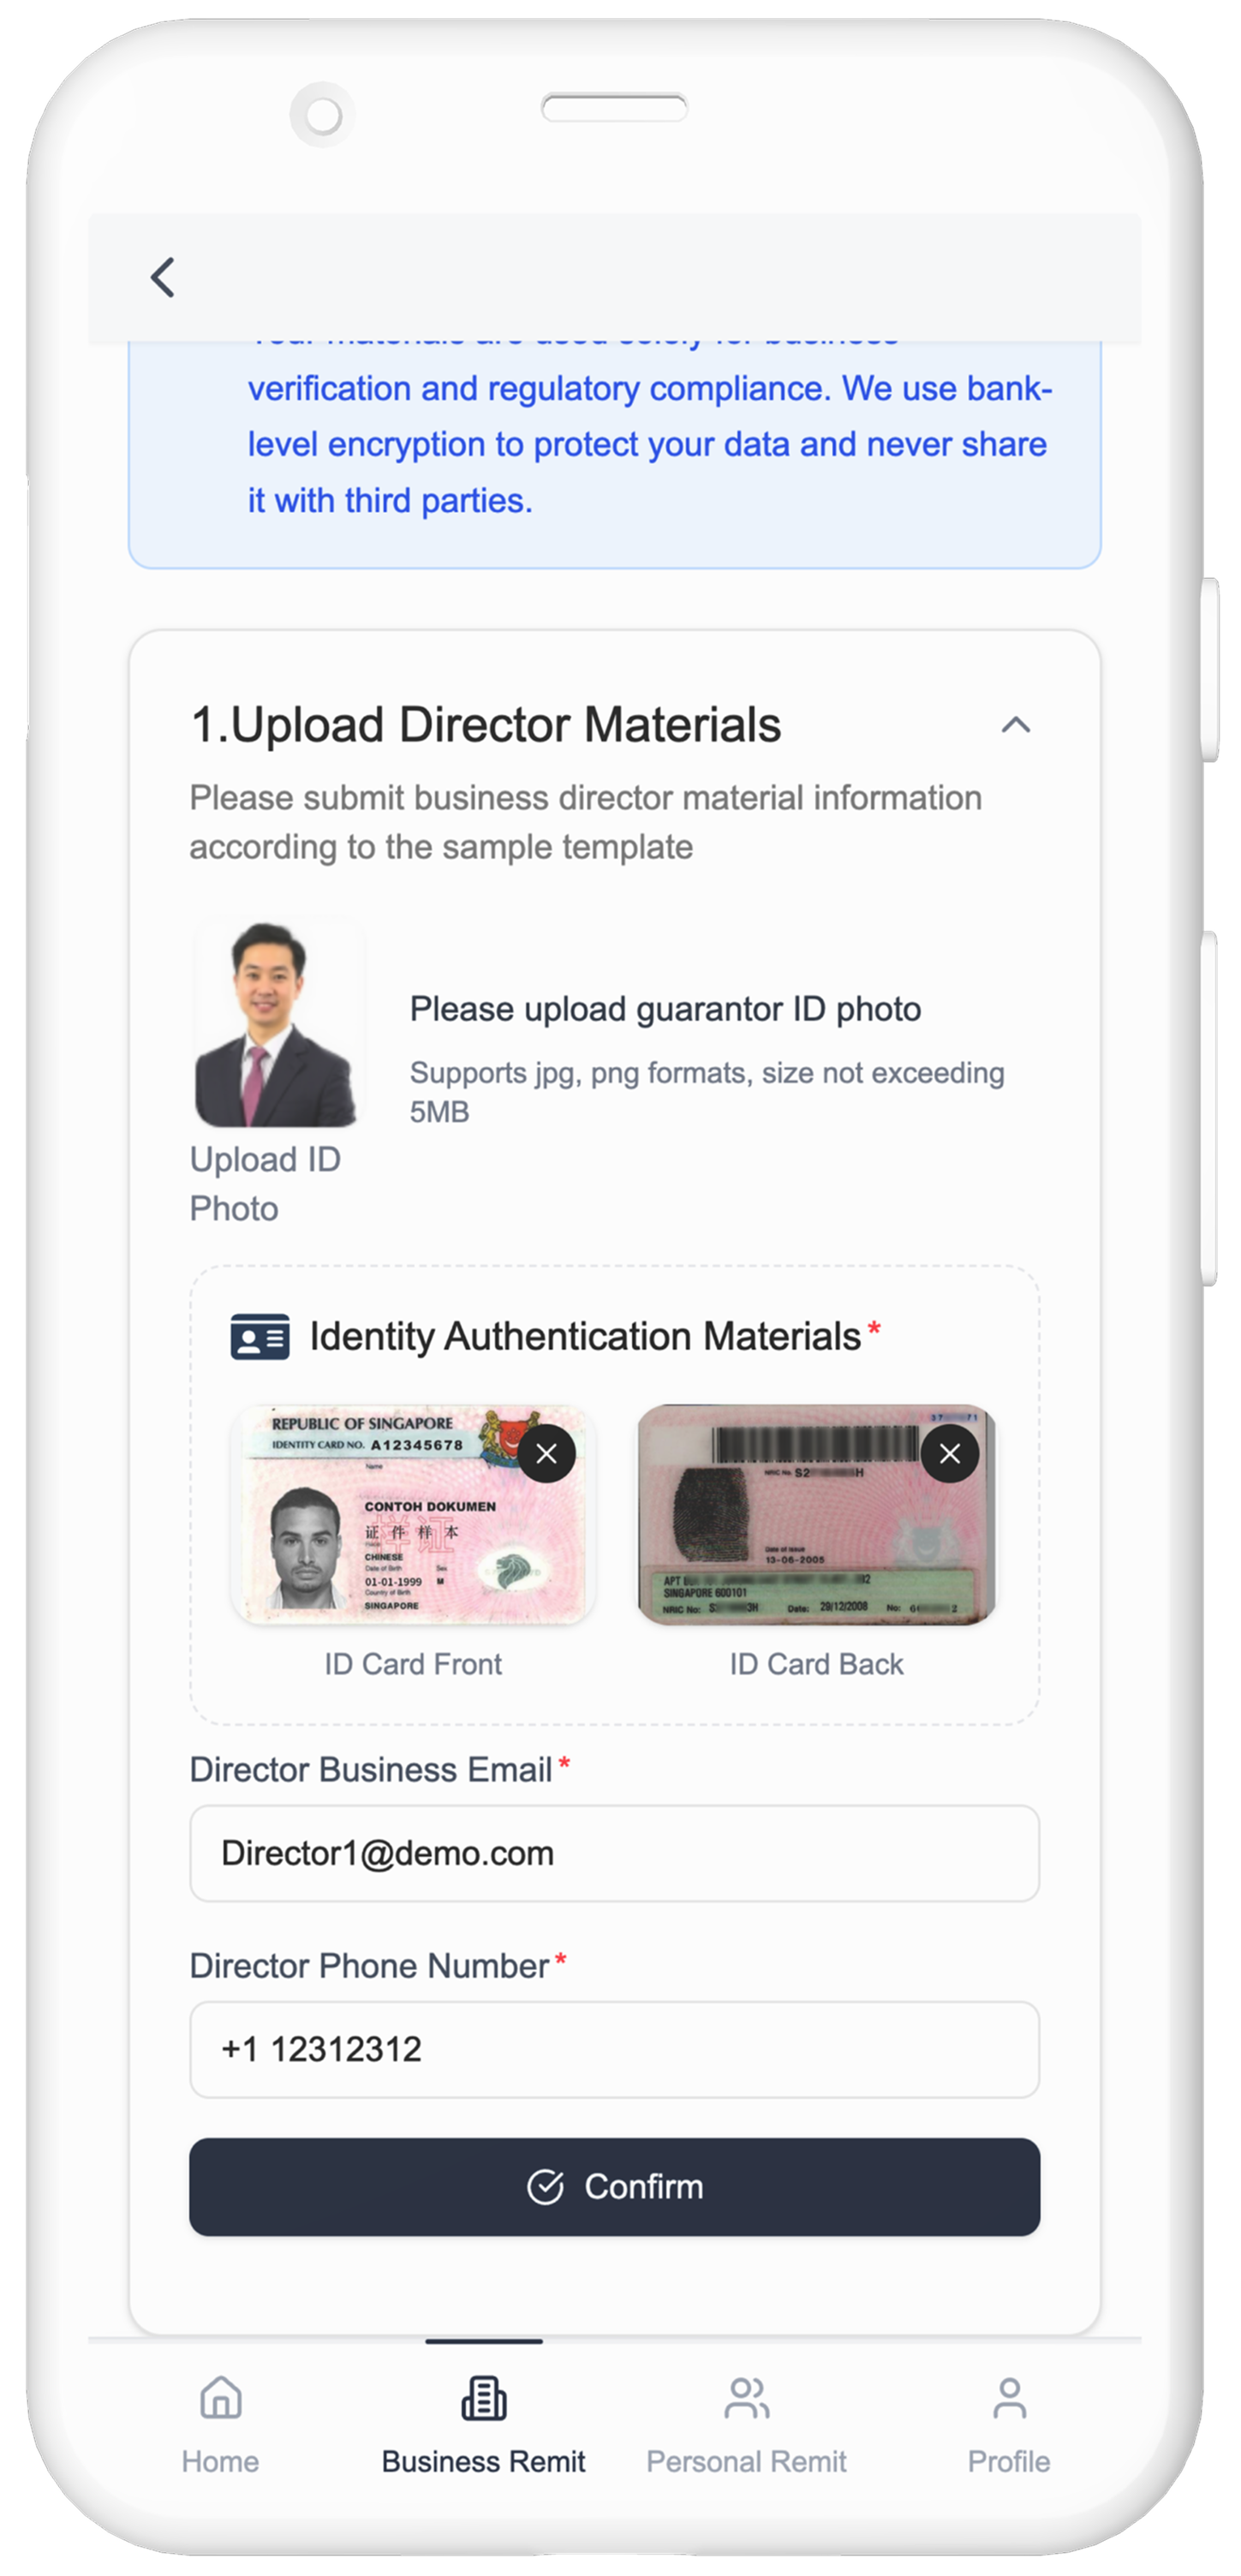
3.1 Upload Director ID & Fill Required Information
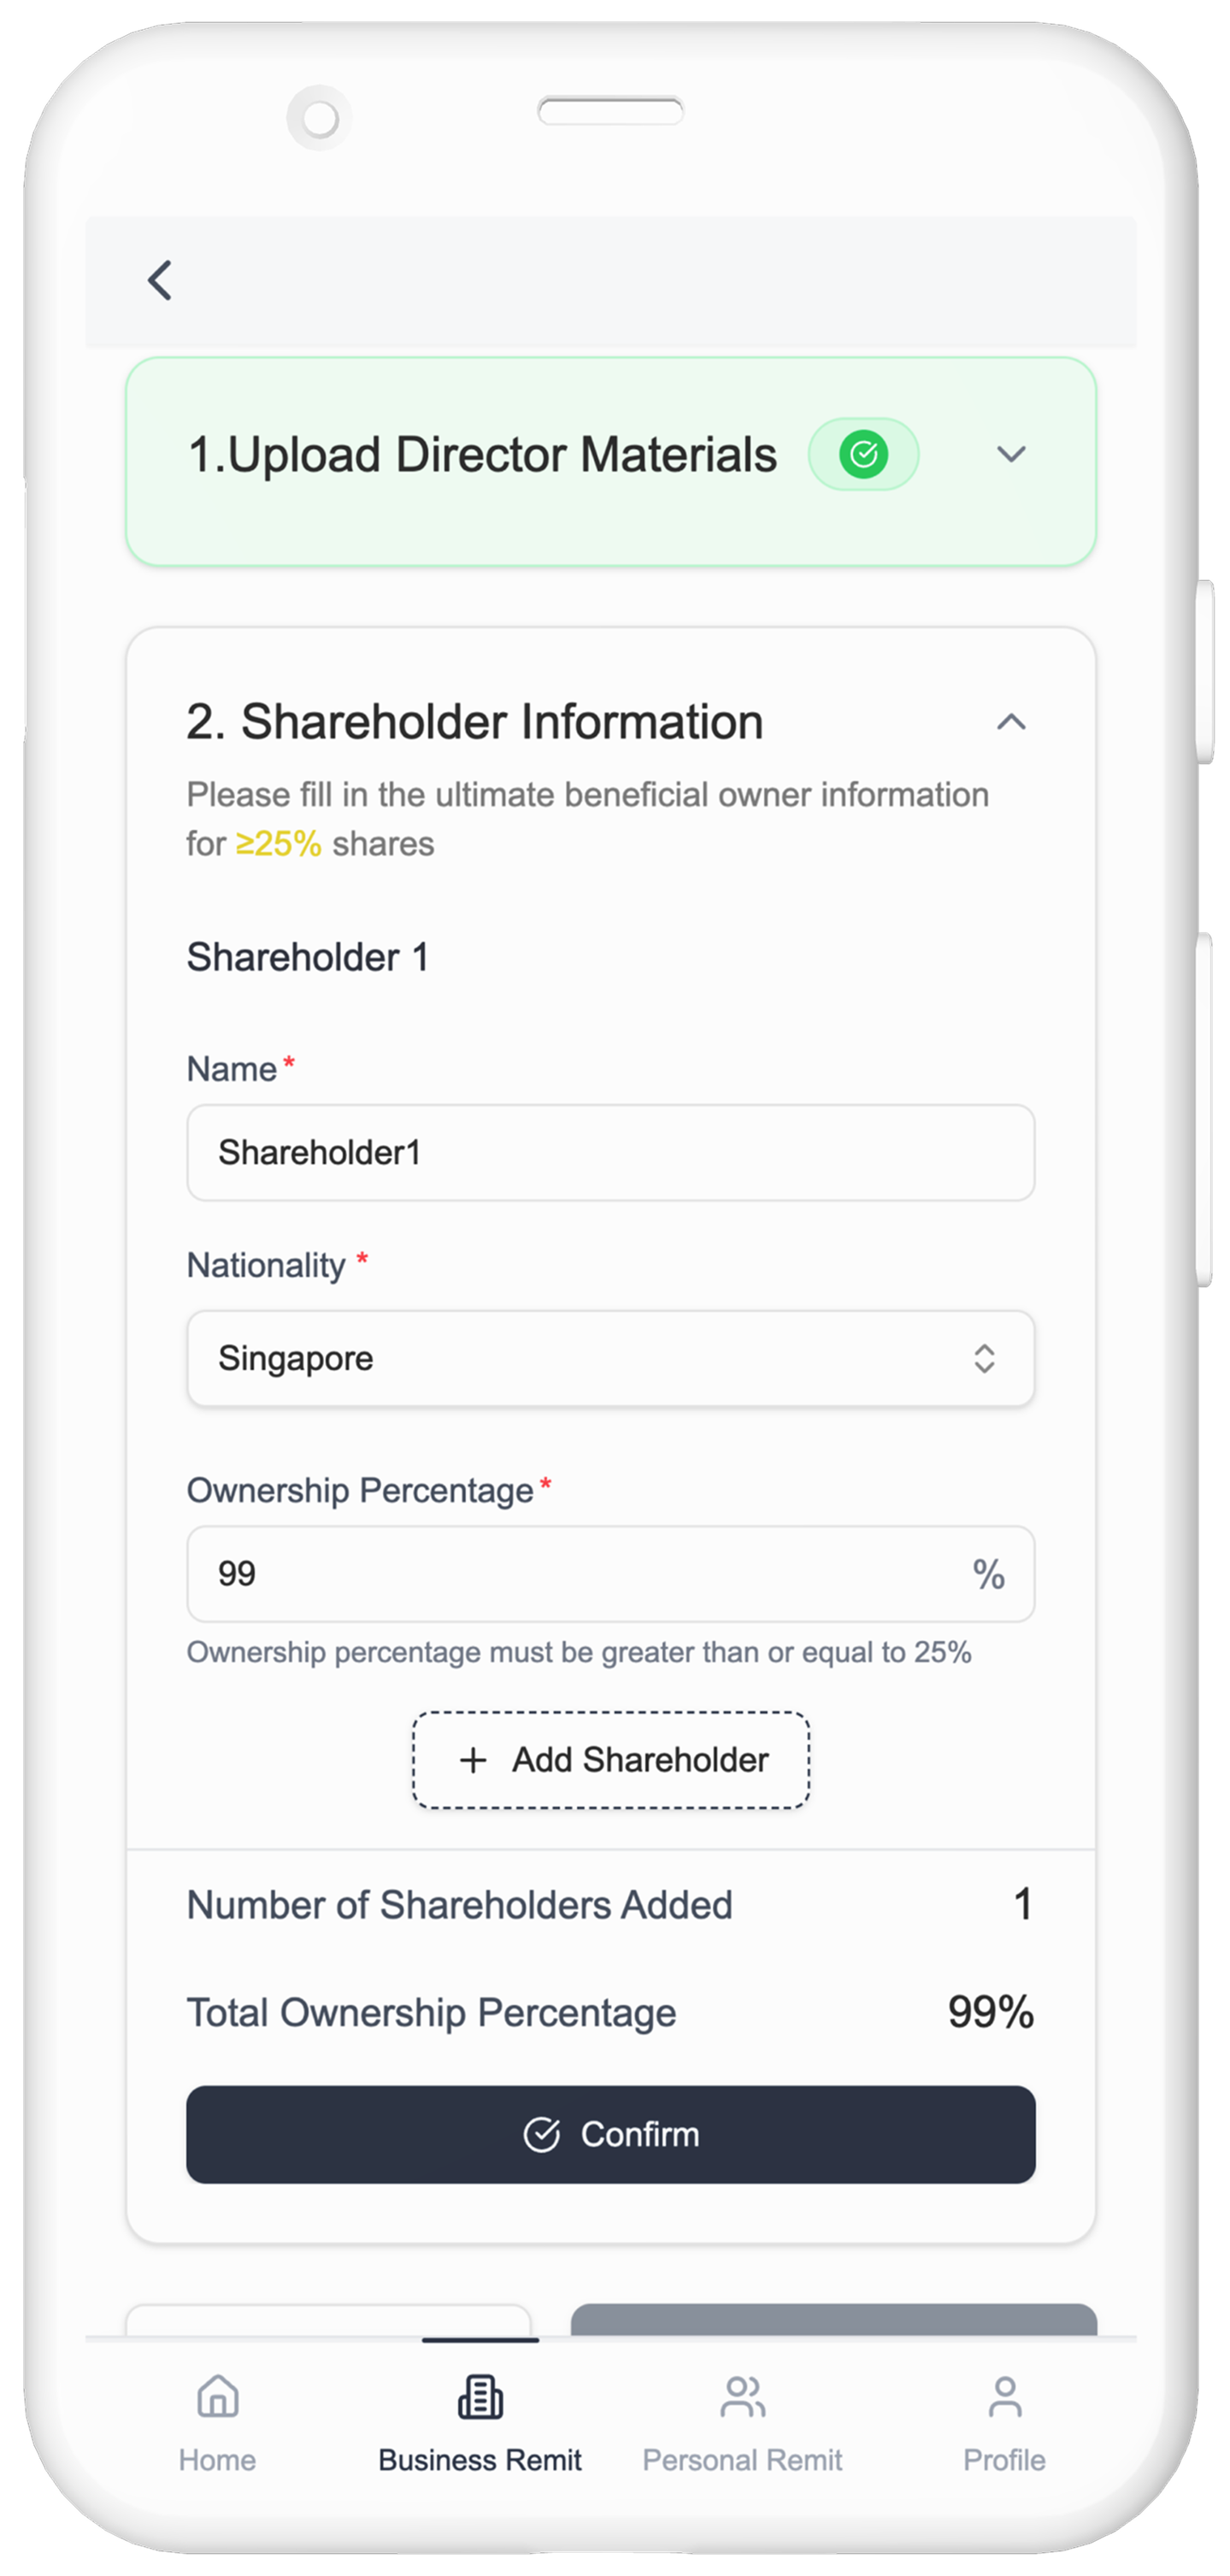
3.2 Fill Shareholder Information
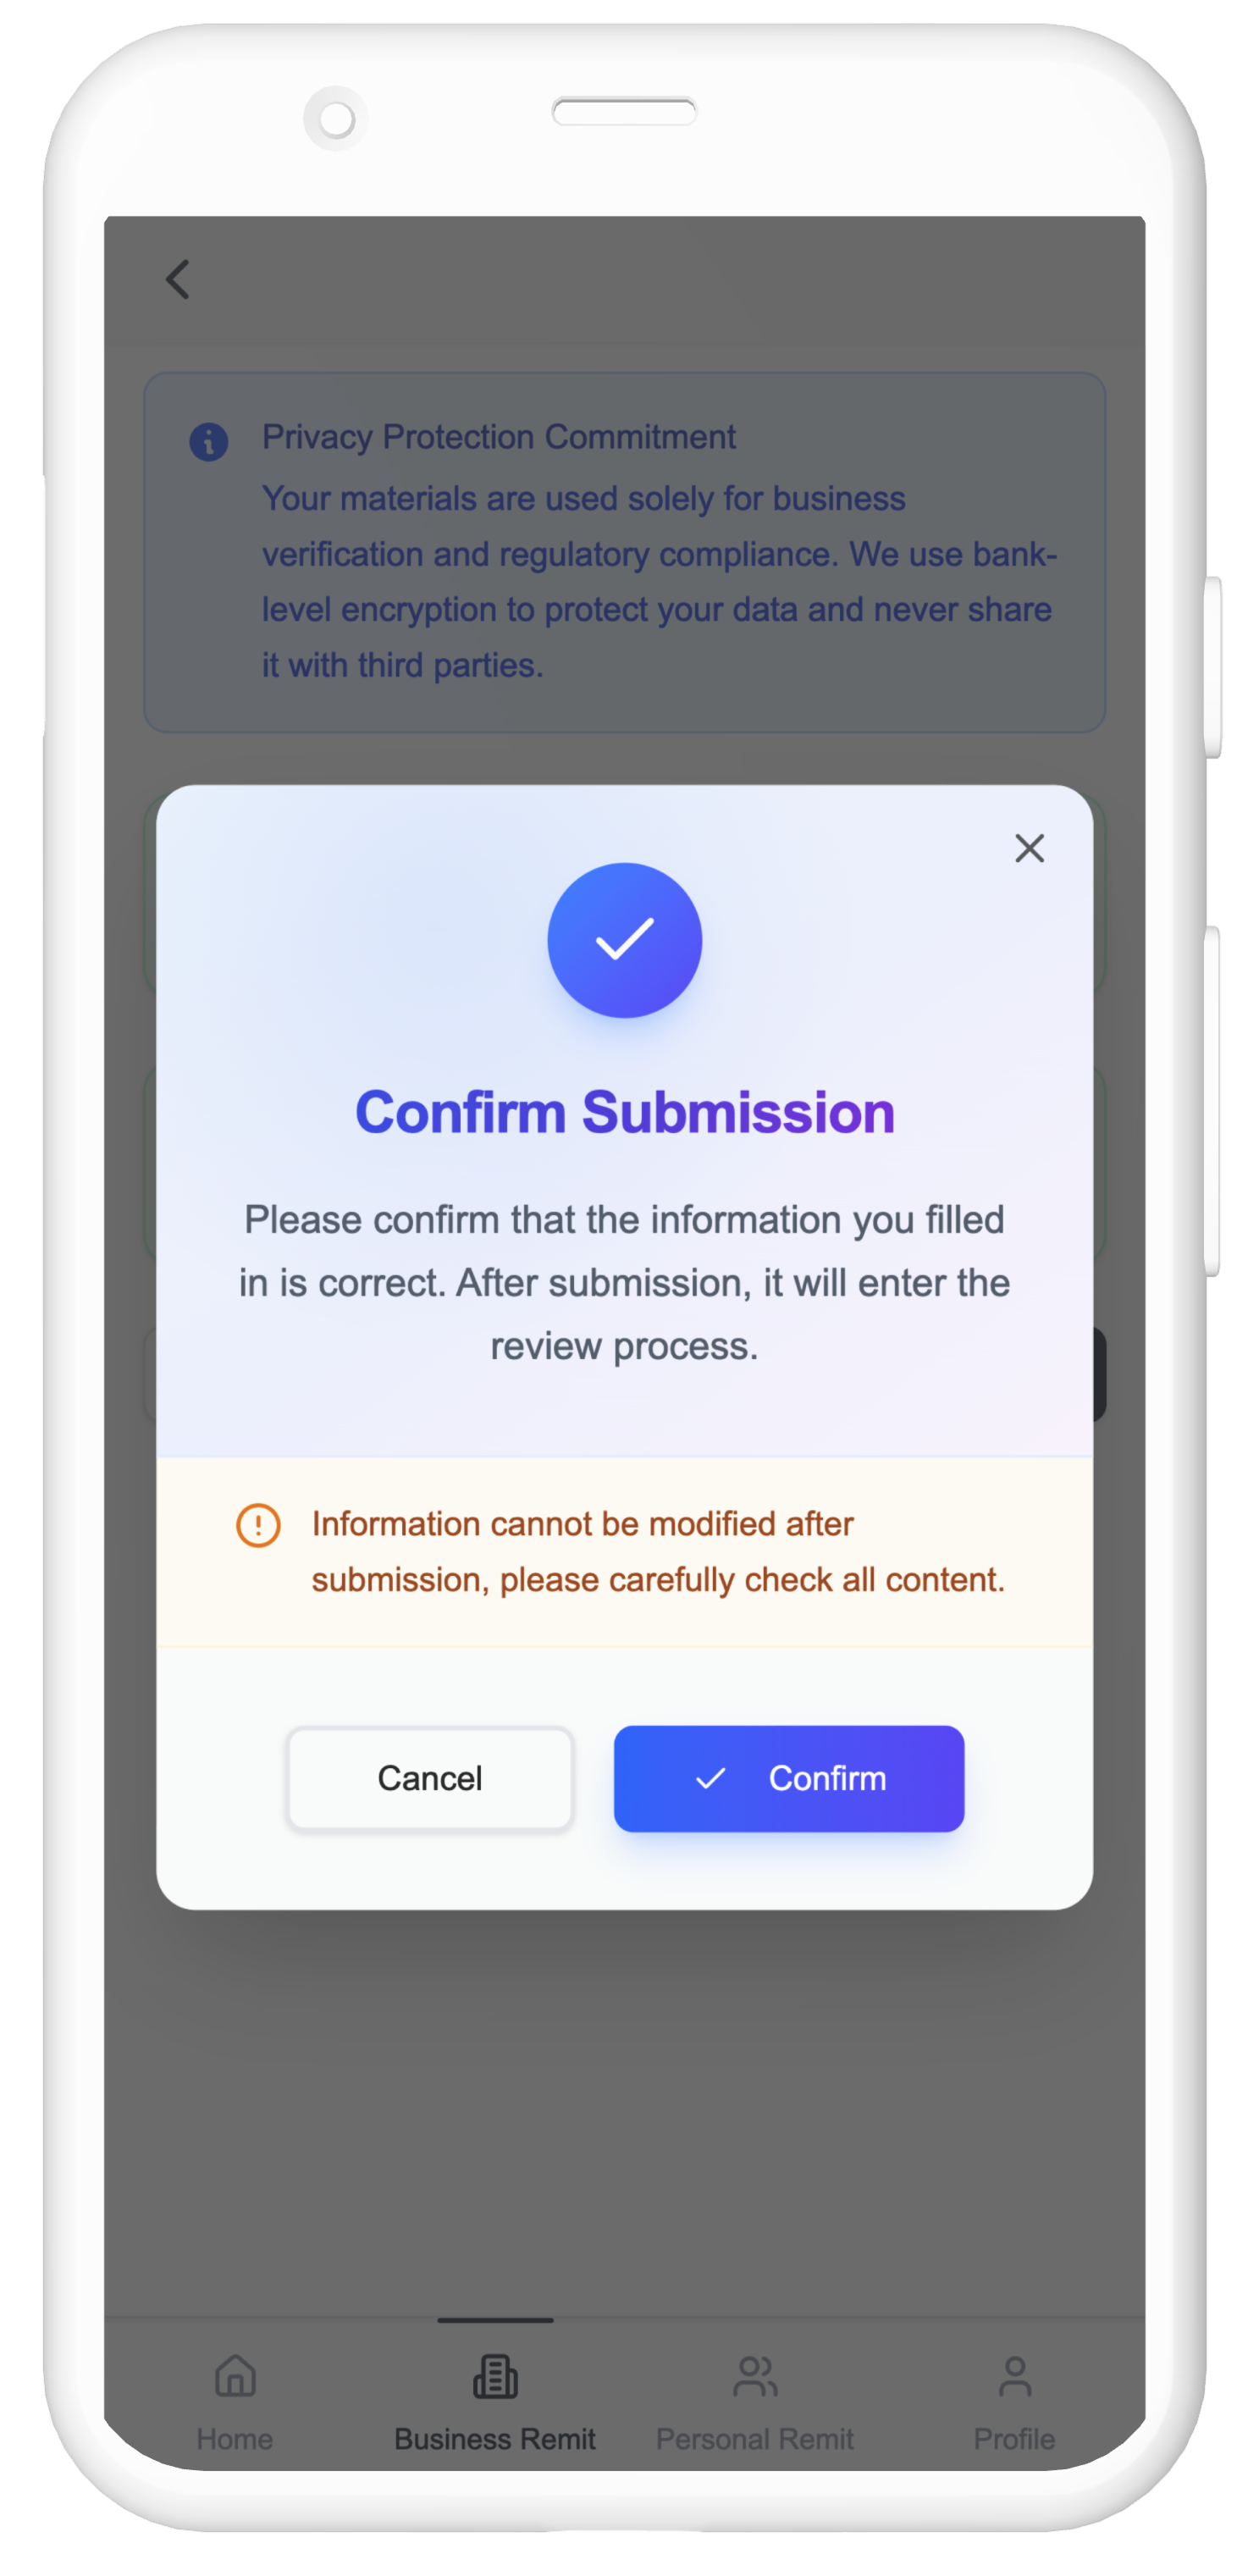
4. Confirm All Information and Submit for Review
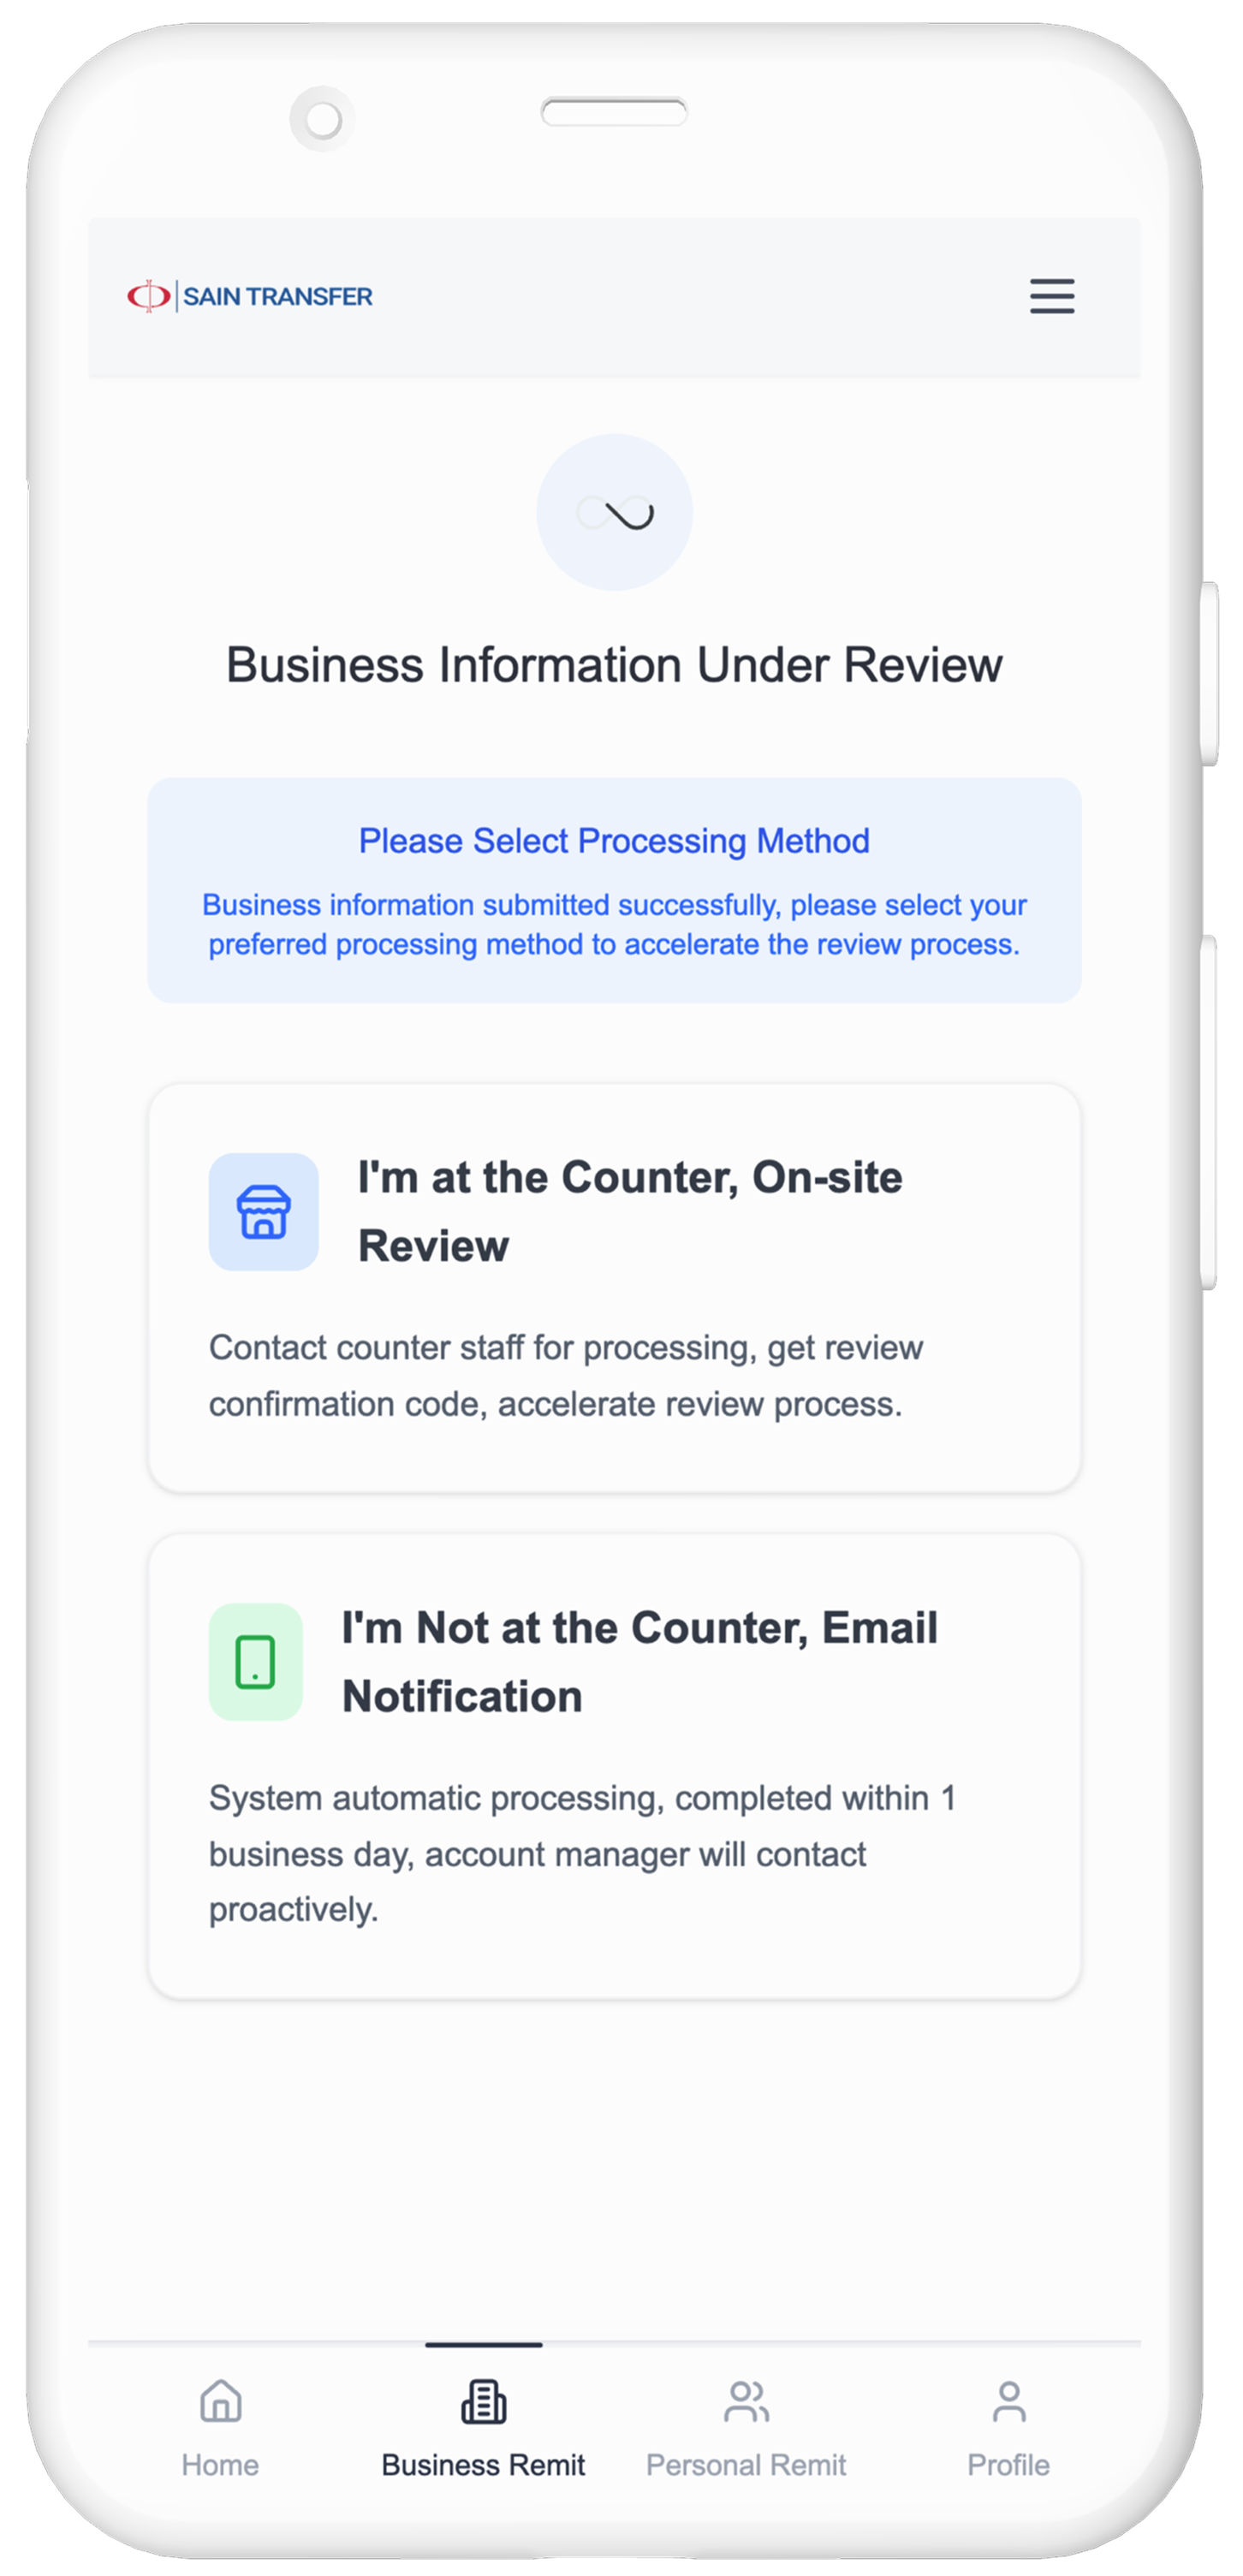
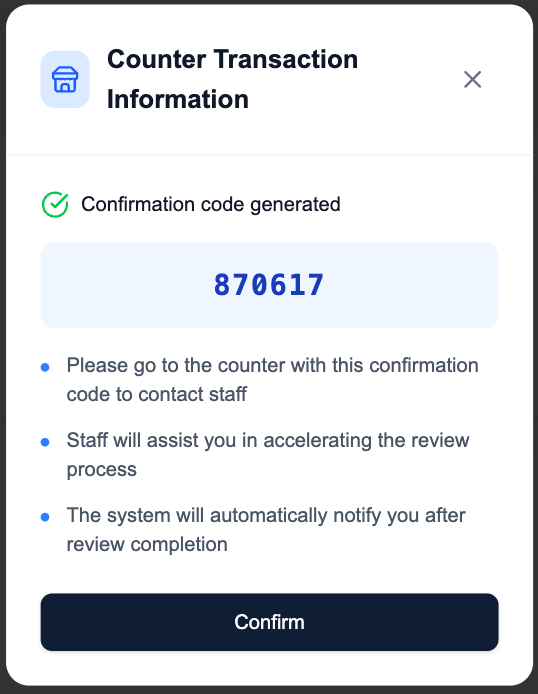
- If you completed registration at the service counter, click “I'm at the Counter, On-site Review” to get a code
and provide it to staff for faster review
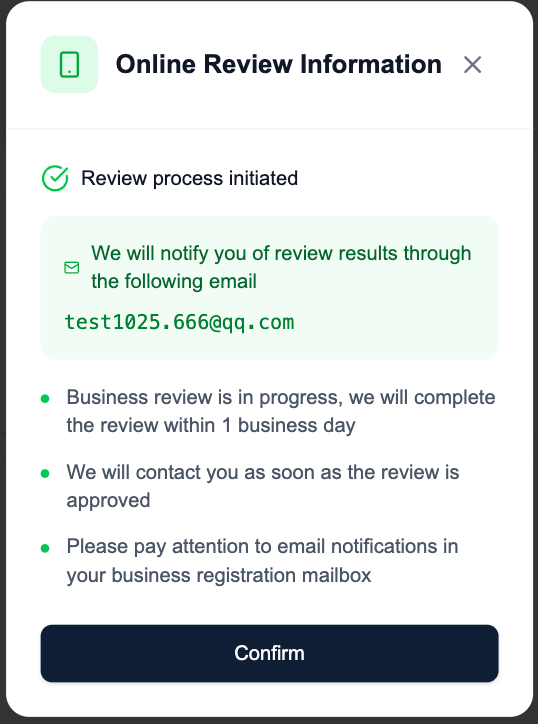
- If you completed registration online, review will be processed within 1 business day
and results will be notified by email
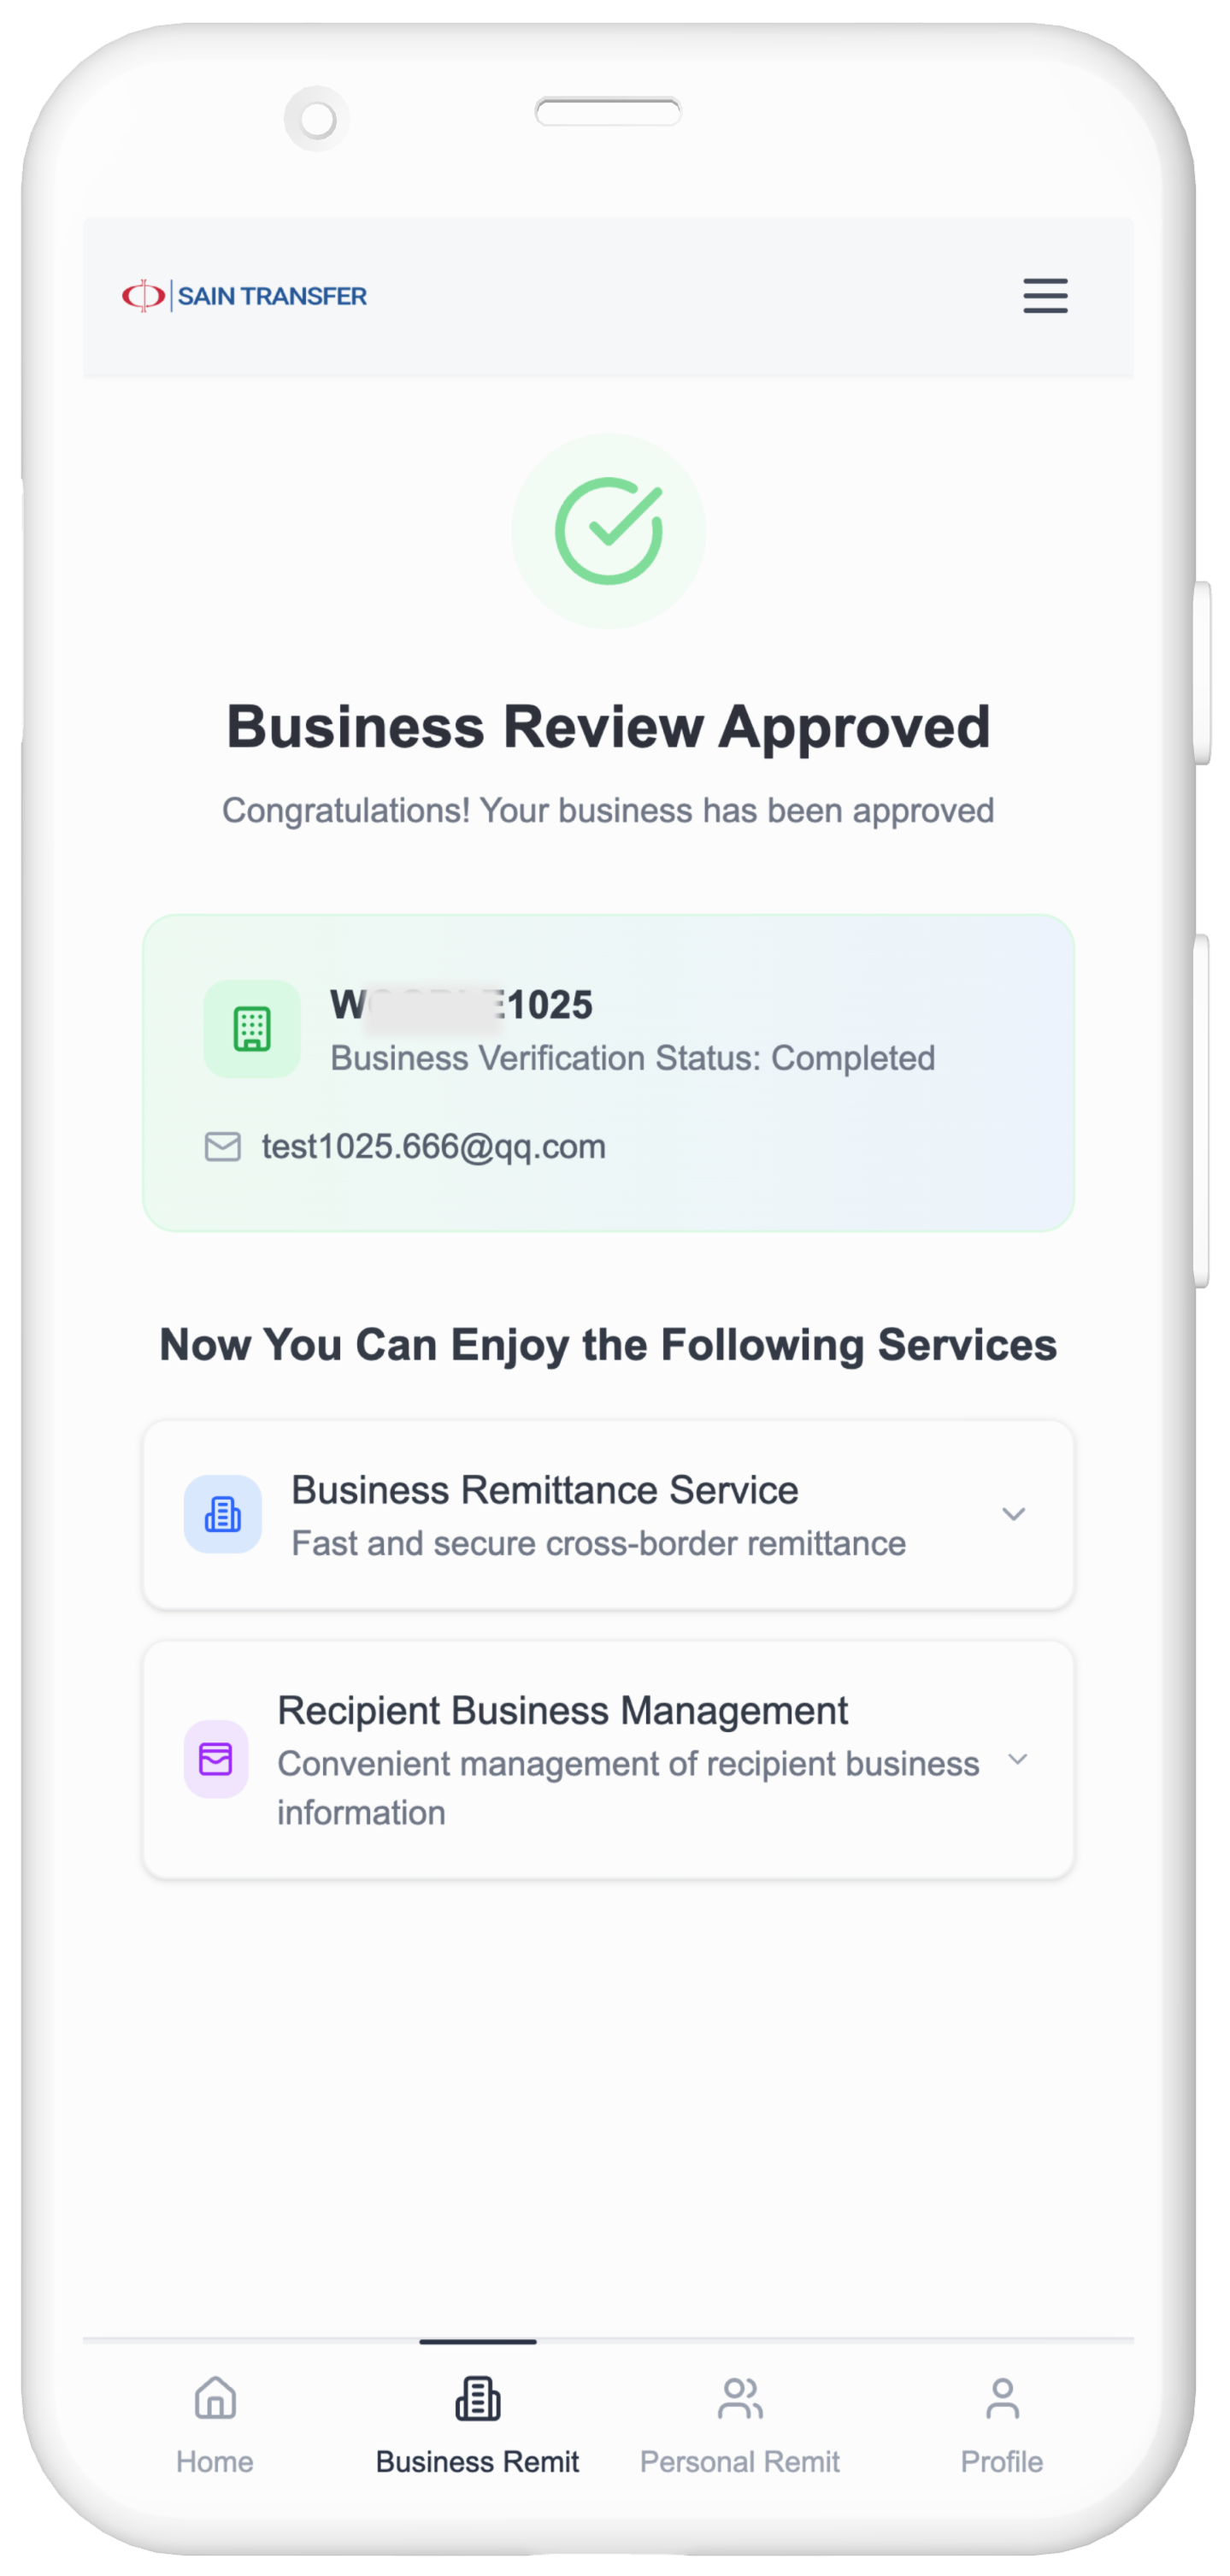
5. Company Onboarding Completed
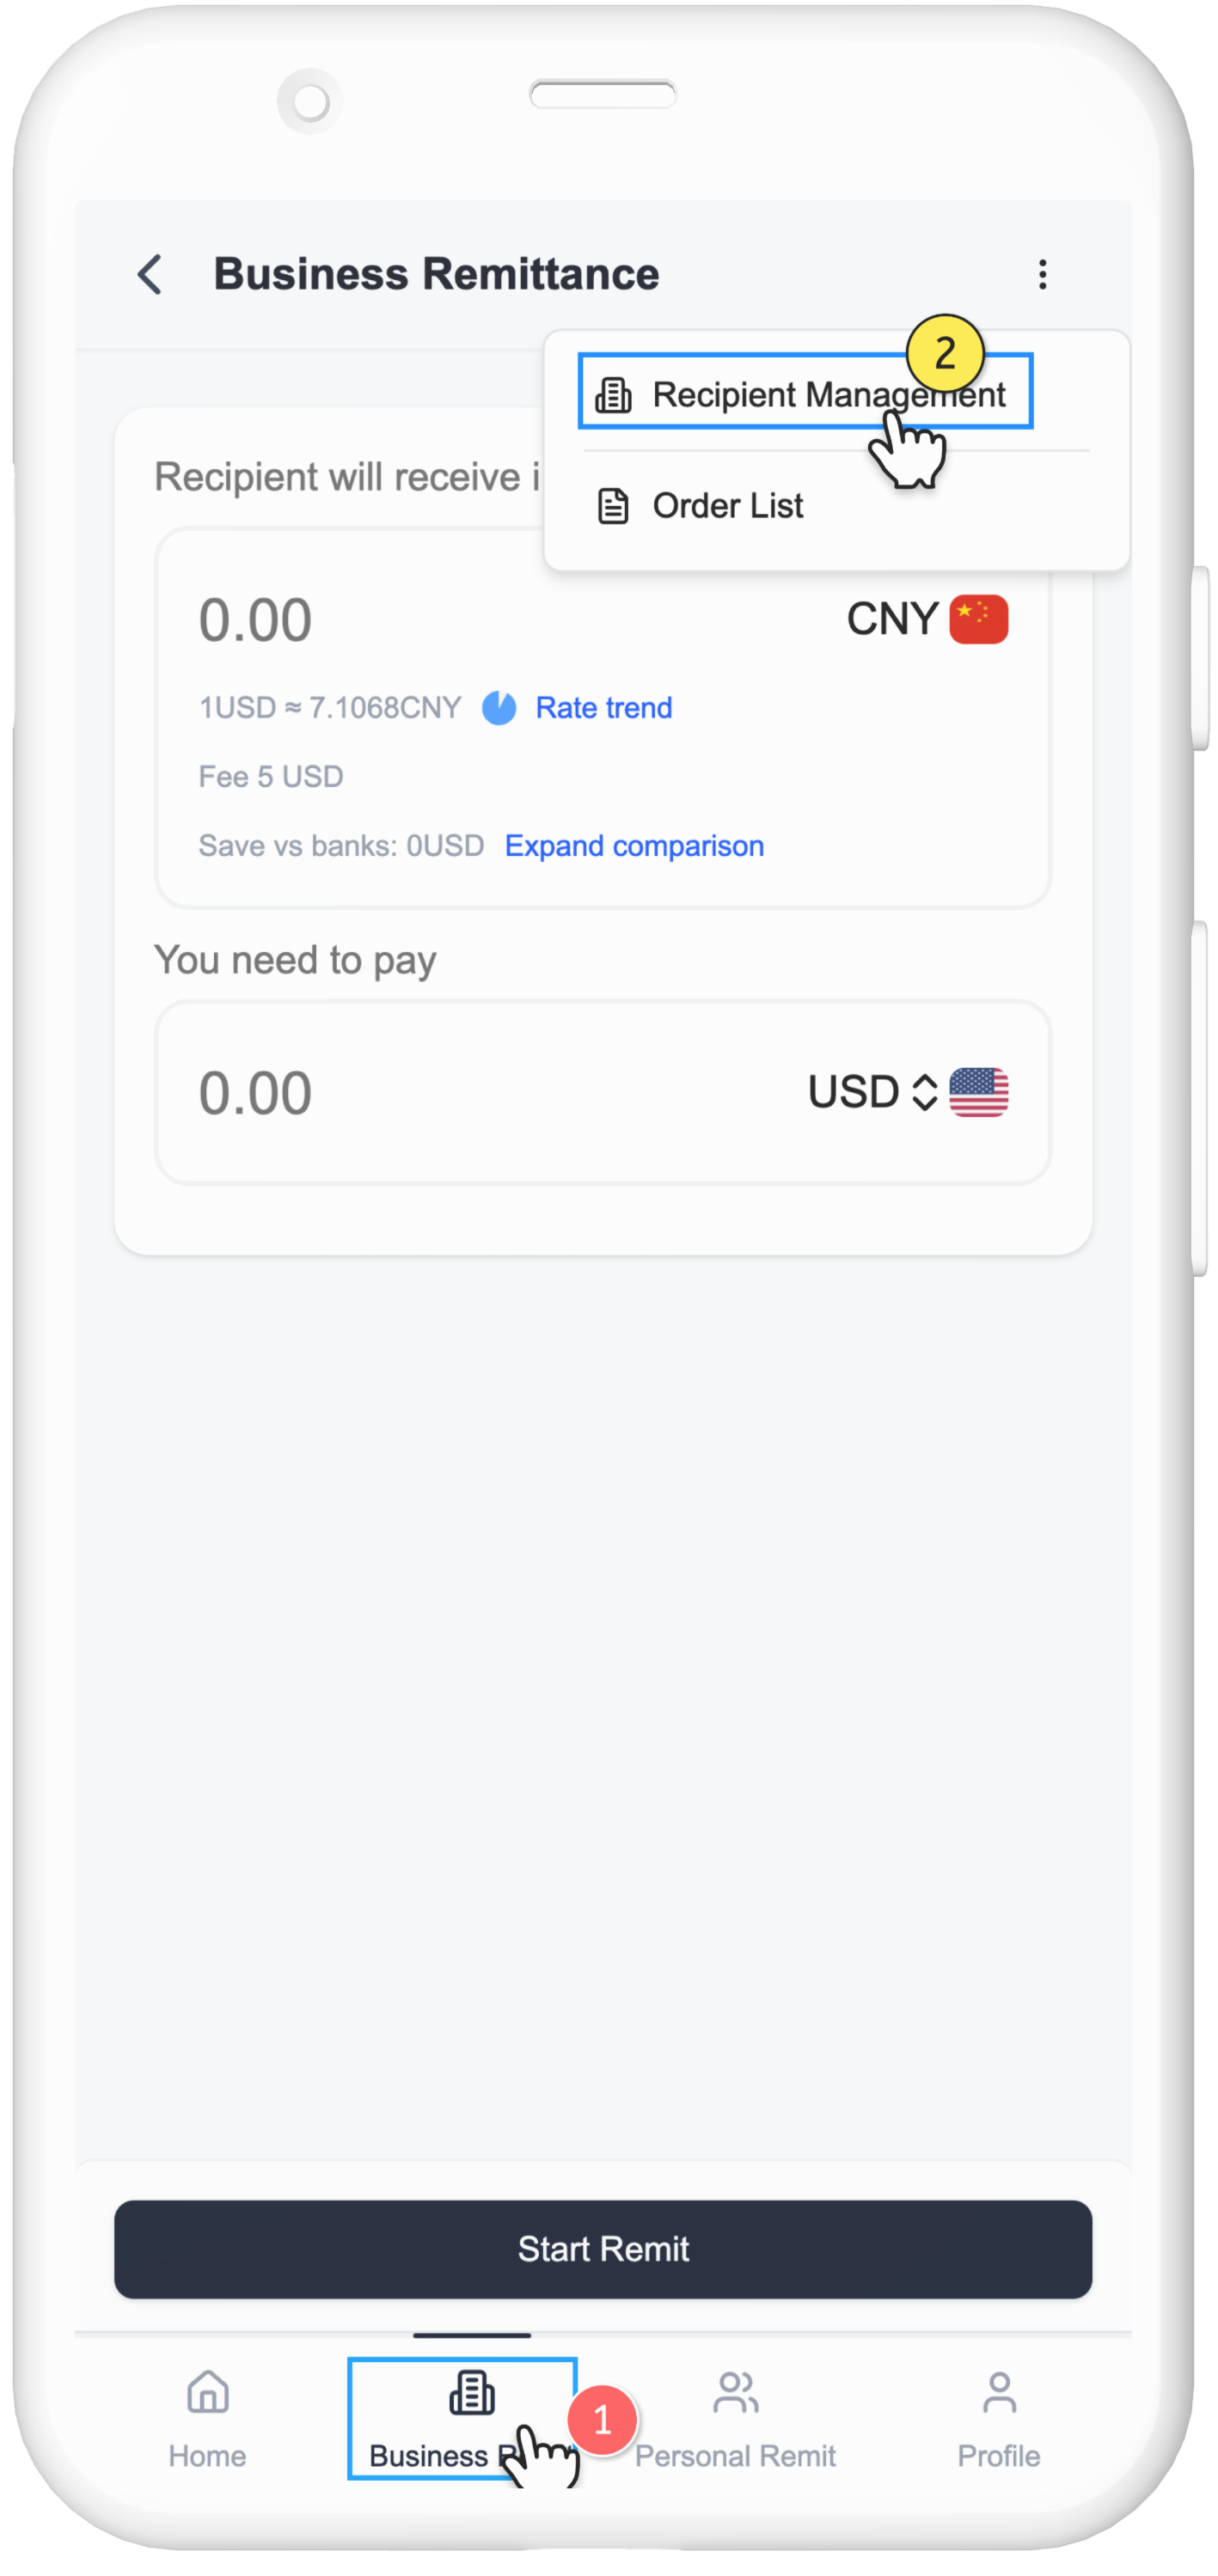
Step 3: Register Beneficiary Company Information
Before initiating remittance, please register the beneficiary company information
1. Go to Business Remittance → Beneficiary Management
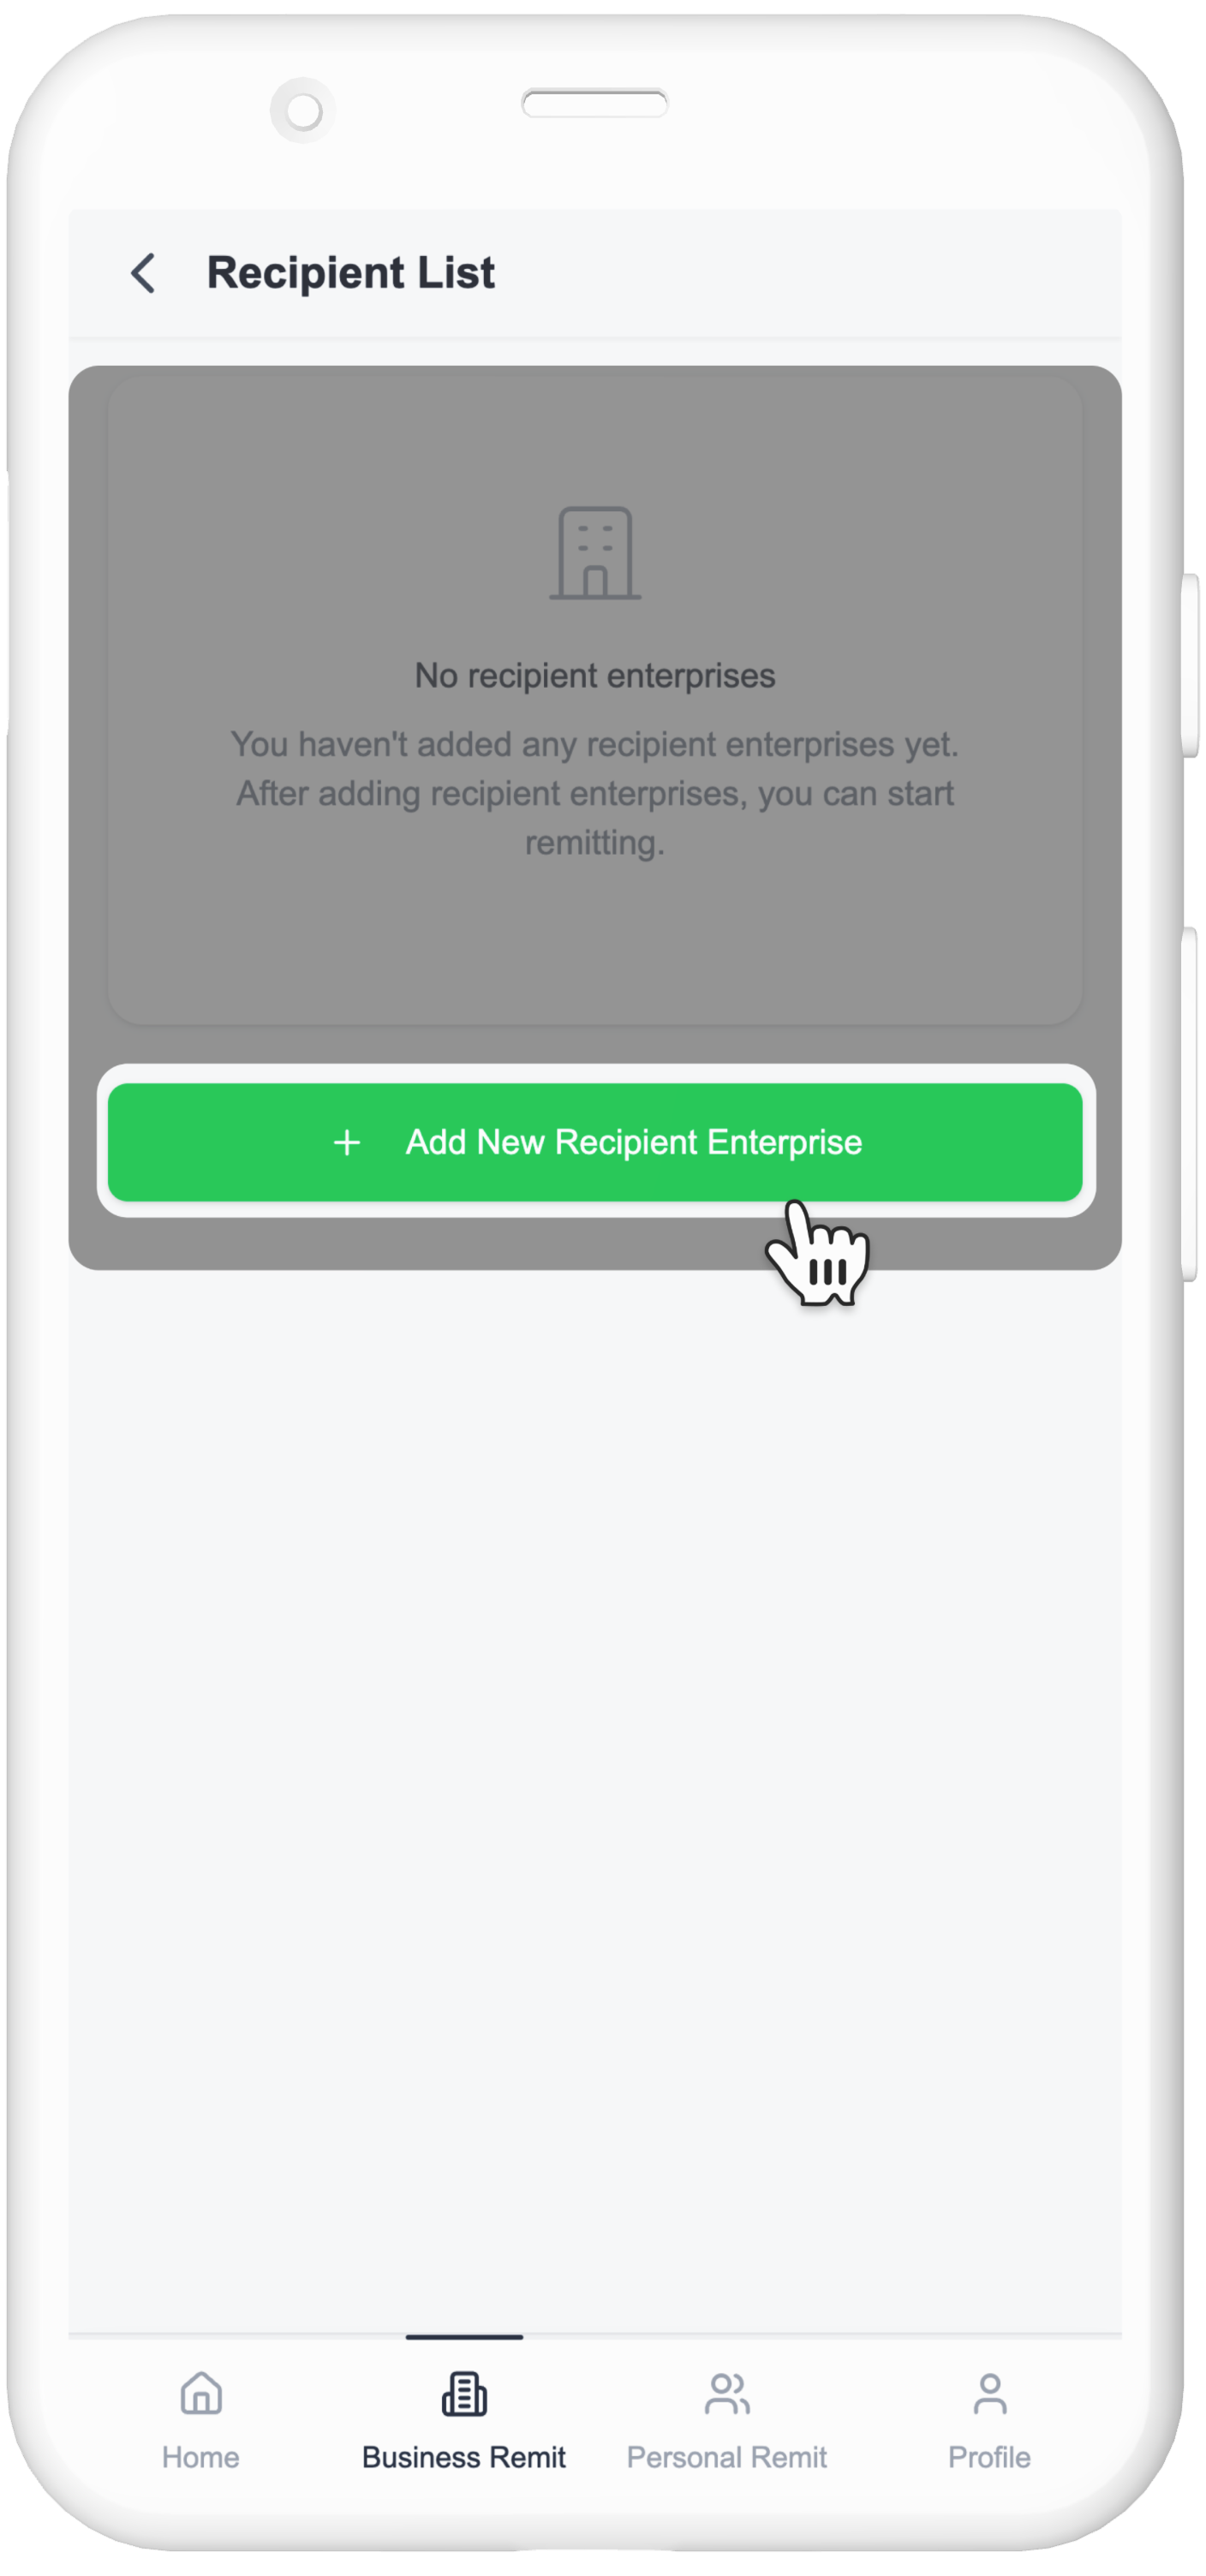
2. Upload Beneficiary Business License & Fill Basic Info

- Business license (required)
- Full legal company name (required)
- Website URL (optional)
3. Confirm and Submit
- Beneficiary company does not require system approval
(Incorrect information will lead to failed transactions)
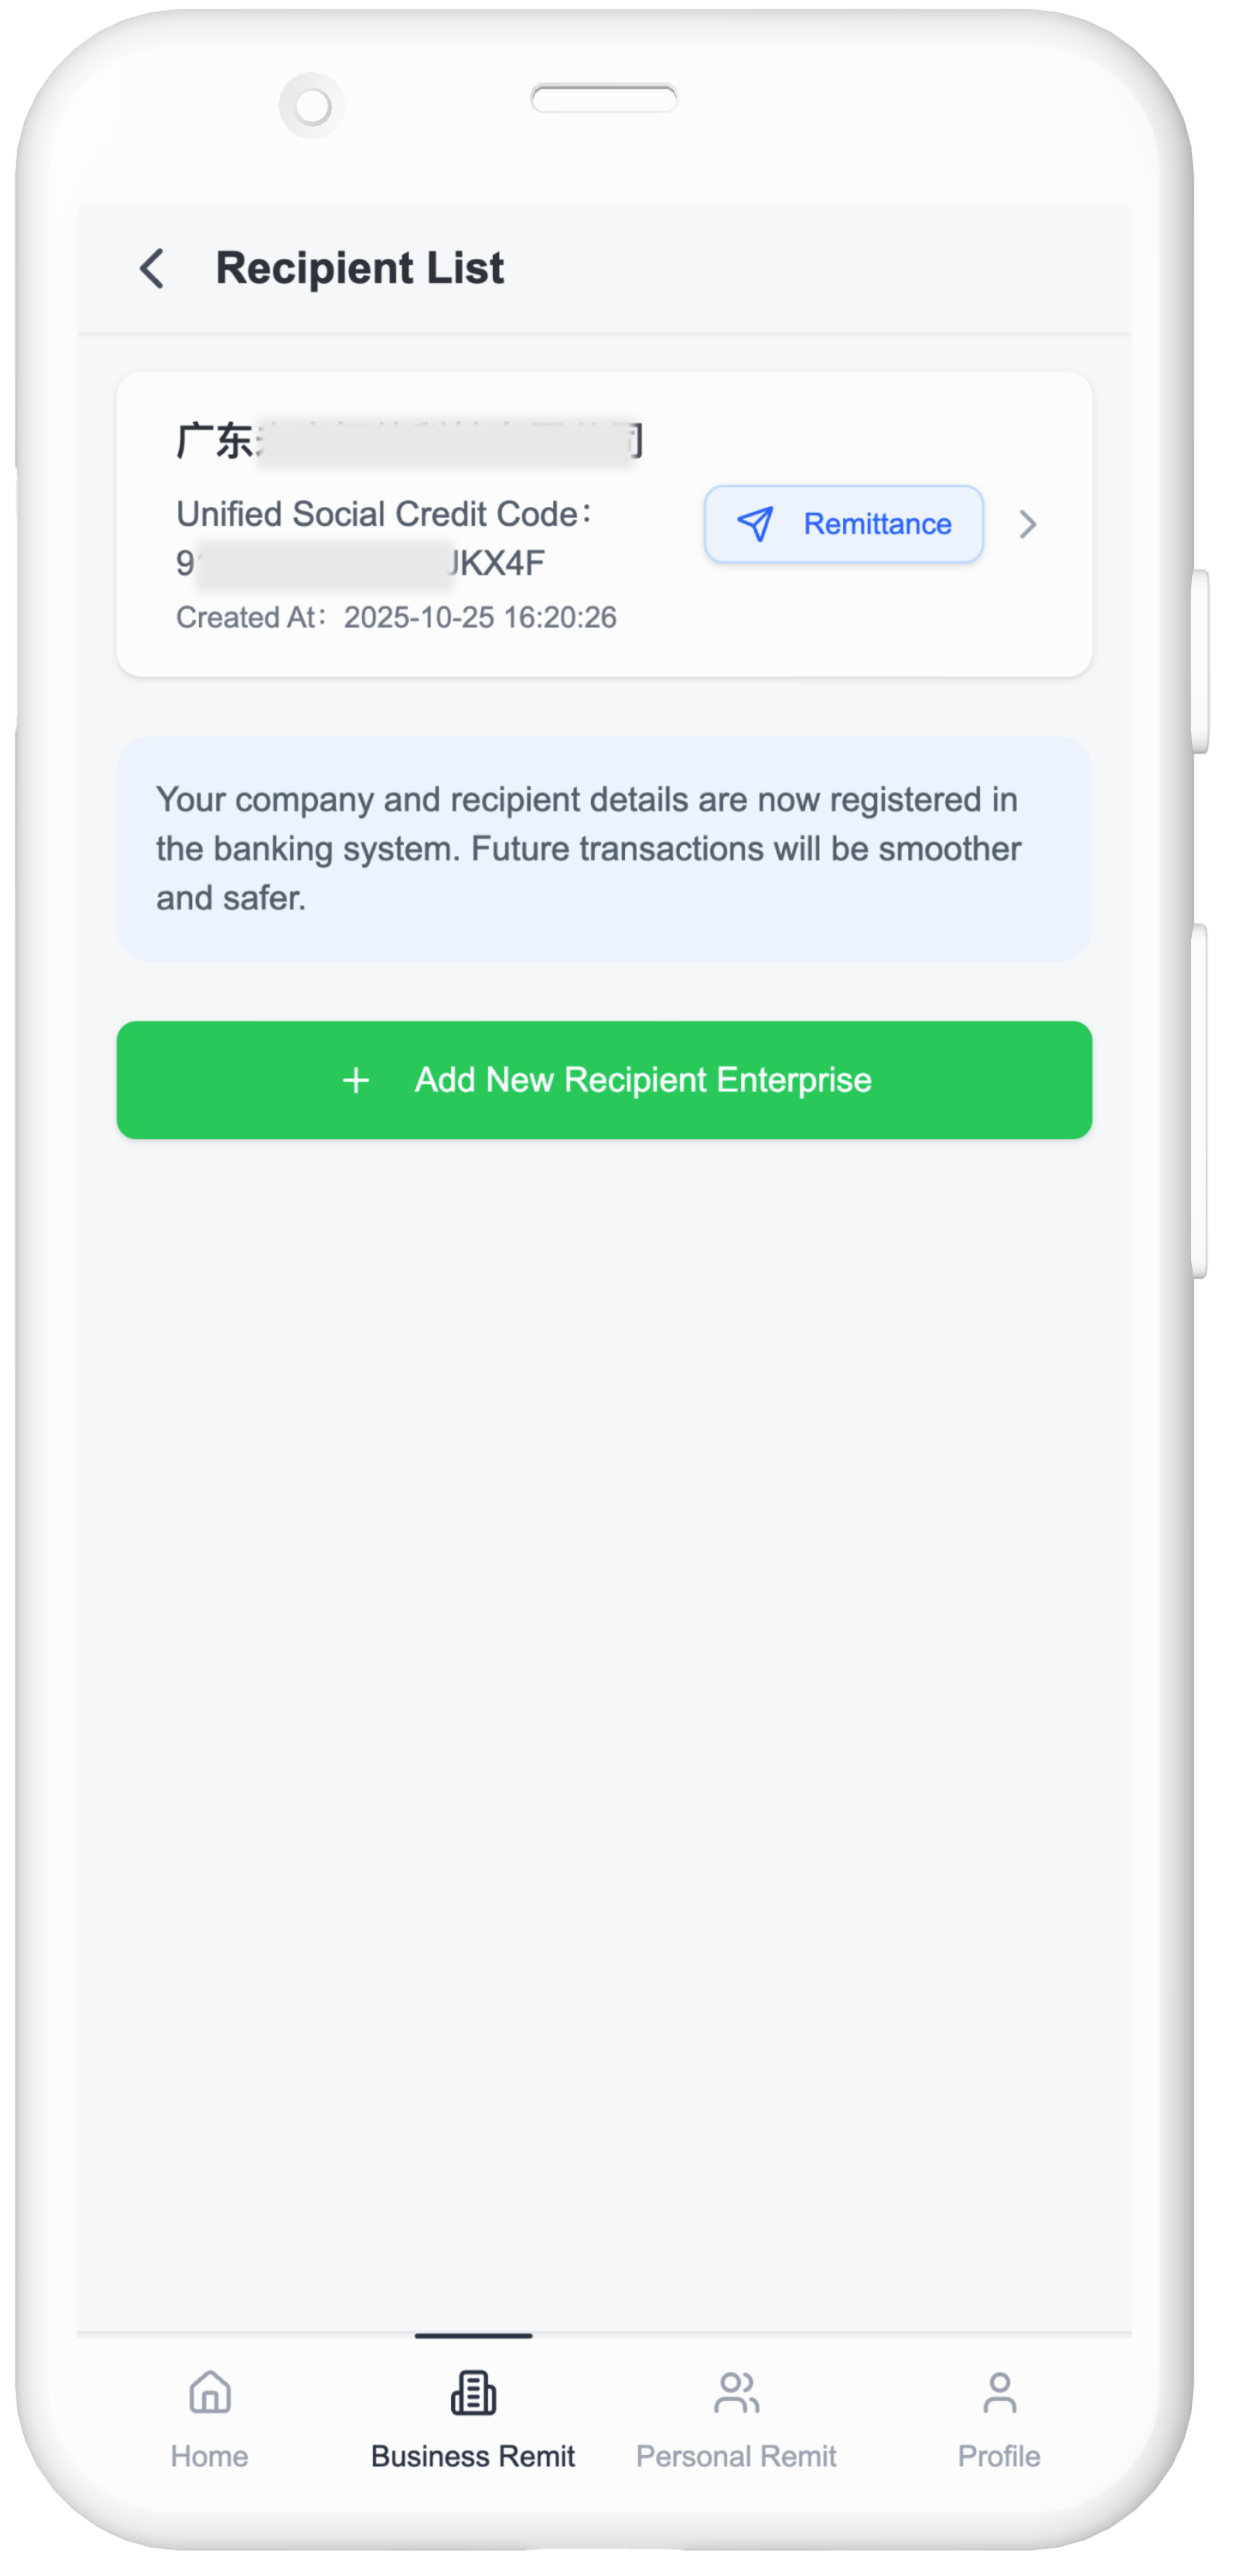
- If any mistakes are found after submission, contact service counter staff or customer support
- You can view saved beneficiaries in the list after submission
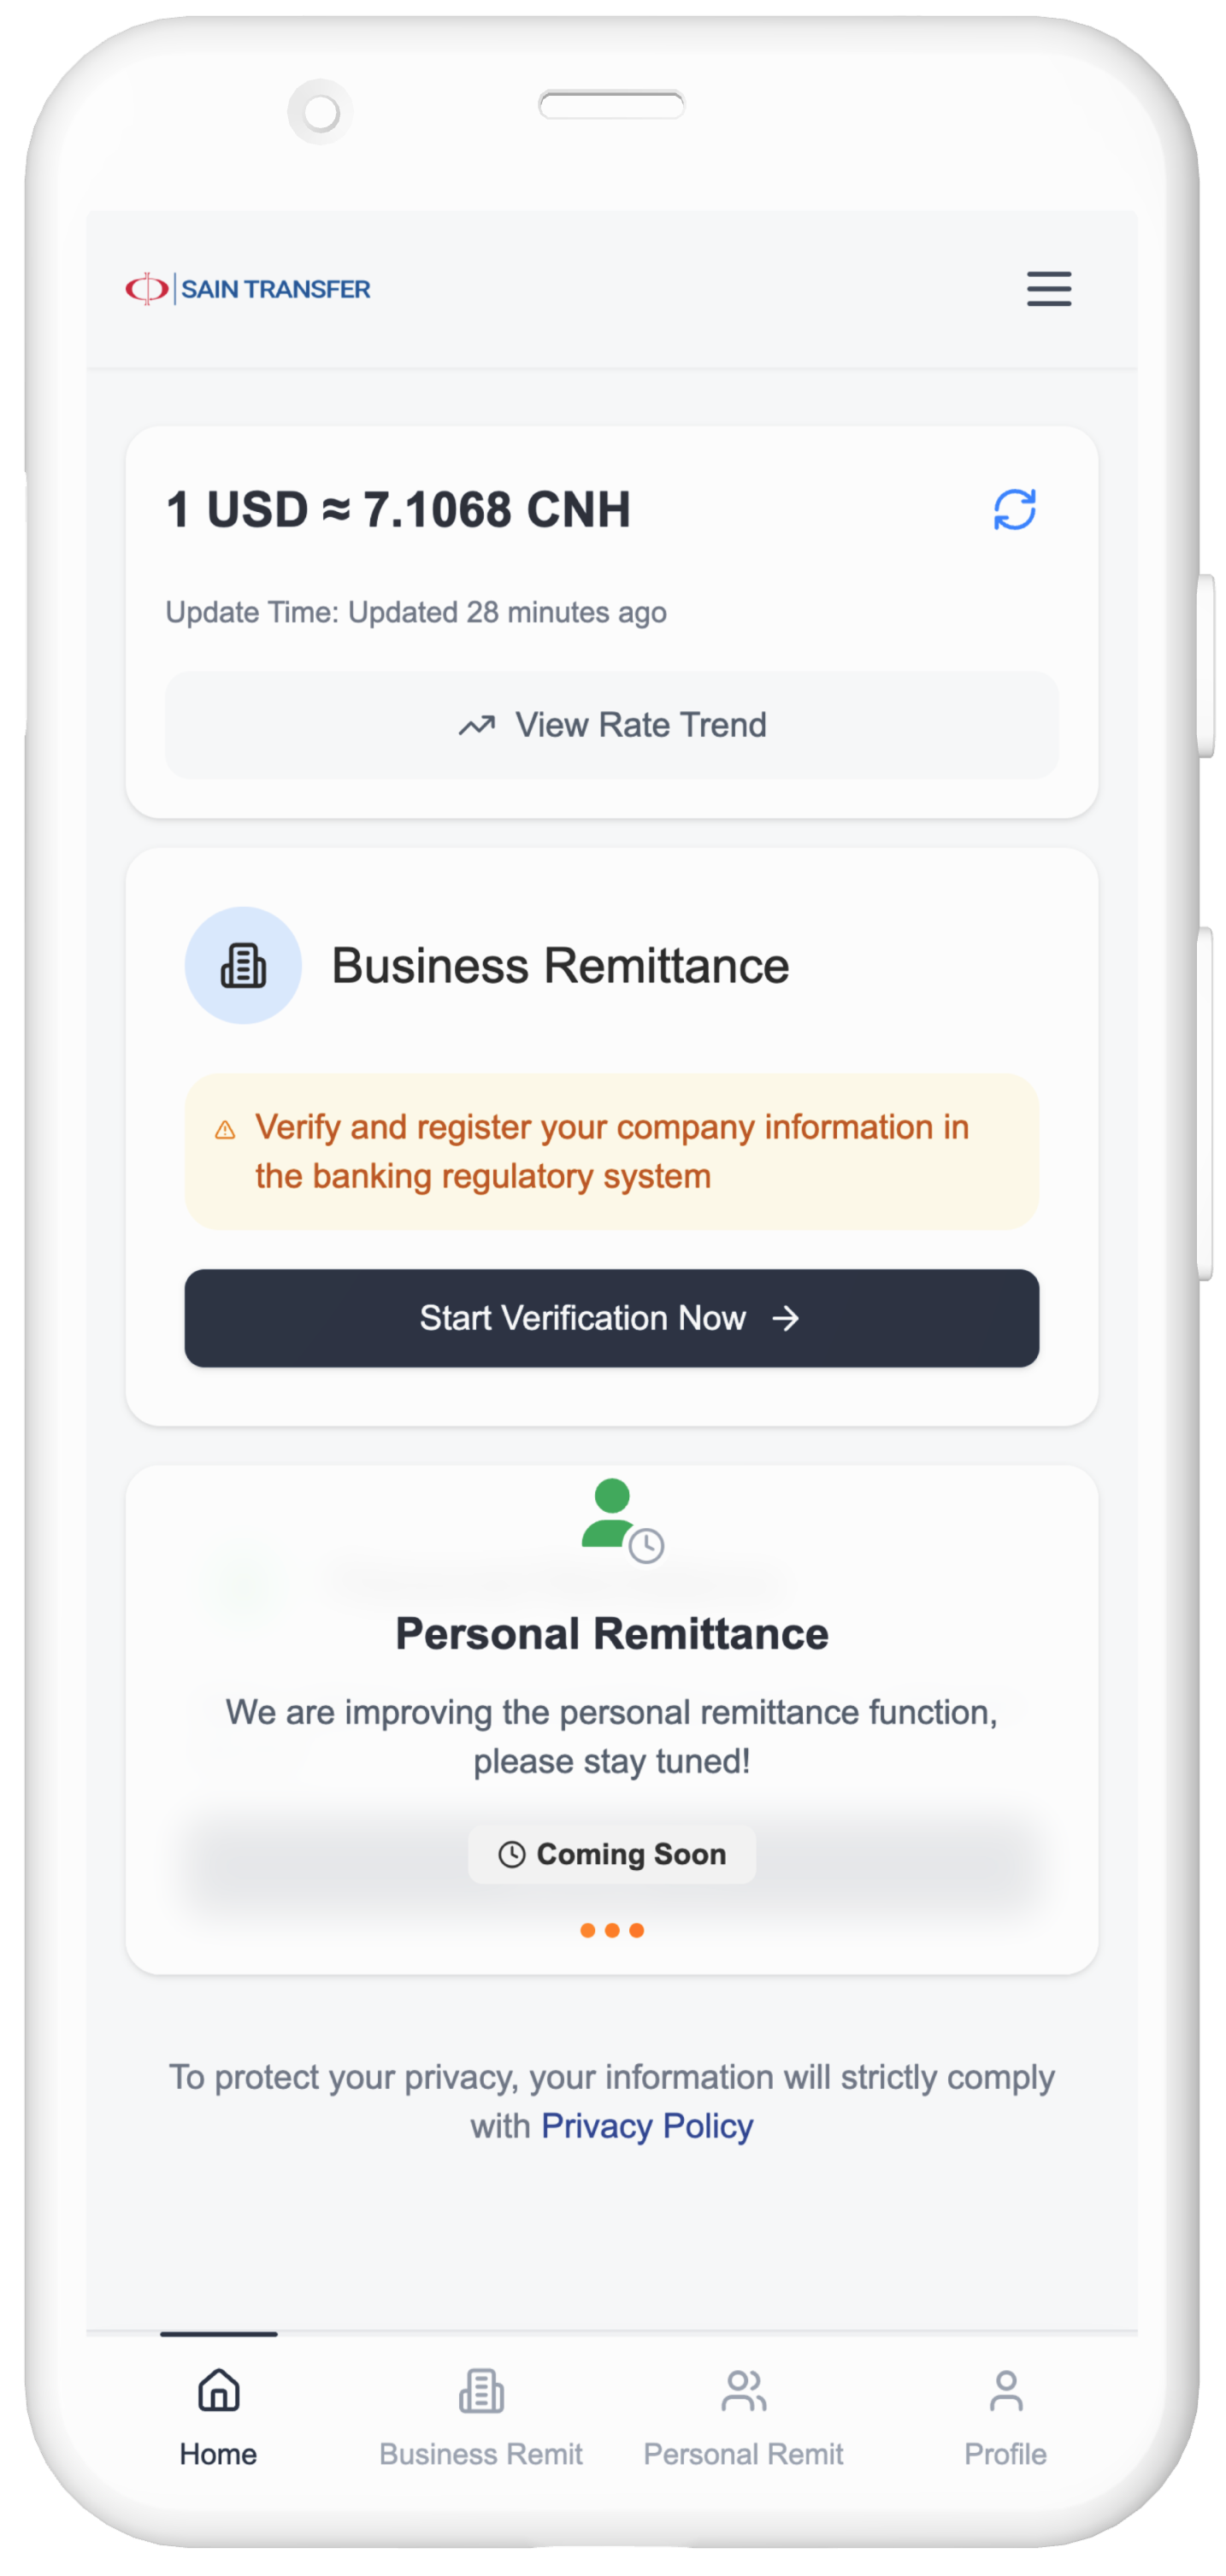
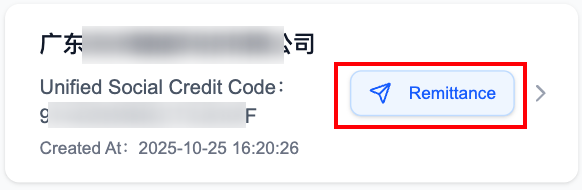
Step 4: Make a Business Remittance Payment
- Remittance can be initiated in Business Remittance module
- Or directly from the Recipient List
1. Enter Payment Amount & Transaction Details
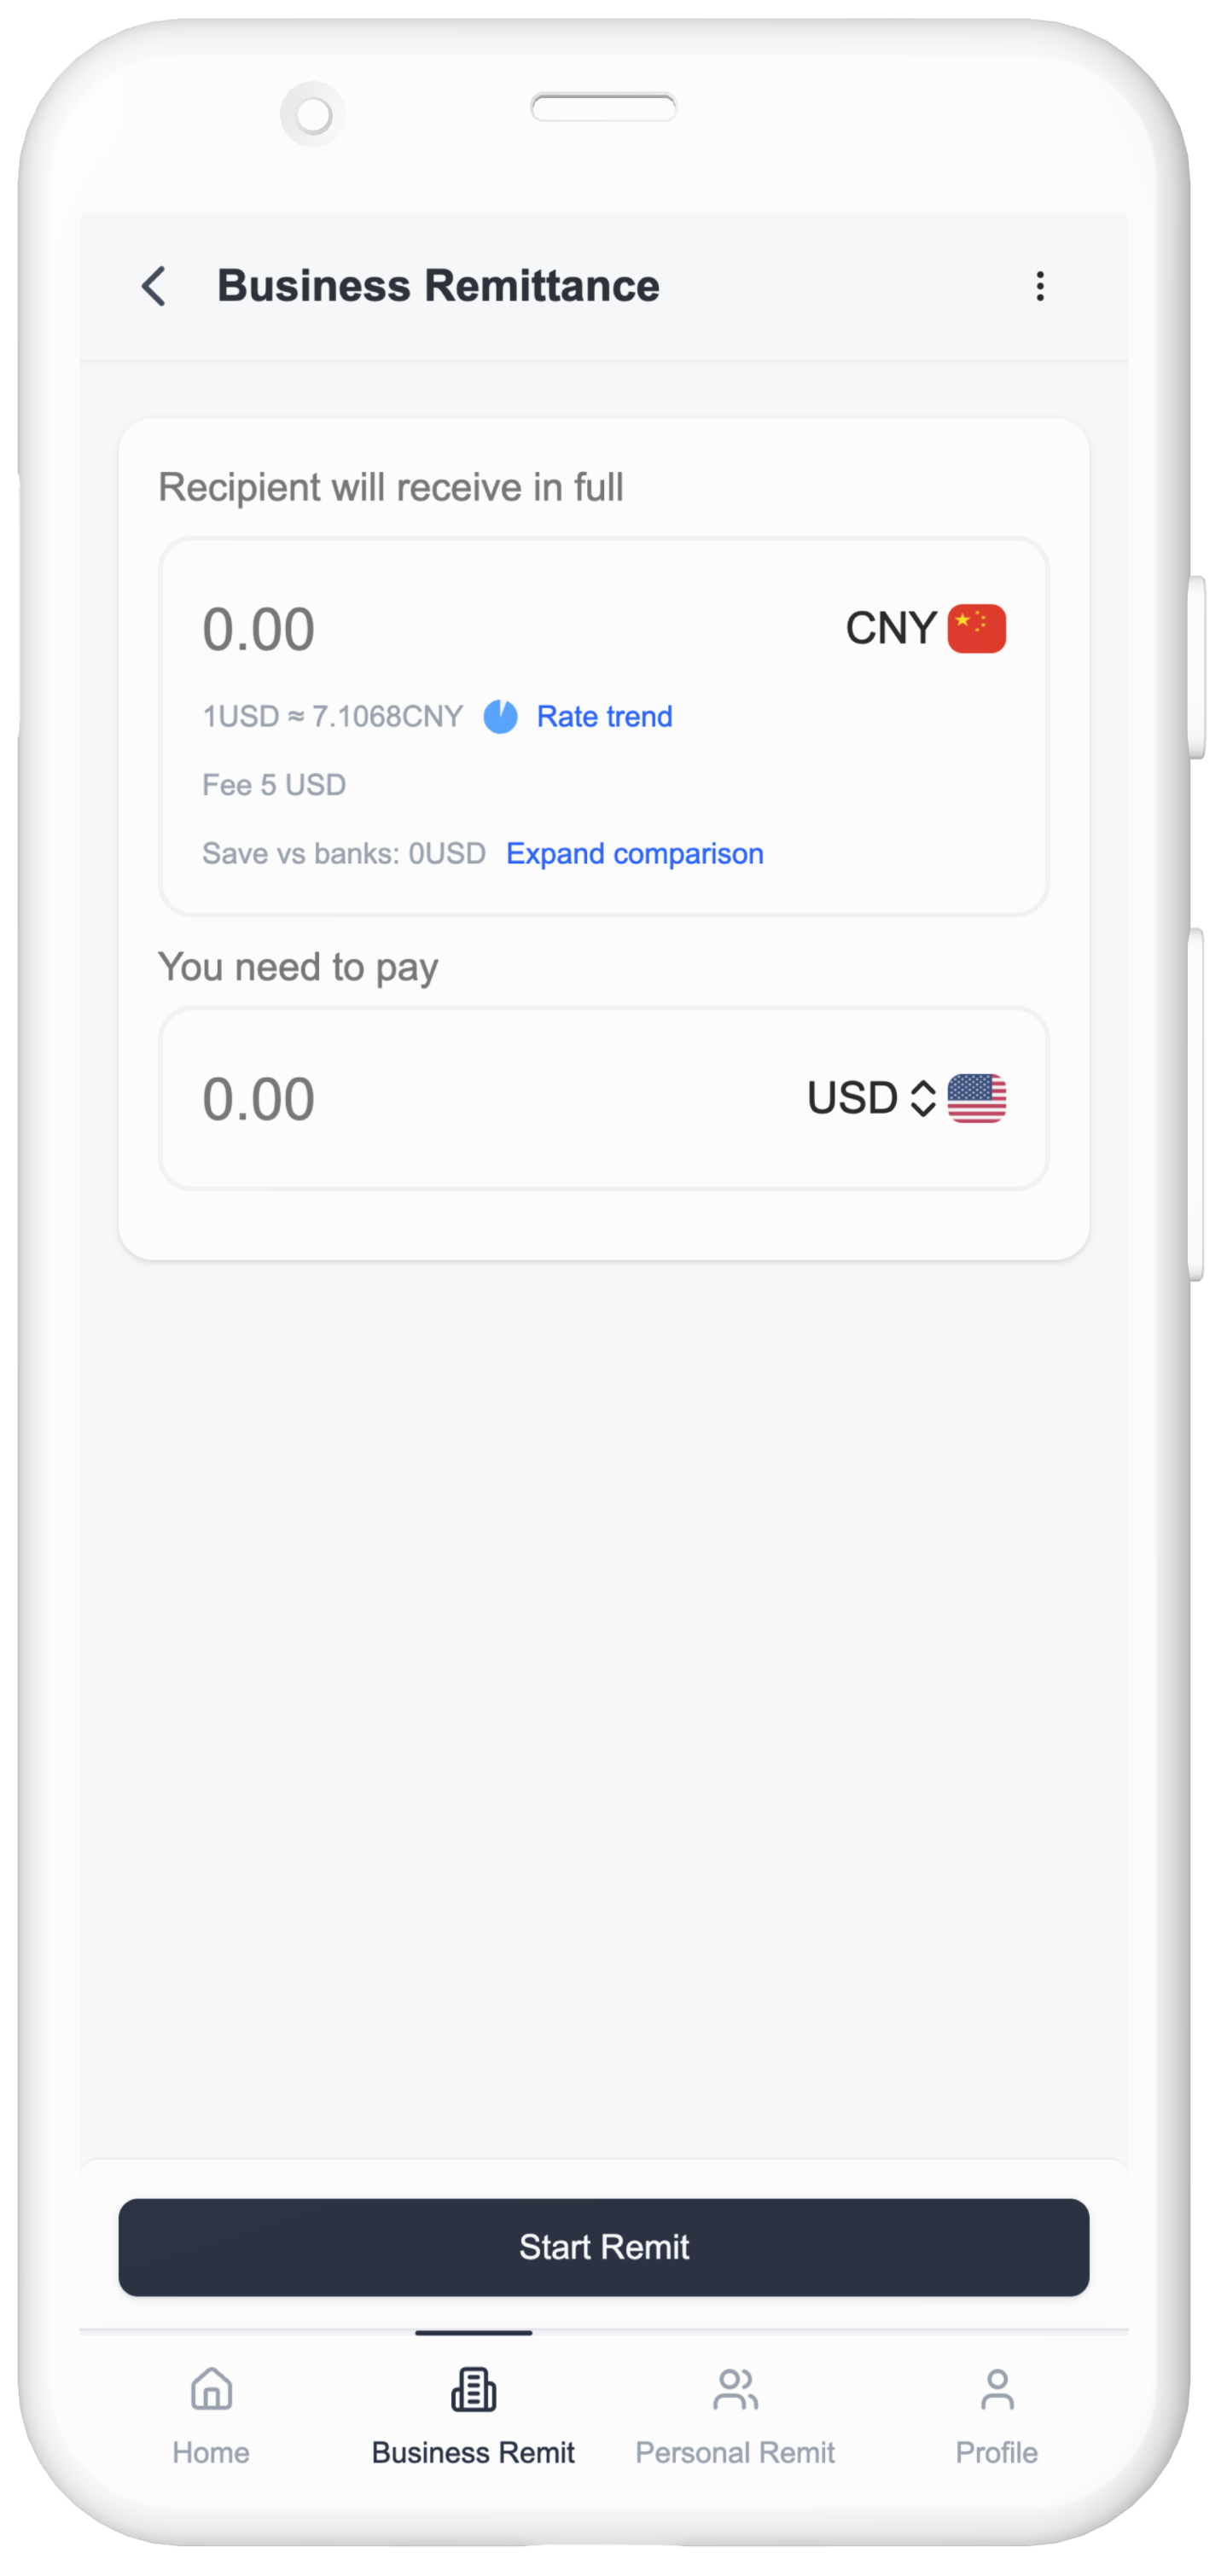
Enter Payment Amount
- Reference FX Rate: Updated every 30 seconds based on market rate
- Service Fee: Deducted from settlement amount
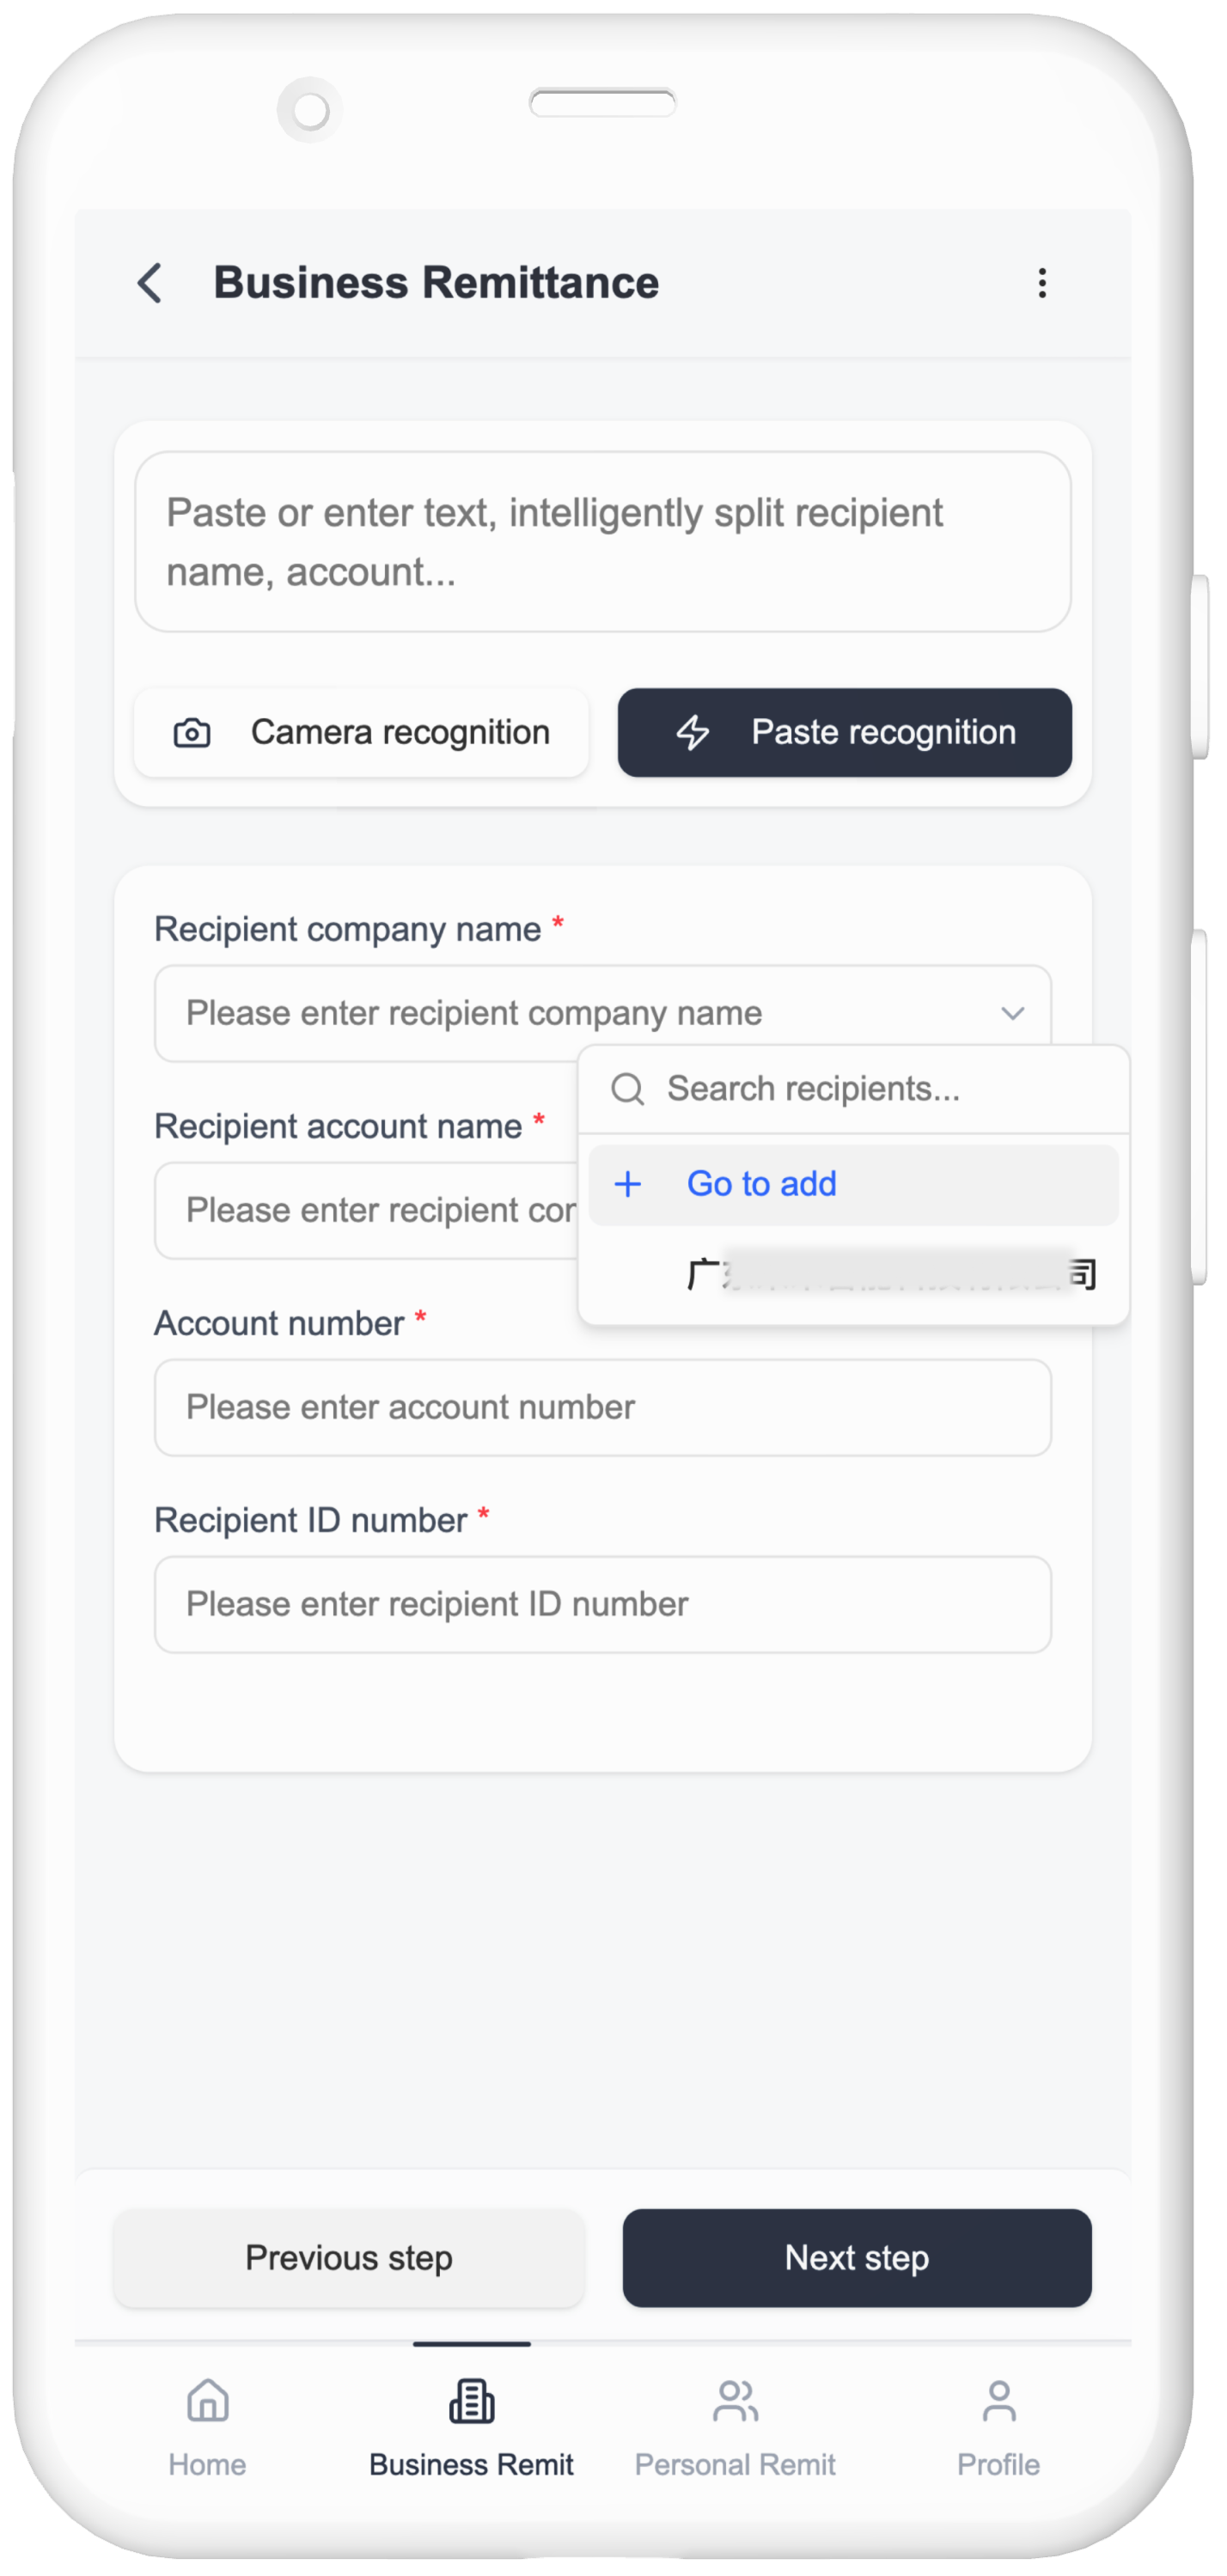
2. Select Beneficiary
Corporate Account
- Funds transferred to a company bank account
- Account holder name must match company registration name
- Provide bank account details
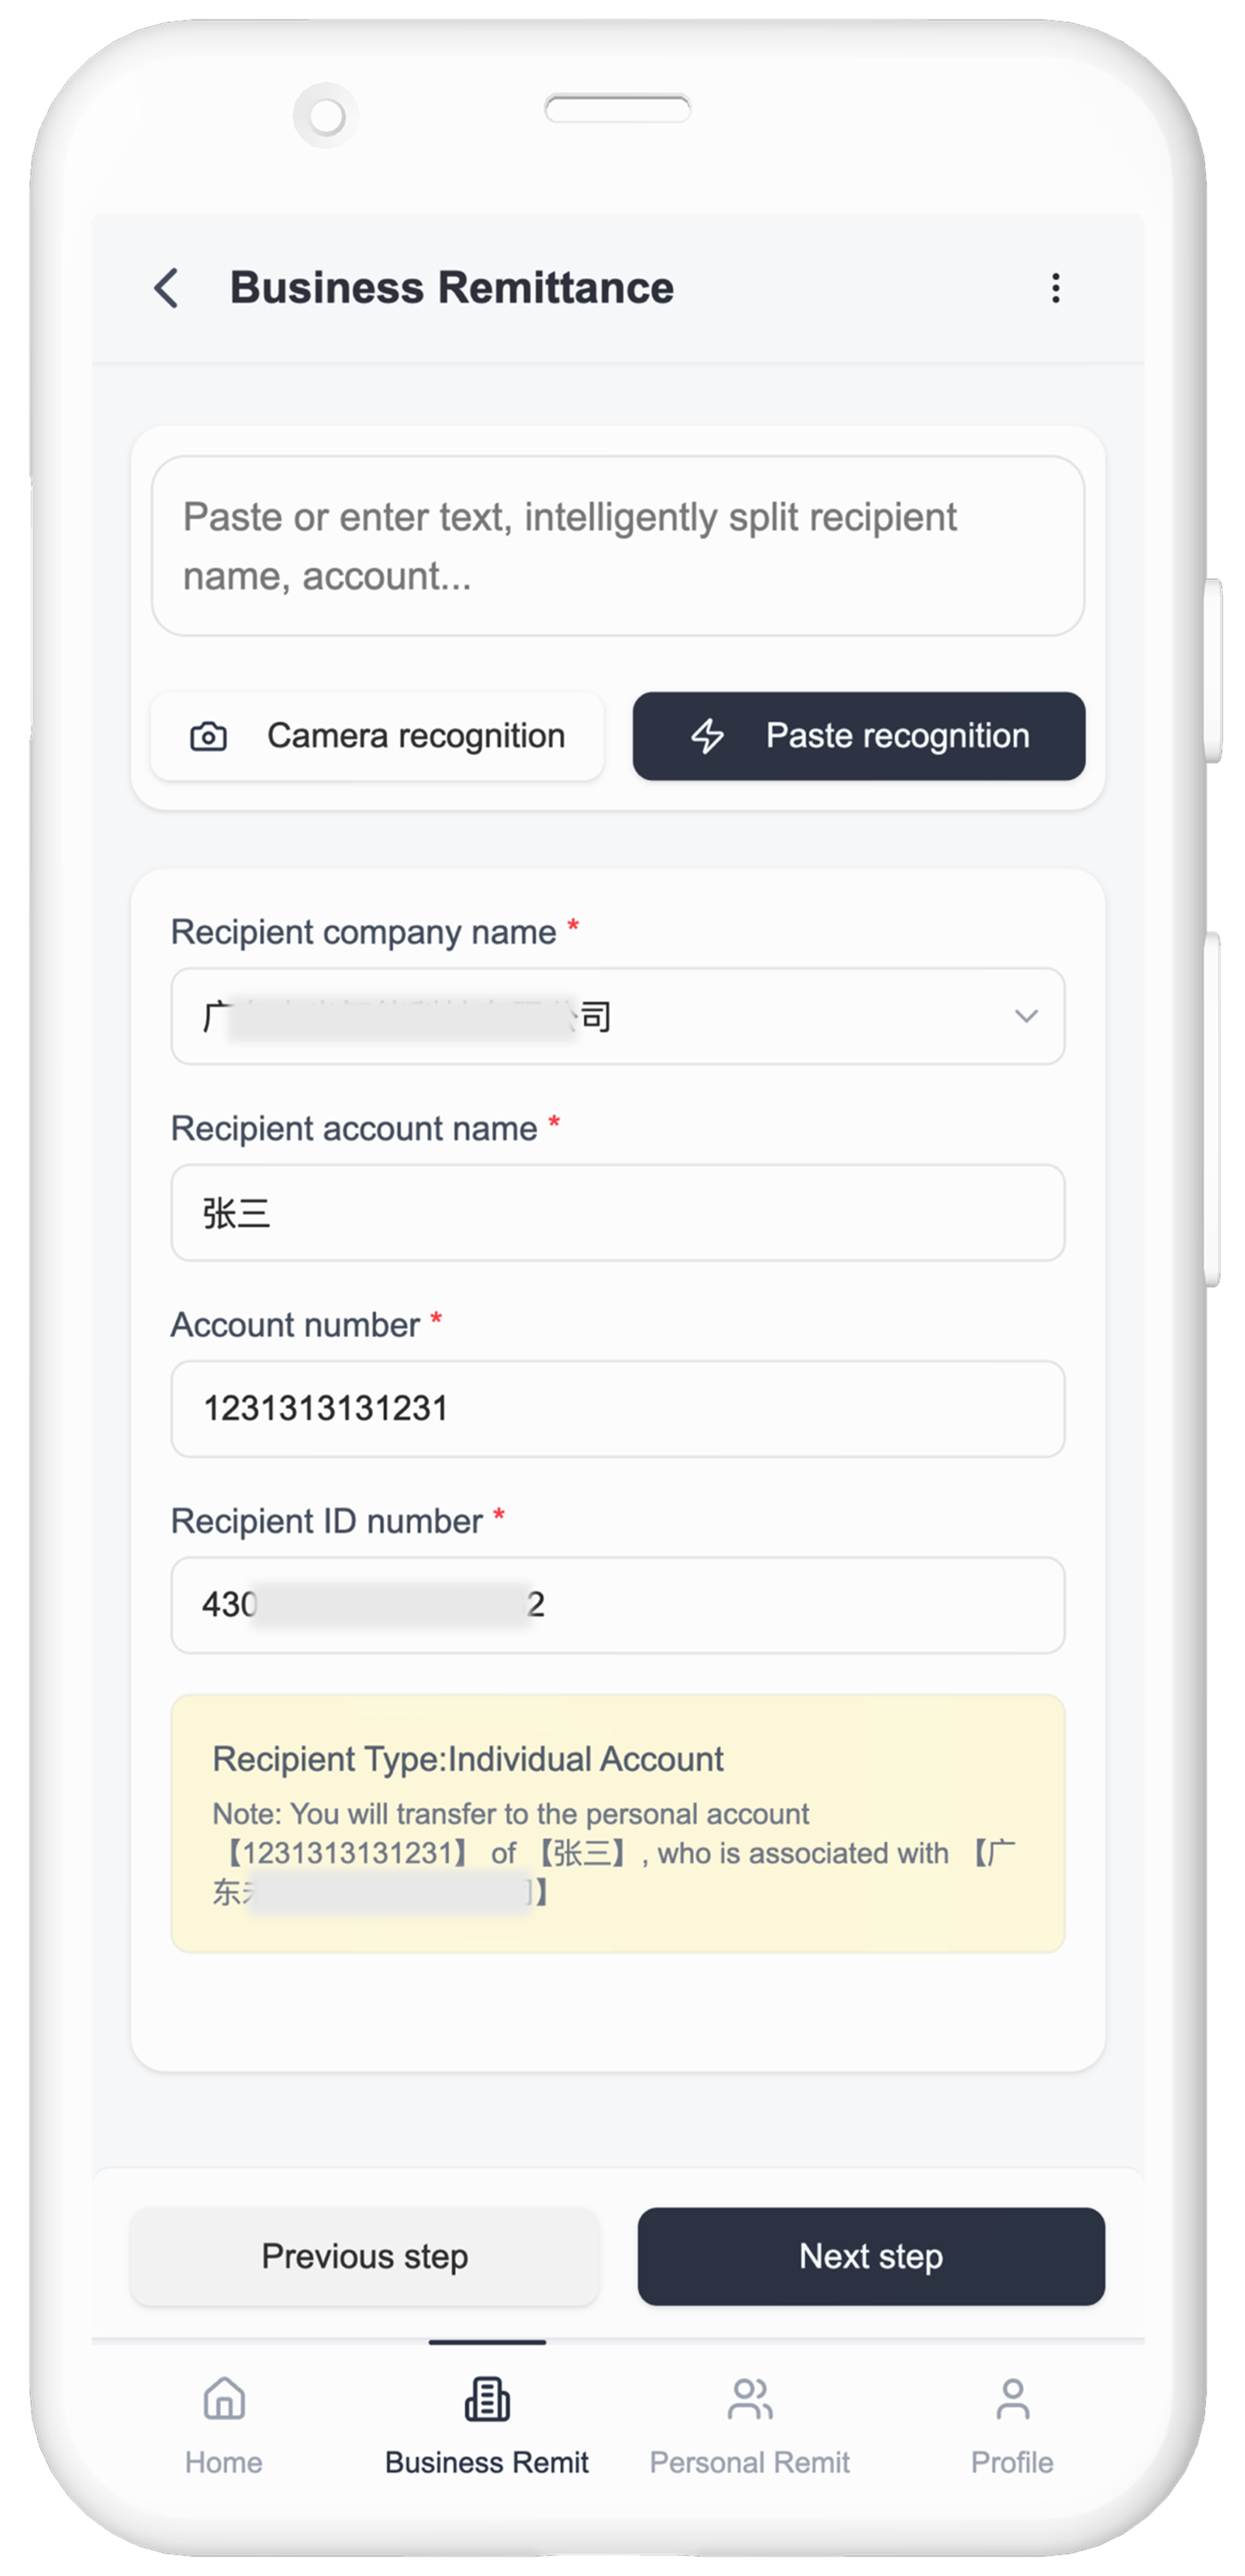
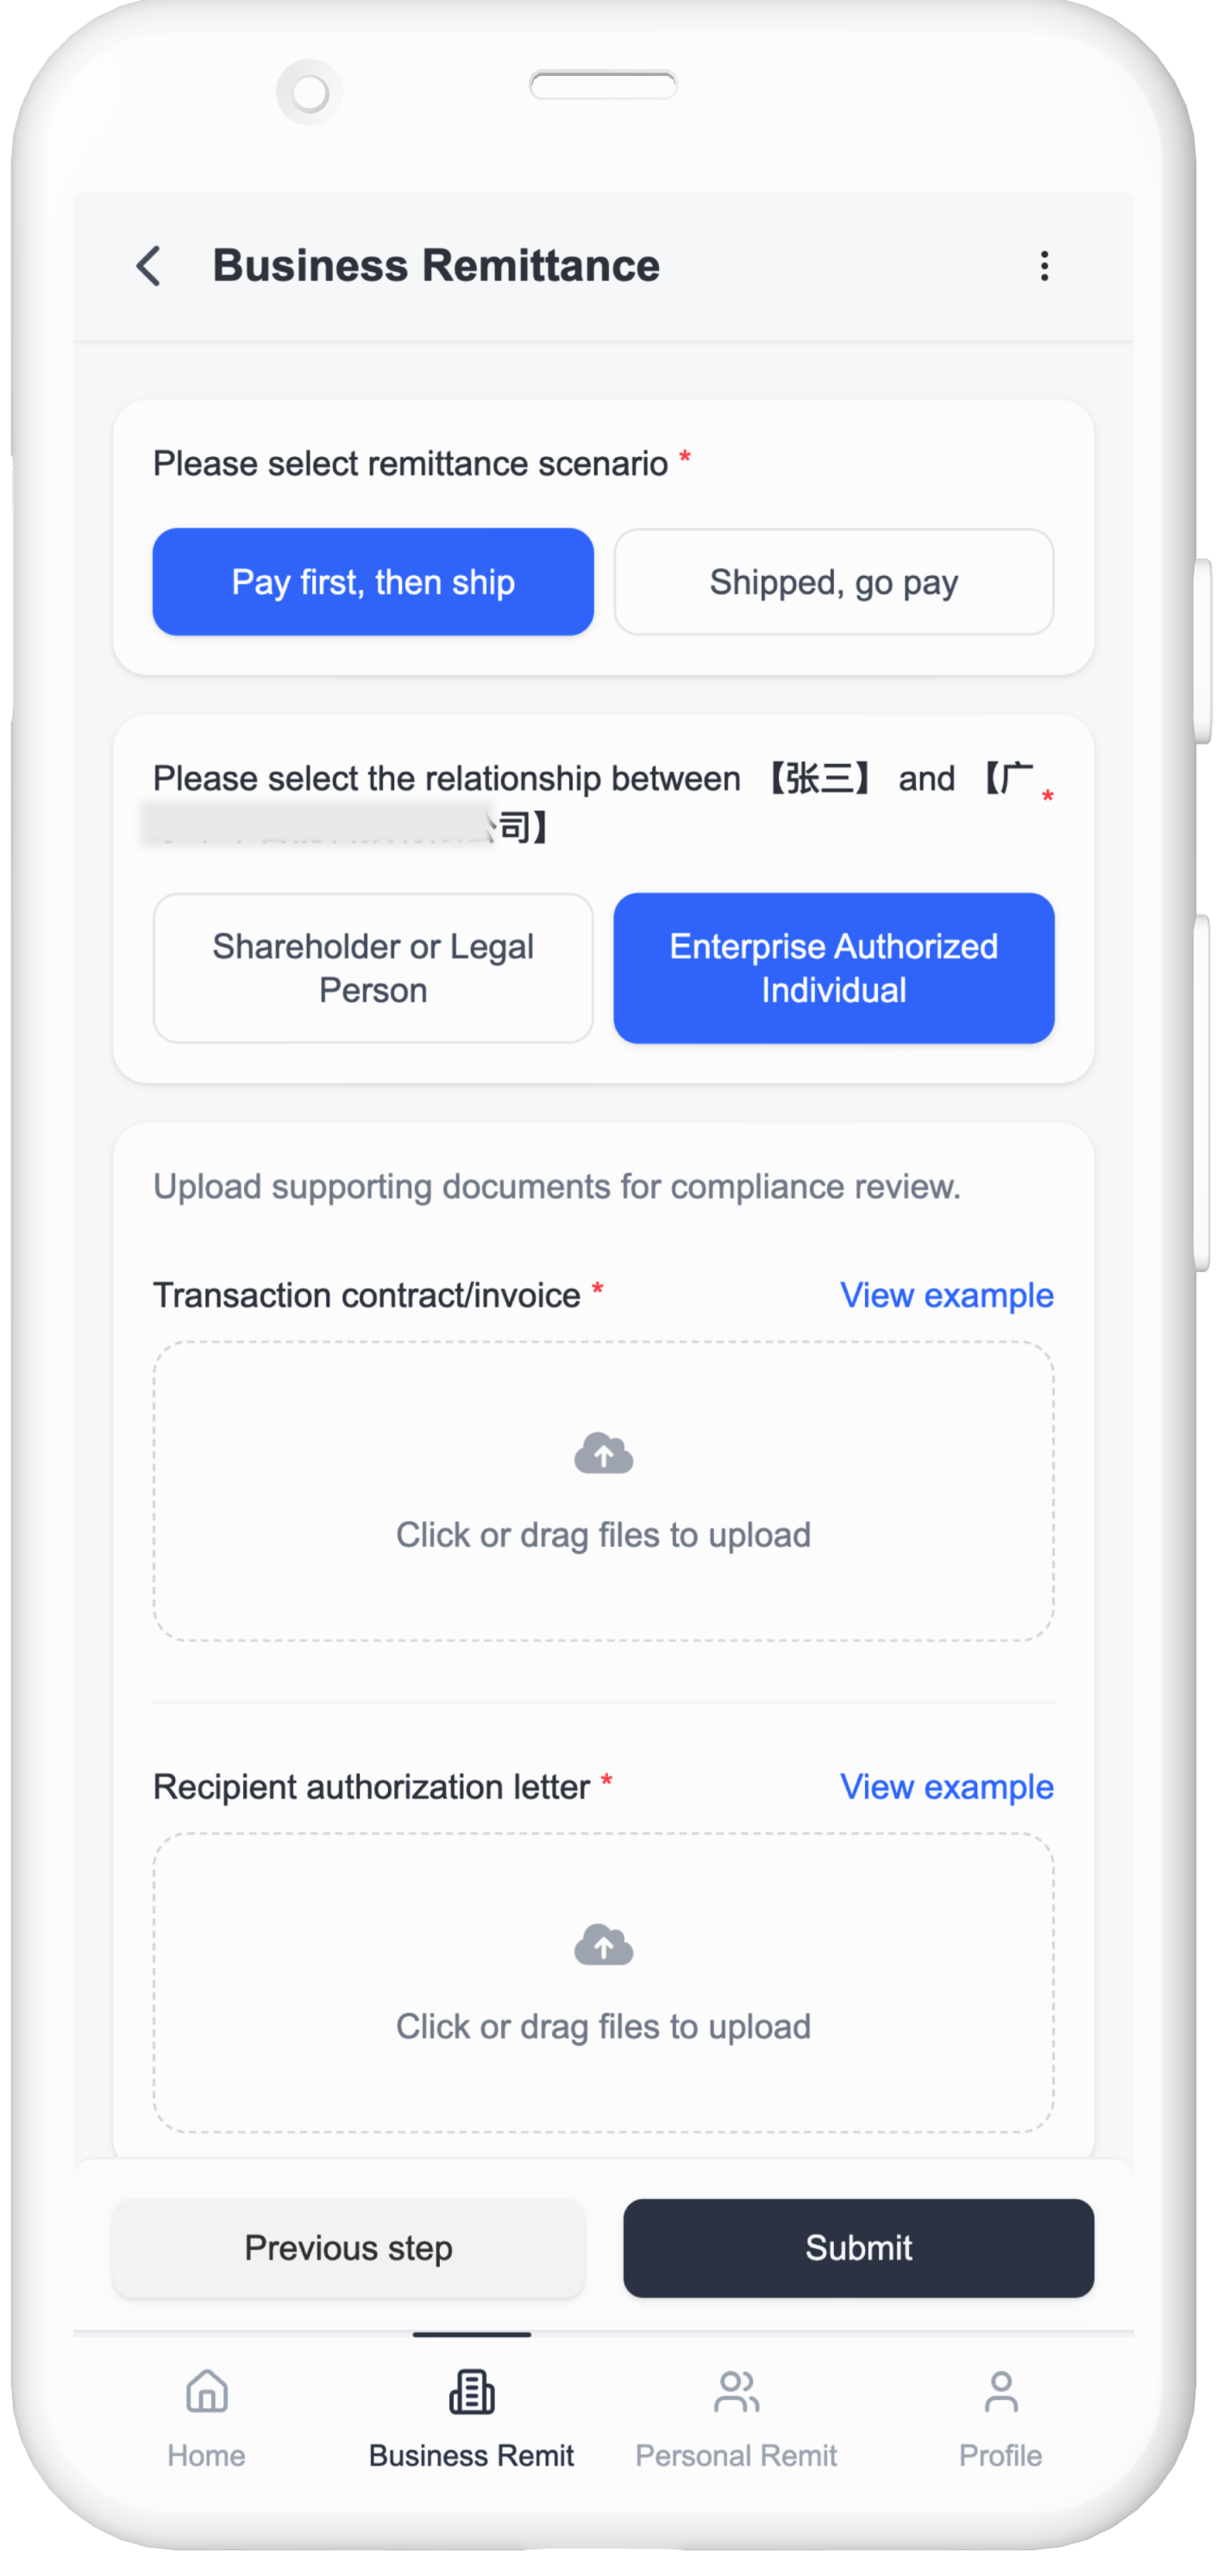
Individual Account
- Funds transferred to a shareholder / legal representative / authorized personnel
- Provide account holder name & ID number & bank account number
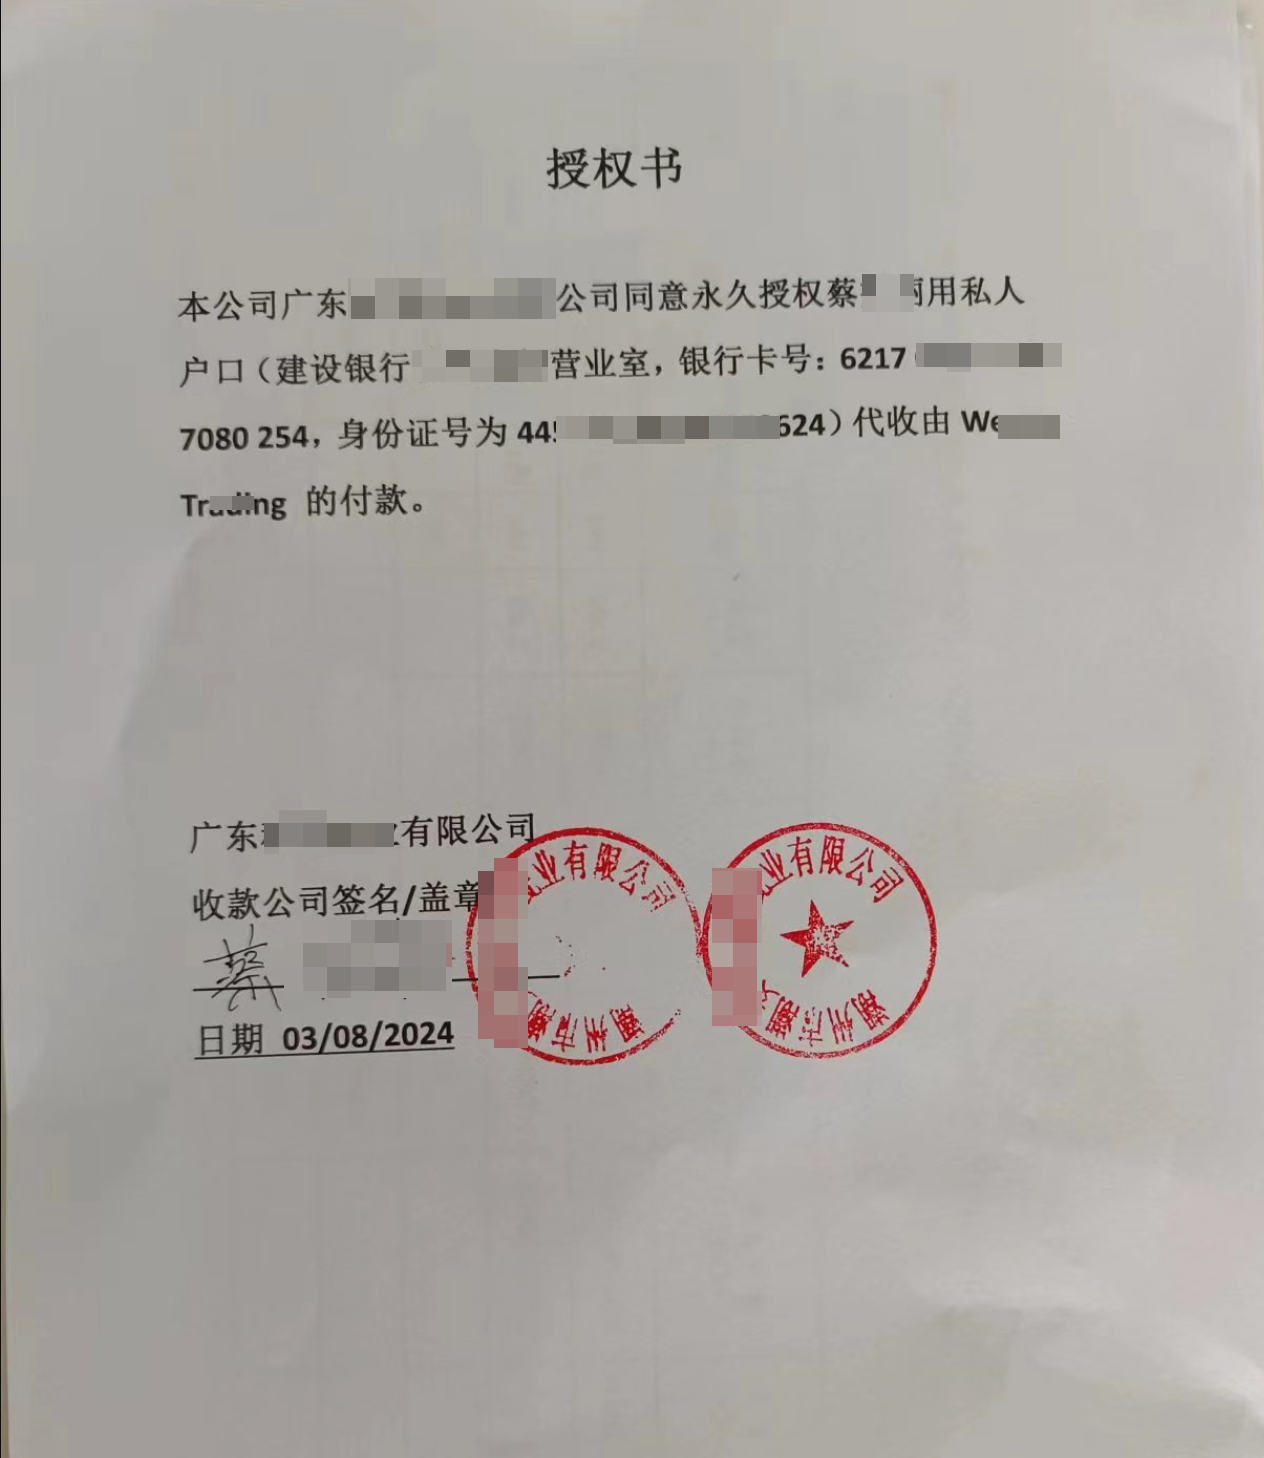
- Upload authorization letter if applicable
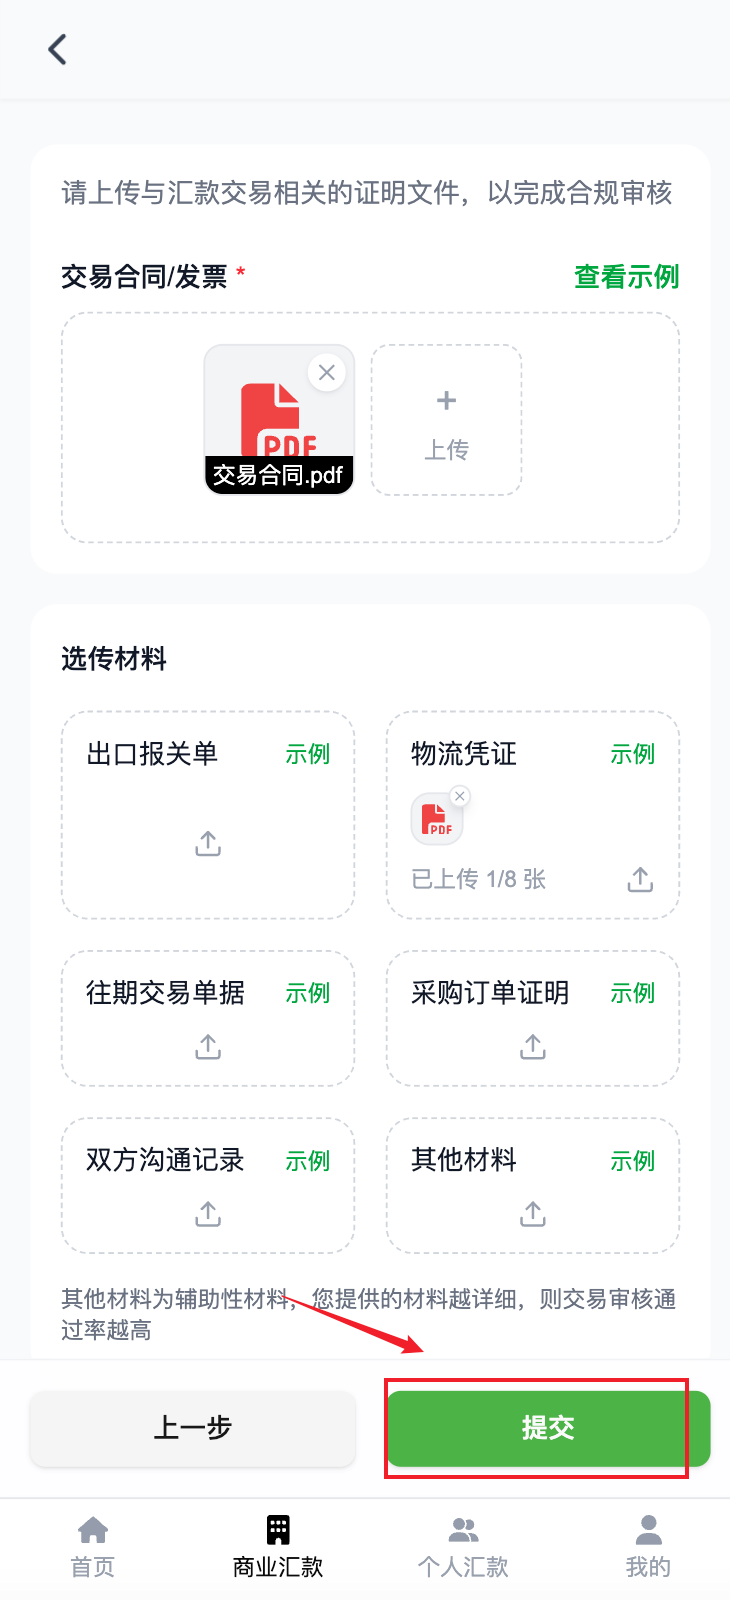
3. Upload Trade Supporting Documents
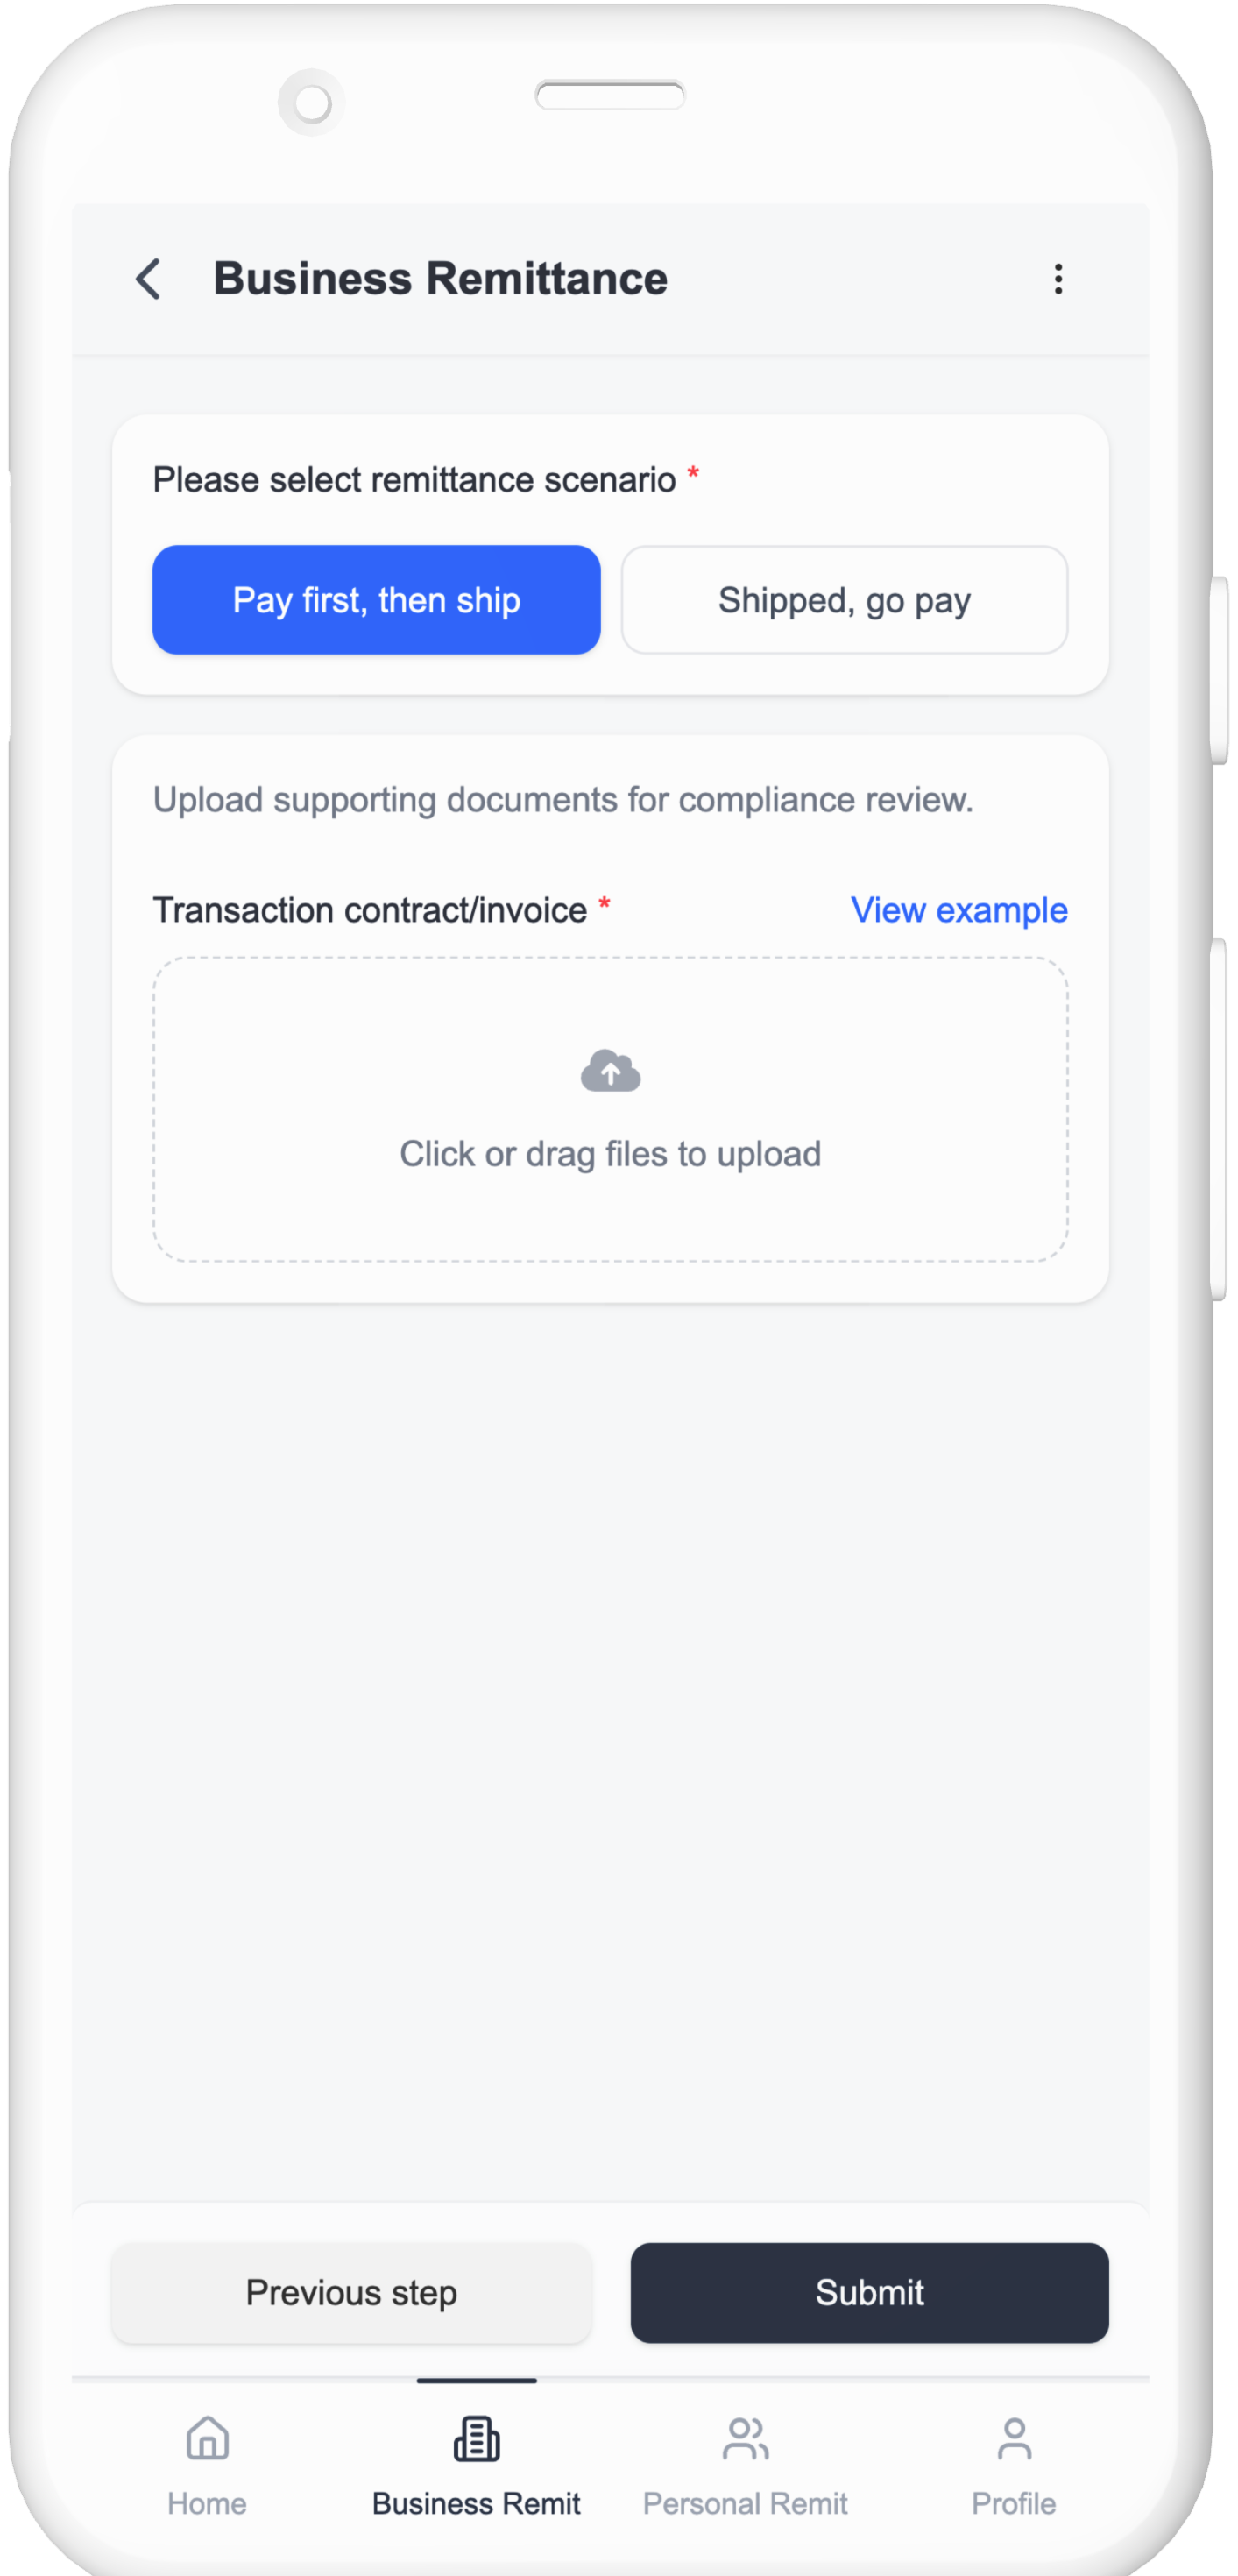
In business remittance processes, supporting documents are required to verify the trade between the buyer and seller.
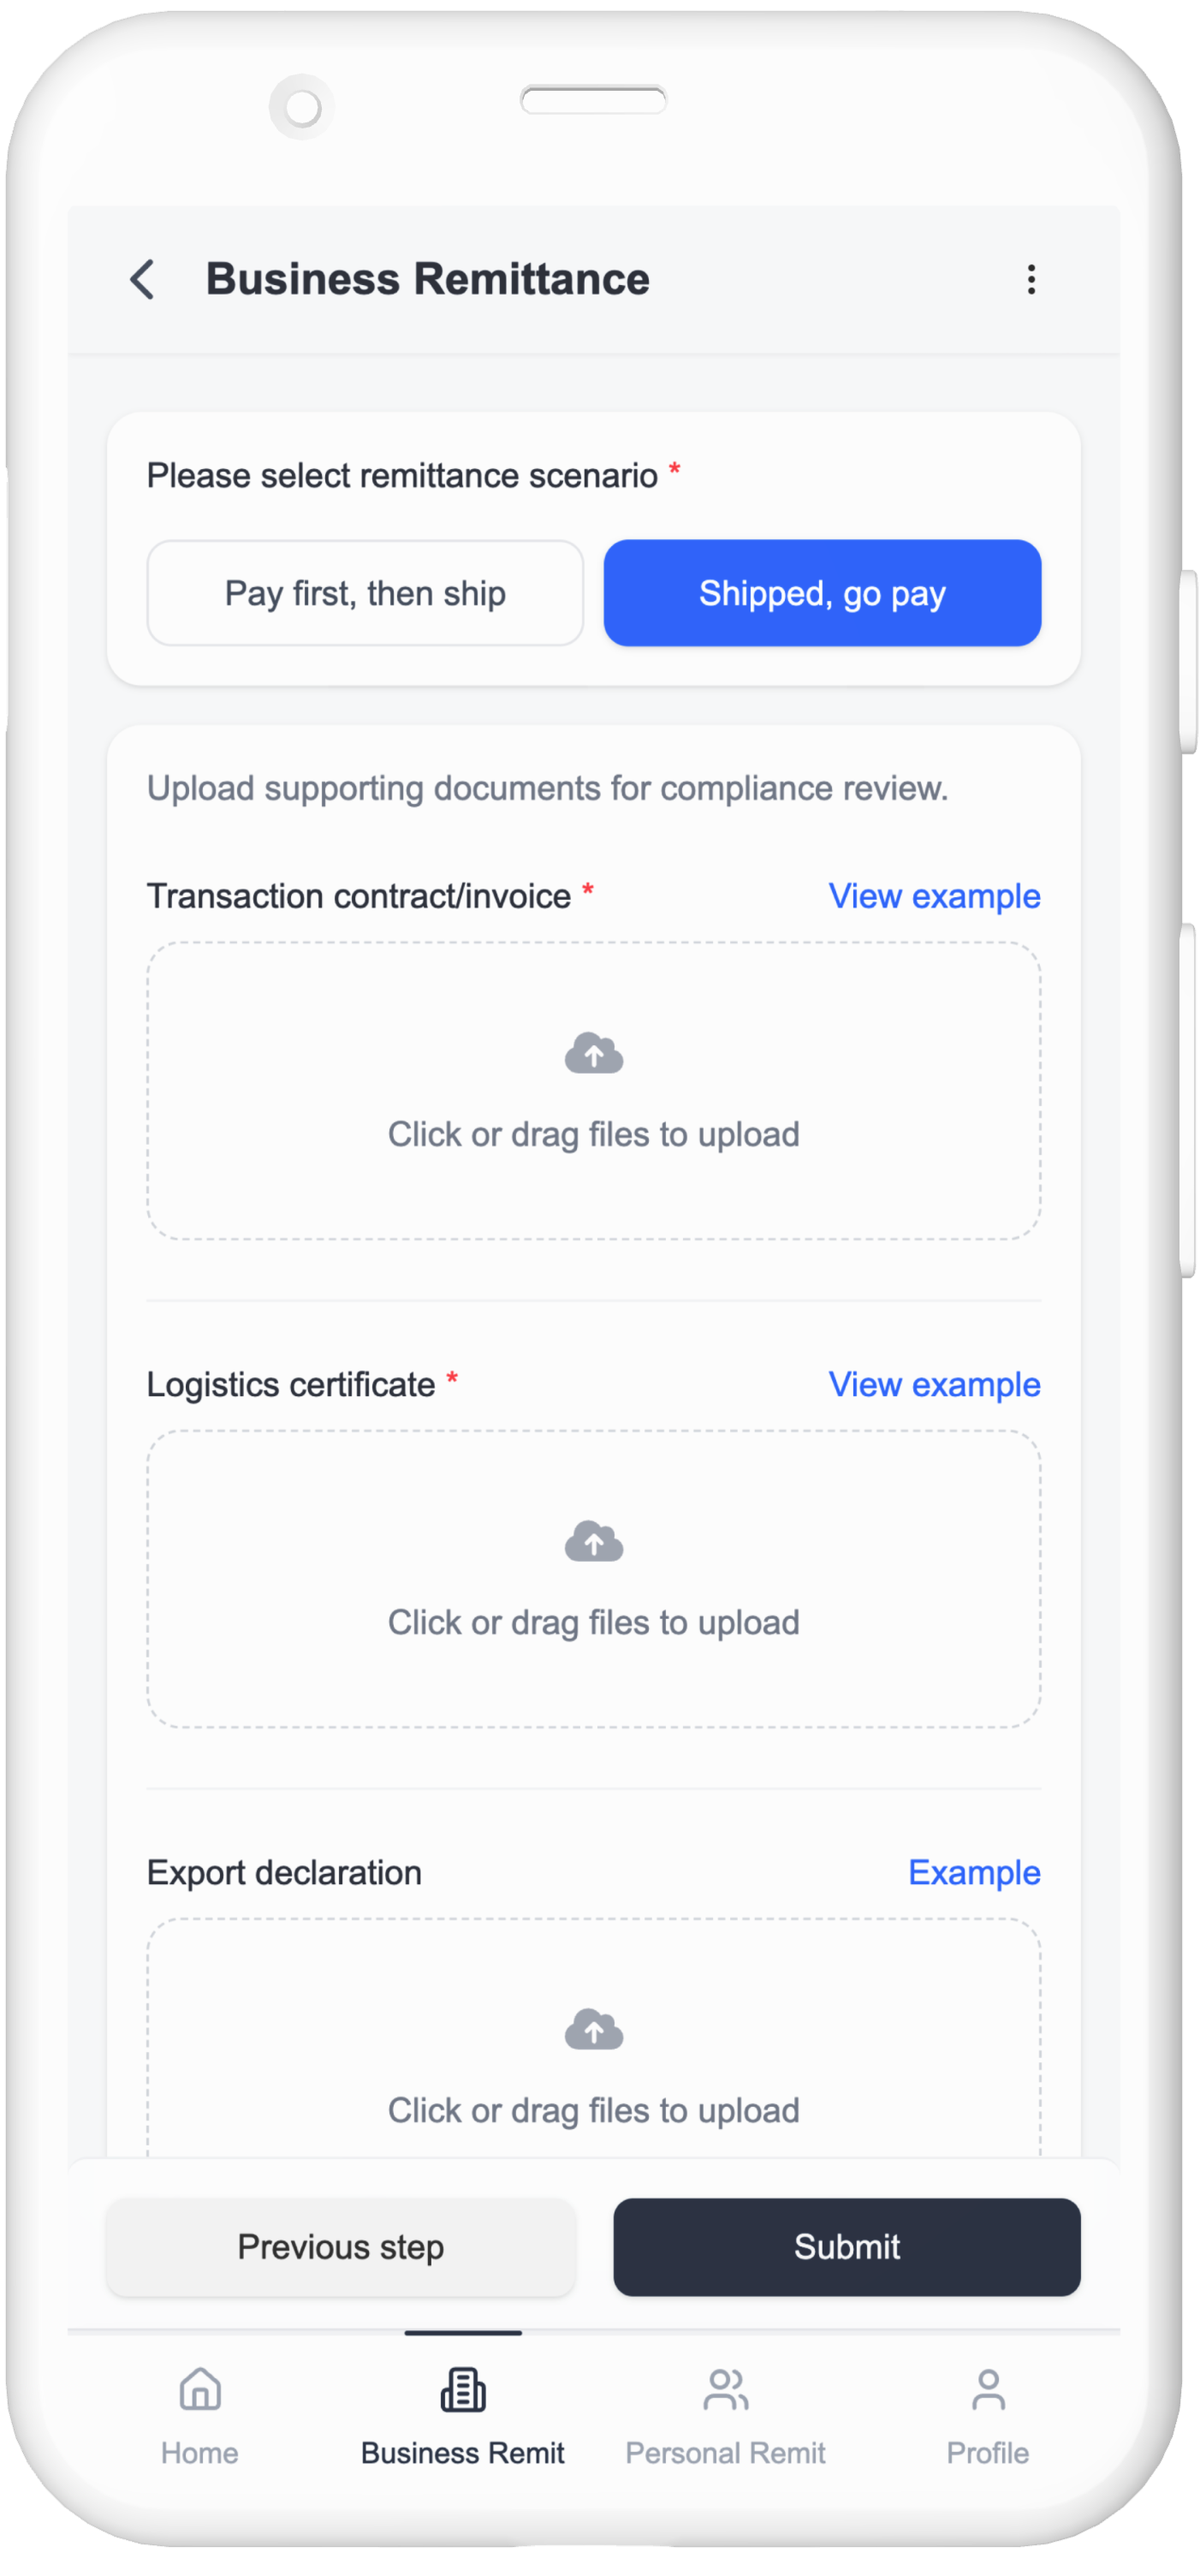
Trade Contract/Invoice: A formal commercial agreement or invoice signed between enterprises, confirming the rights and obligations of both parties and the payment amount. (Required)
Logistics Proof: Documentation that verifies the goods have been shipped or the transportation process has been completed. (Required if goods have been shipped)
Export Declaration Form: An official document submitted to customs by the exporter when exporting goods, usually handled by a customs broker or logistics provider.
Authorization Letter: An authorization letter issued by the receiving enterprise to validate the designated payee. (Required when the payment is received by an authorized representative)
4. Submit Order
After order creation, please complete payment as soon as possible
Either on-site or via online transfer
Then upload payment proof
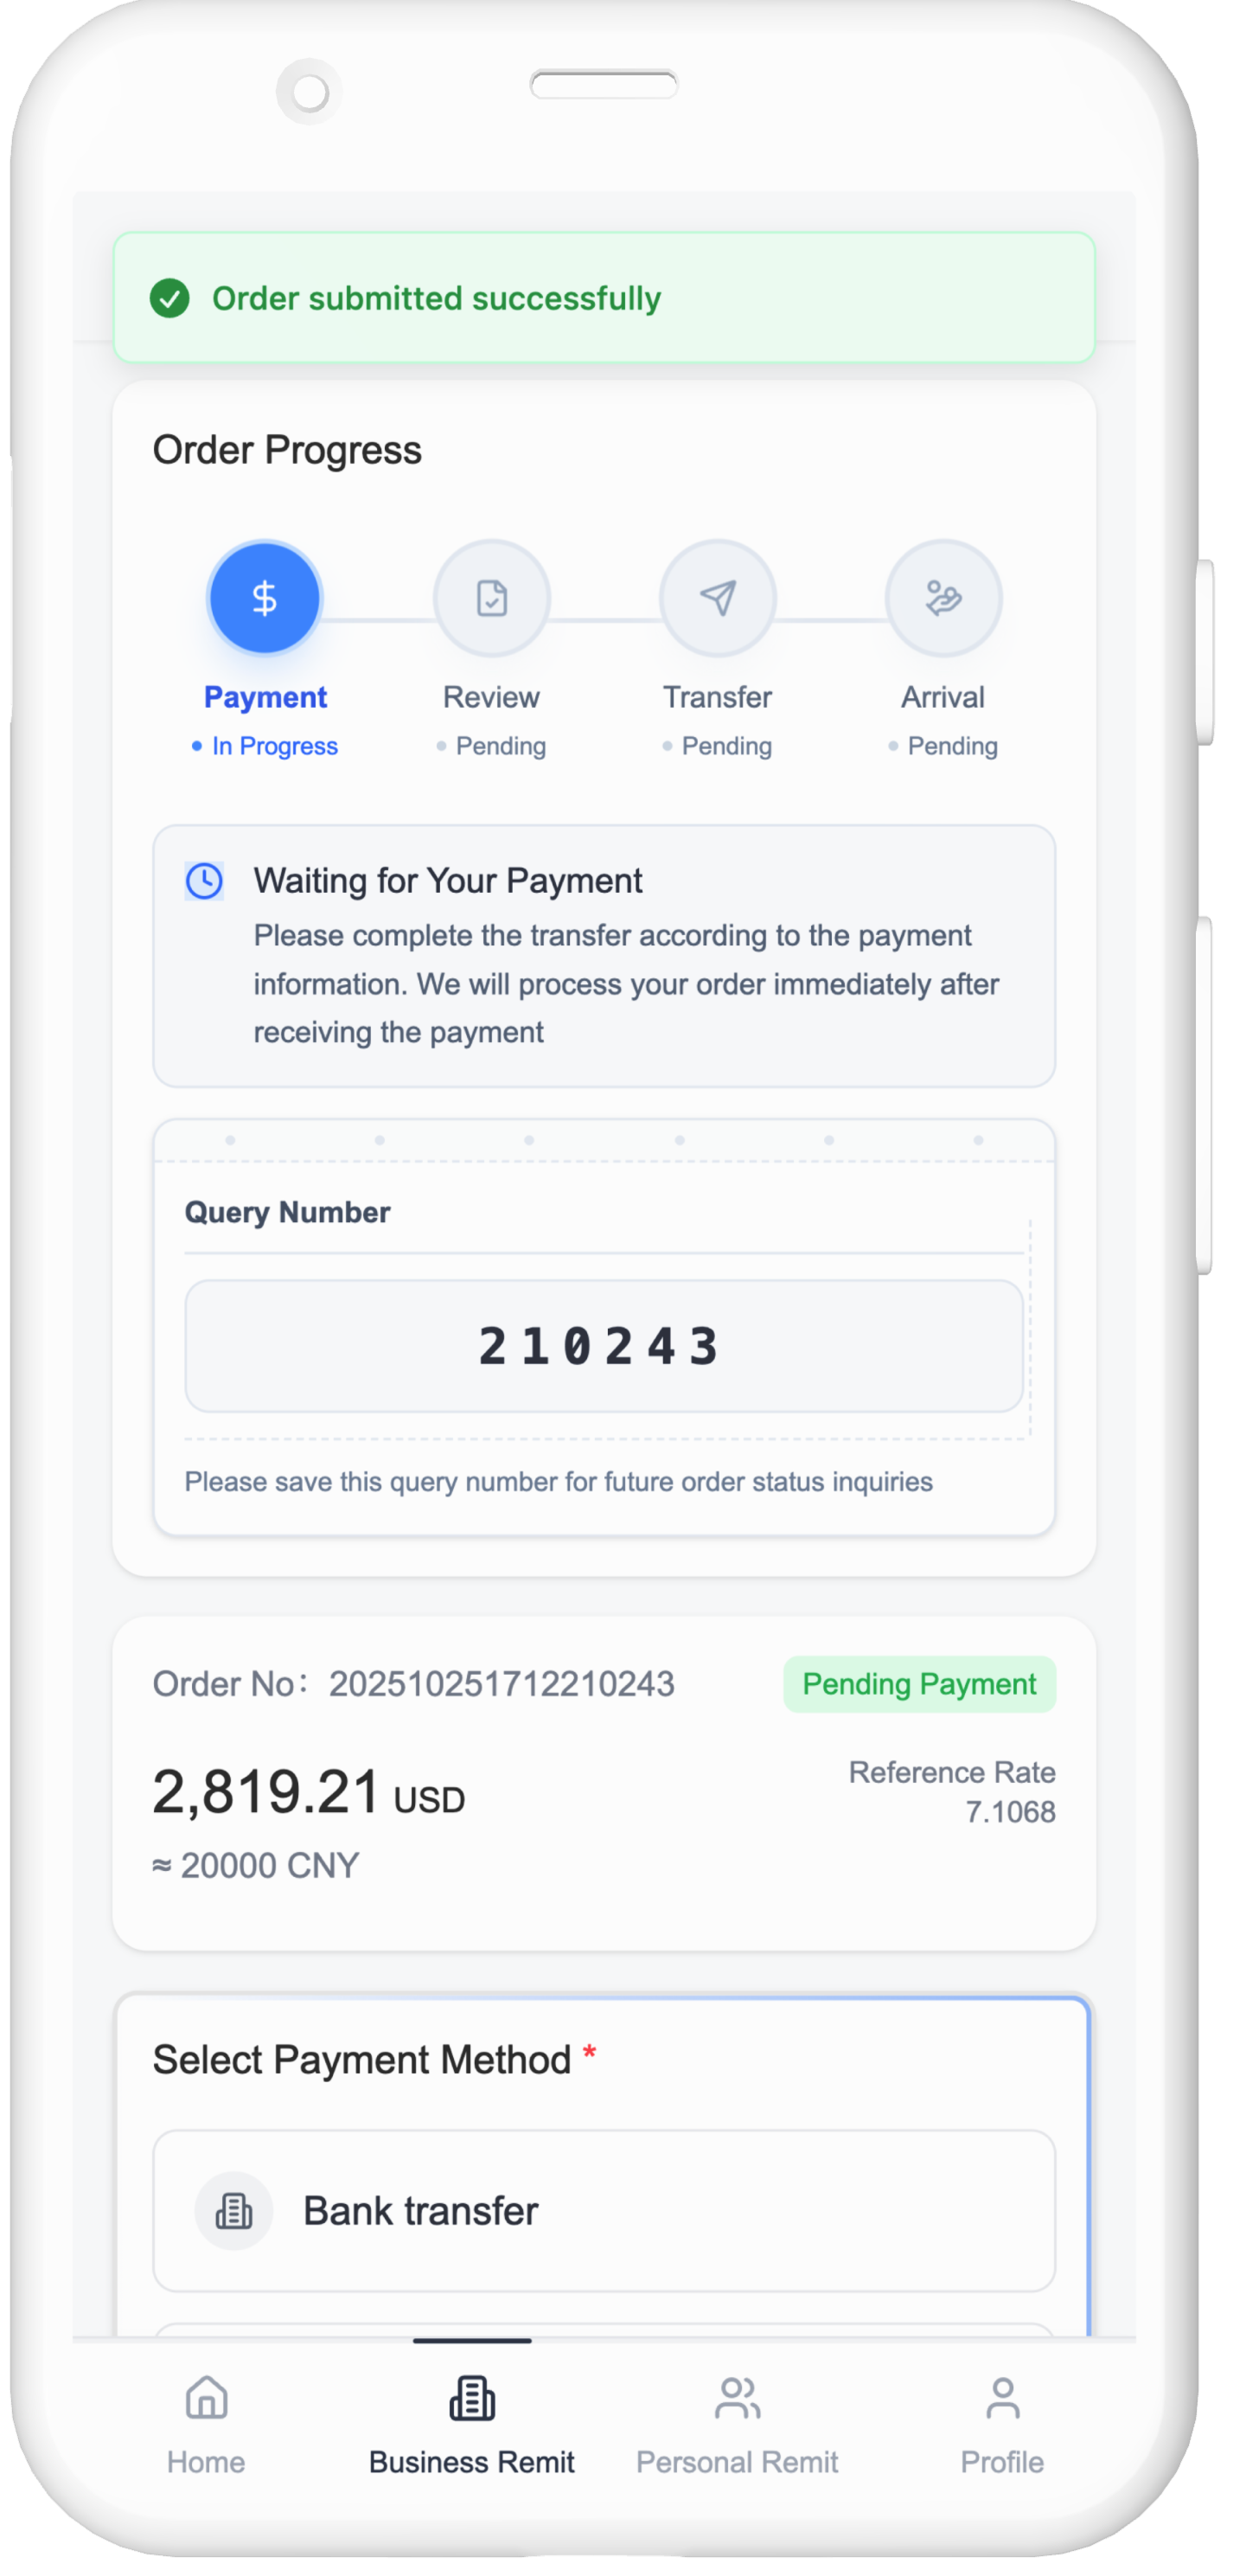
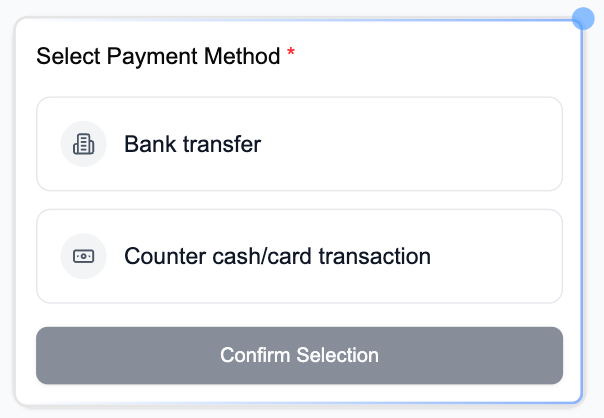
5. Complete Payment

- Online Transfer — Use account details in order page and upload proof
- On-site Payment — Pay cash at service counter
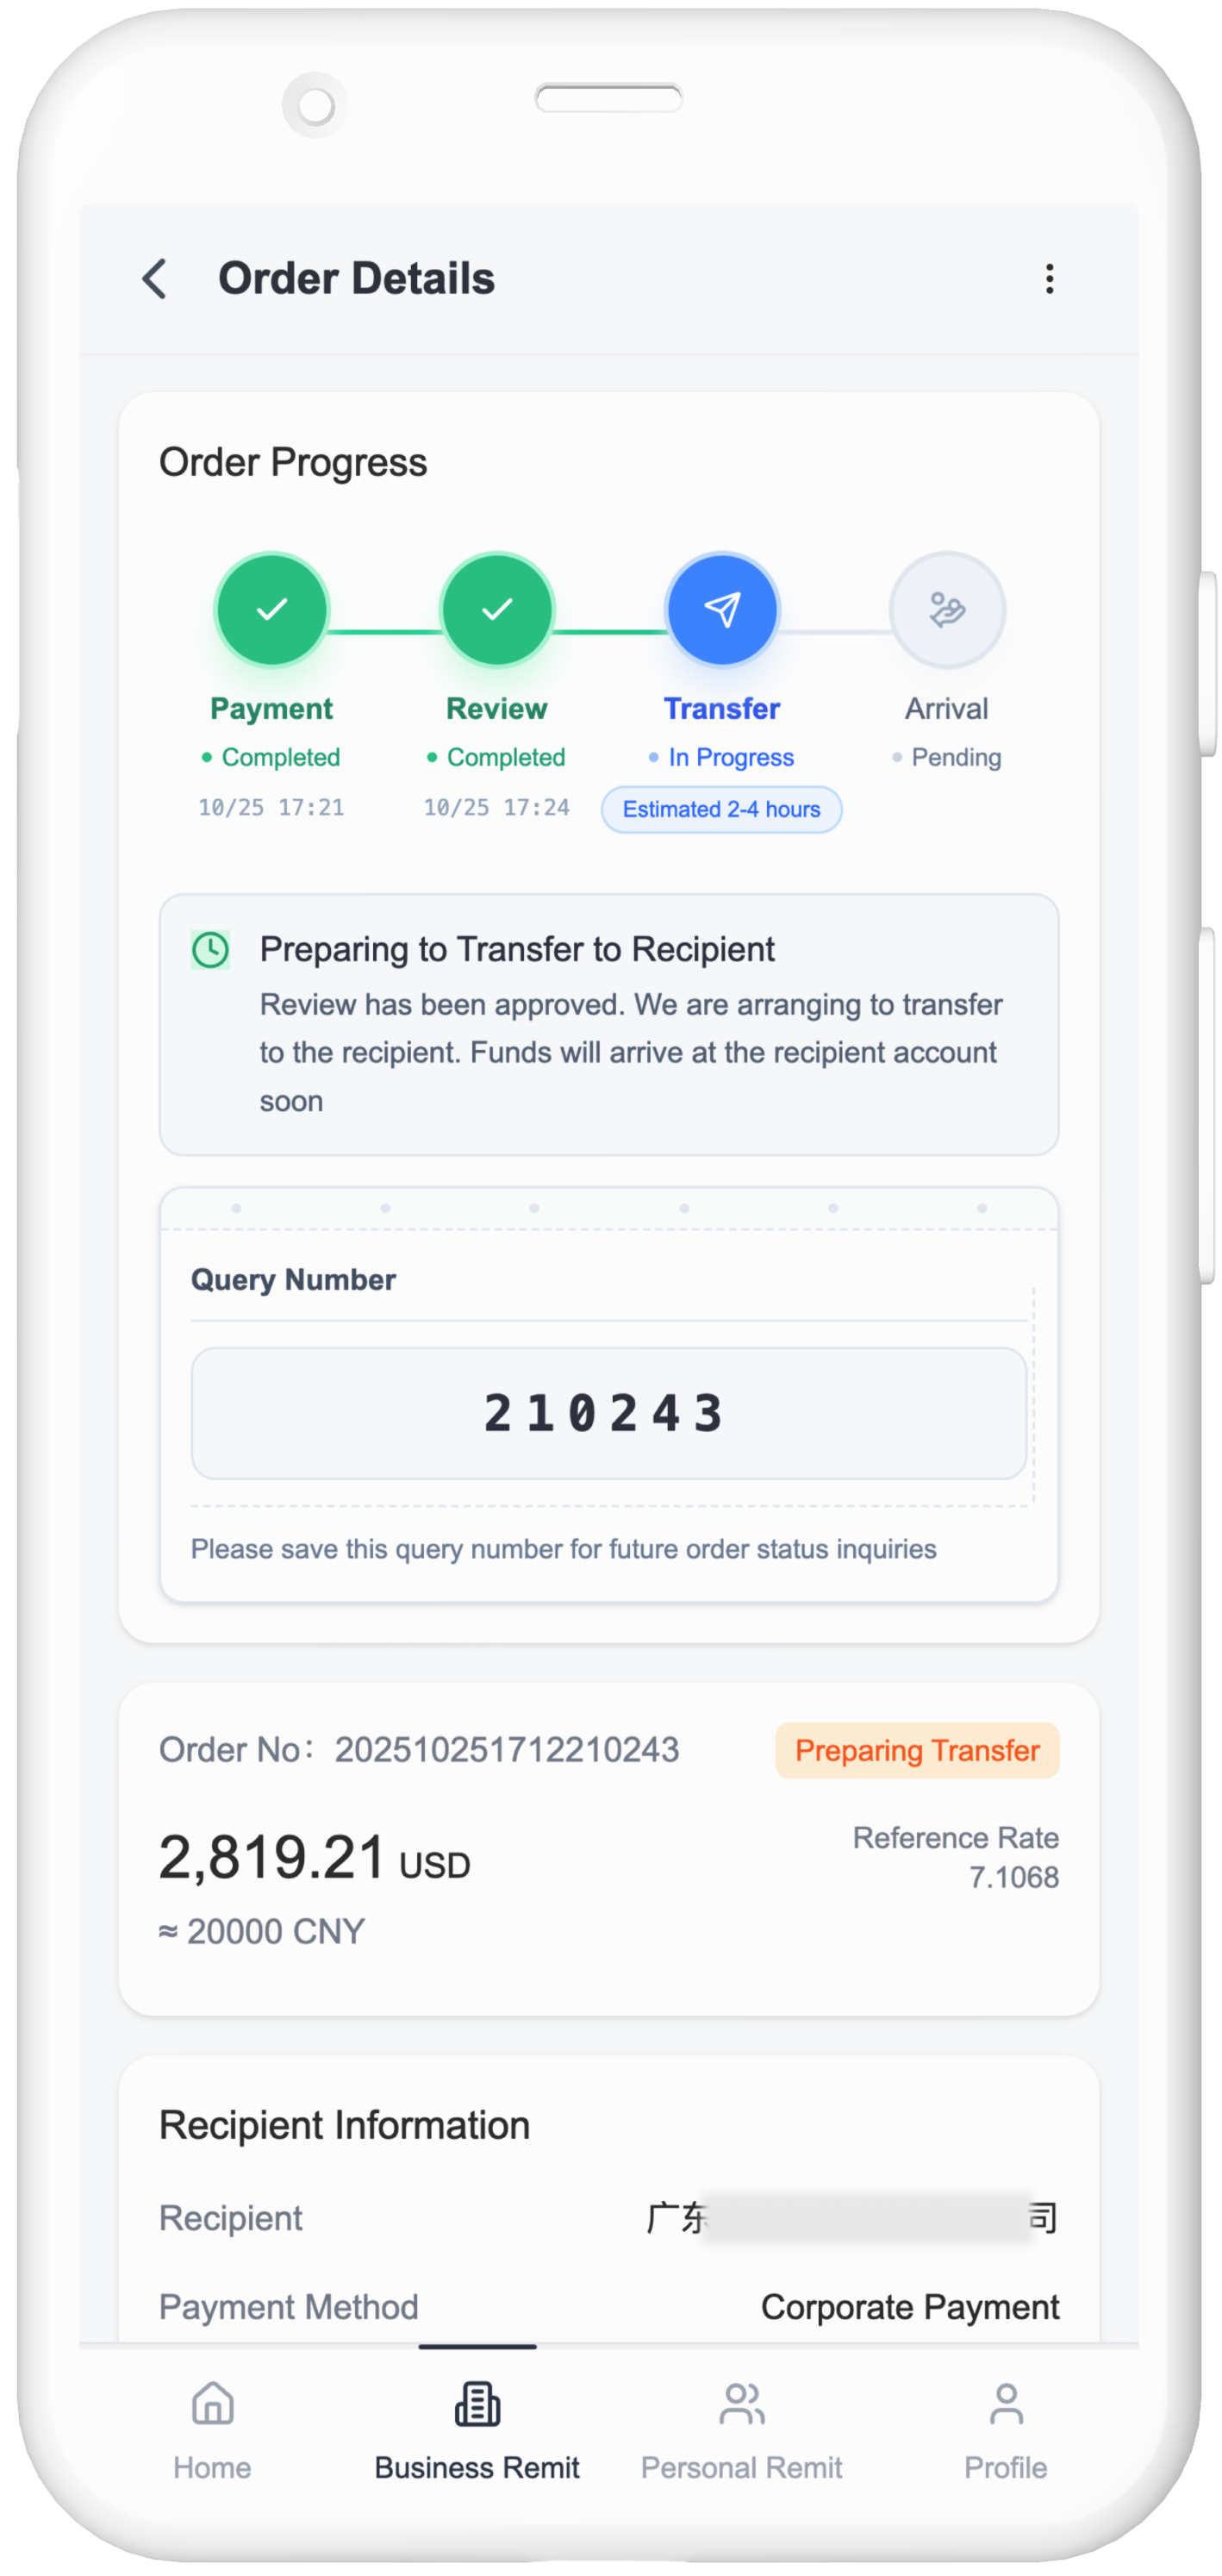
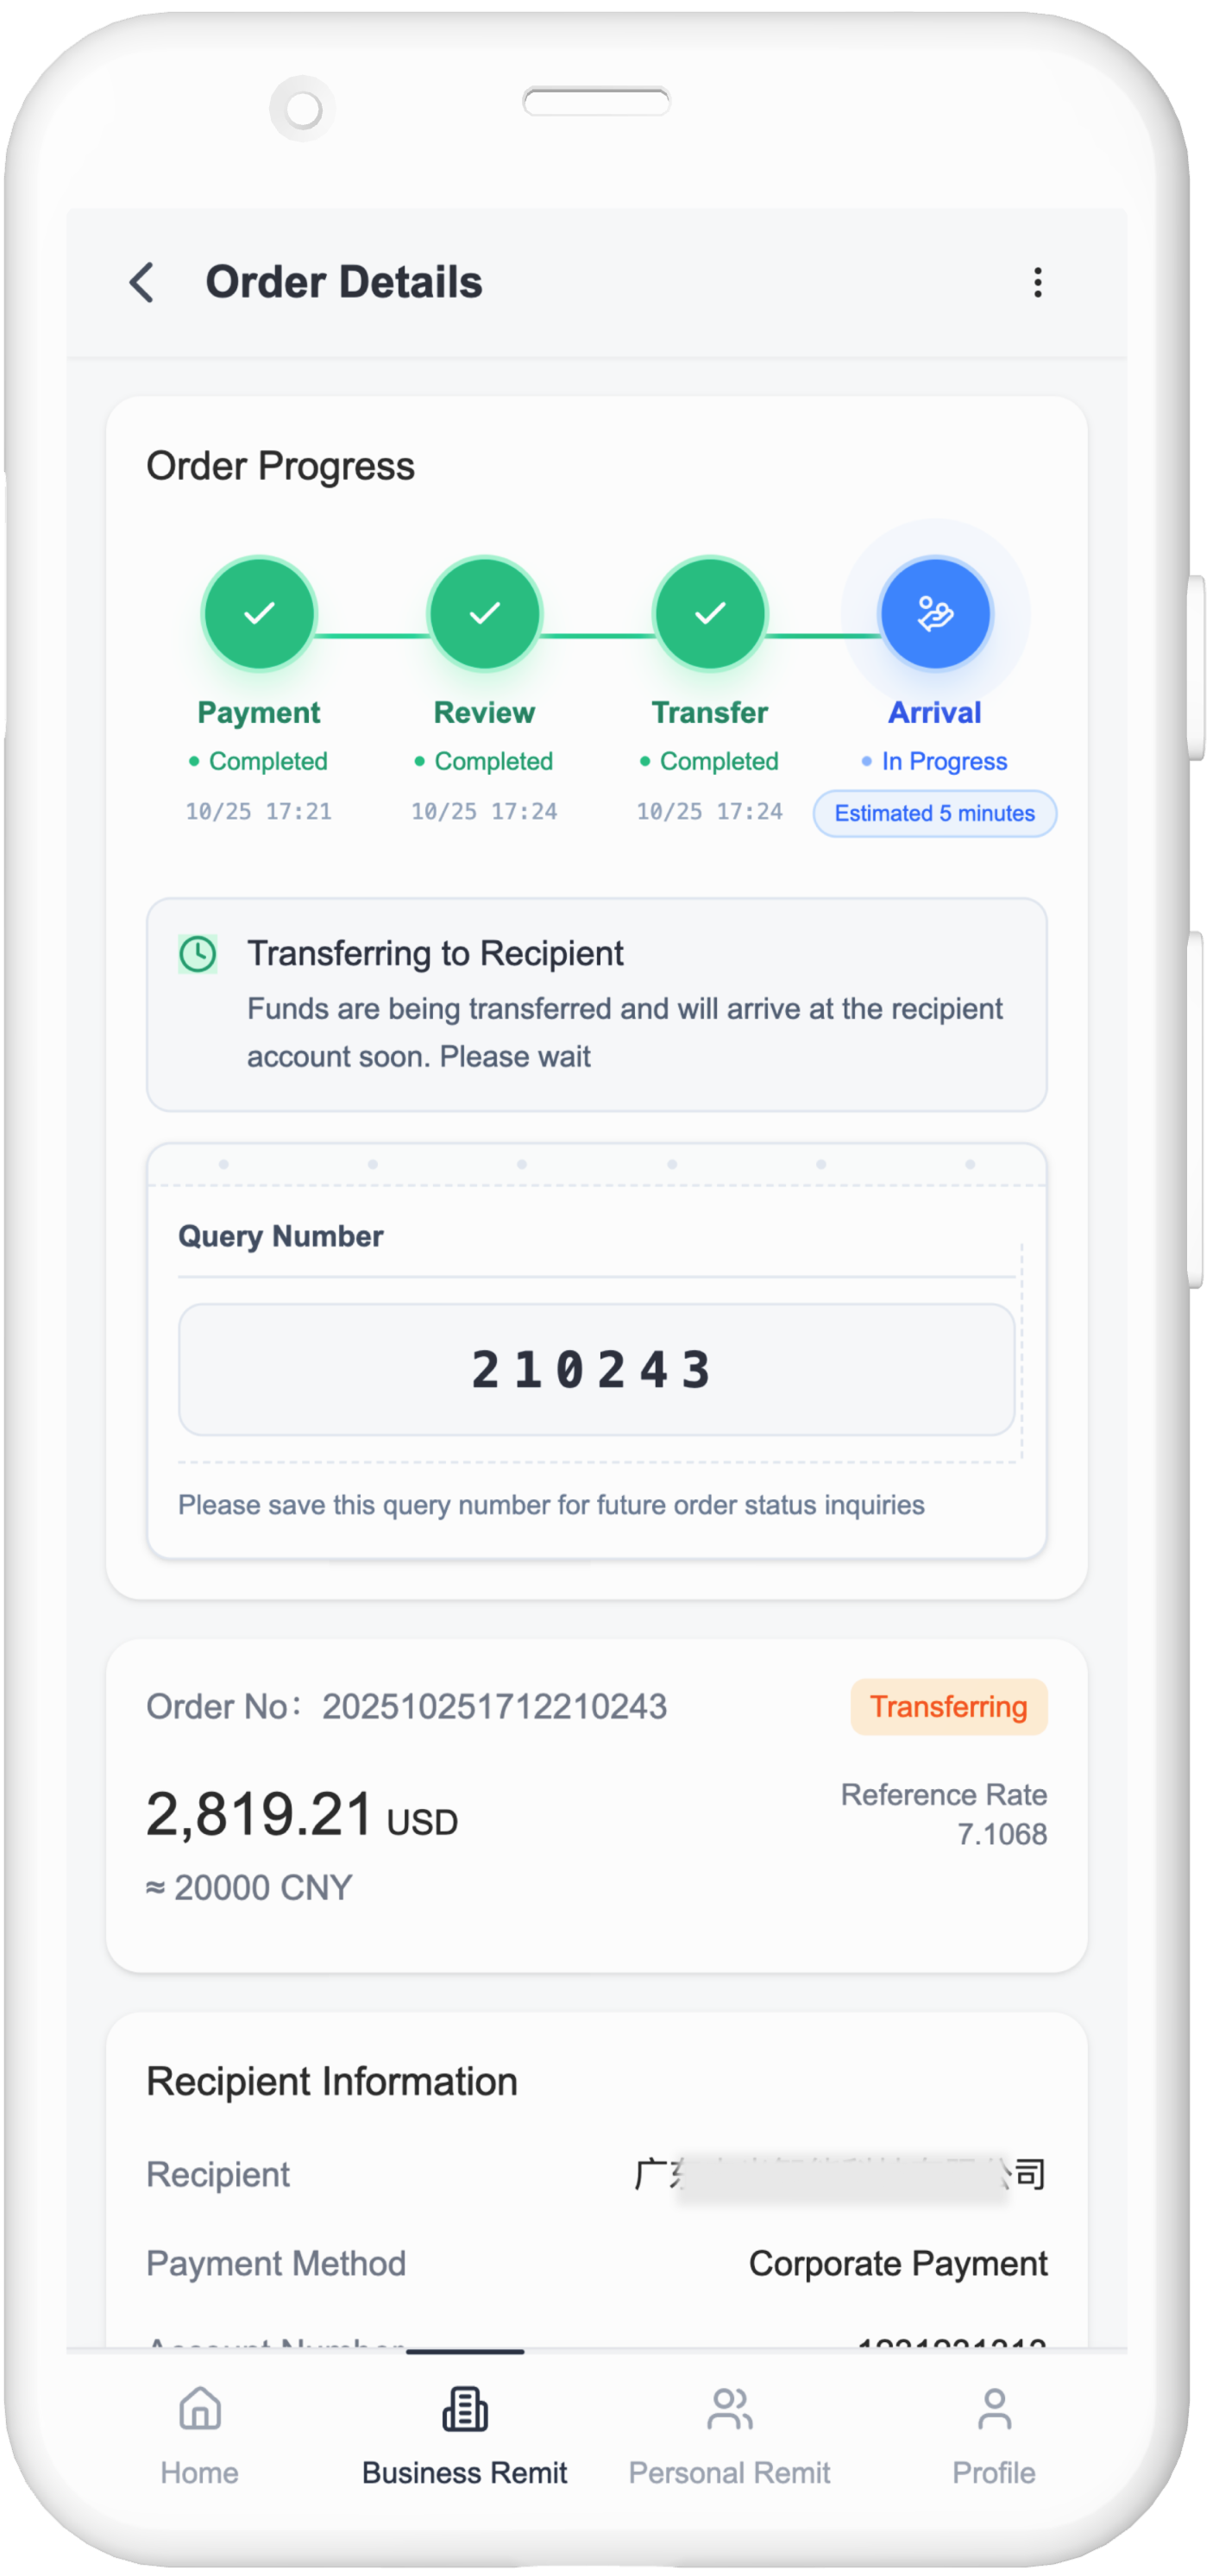
6. Order Review
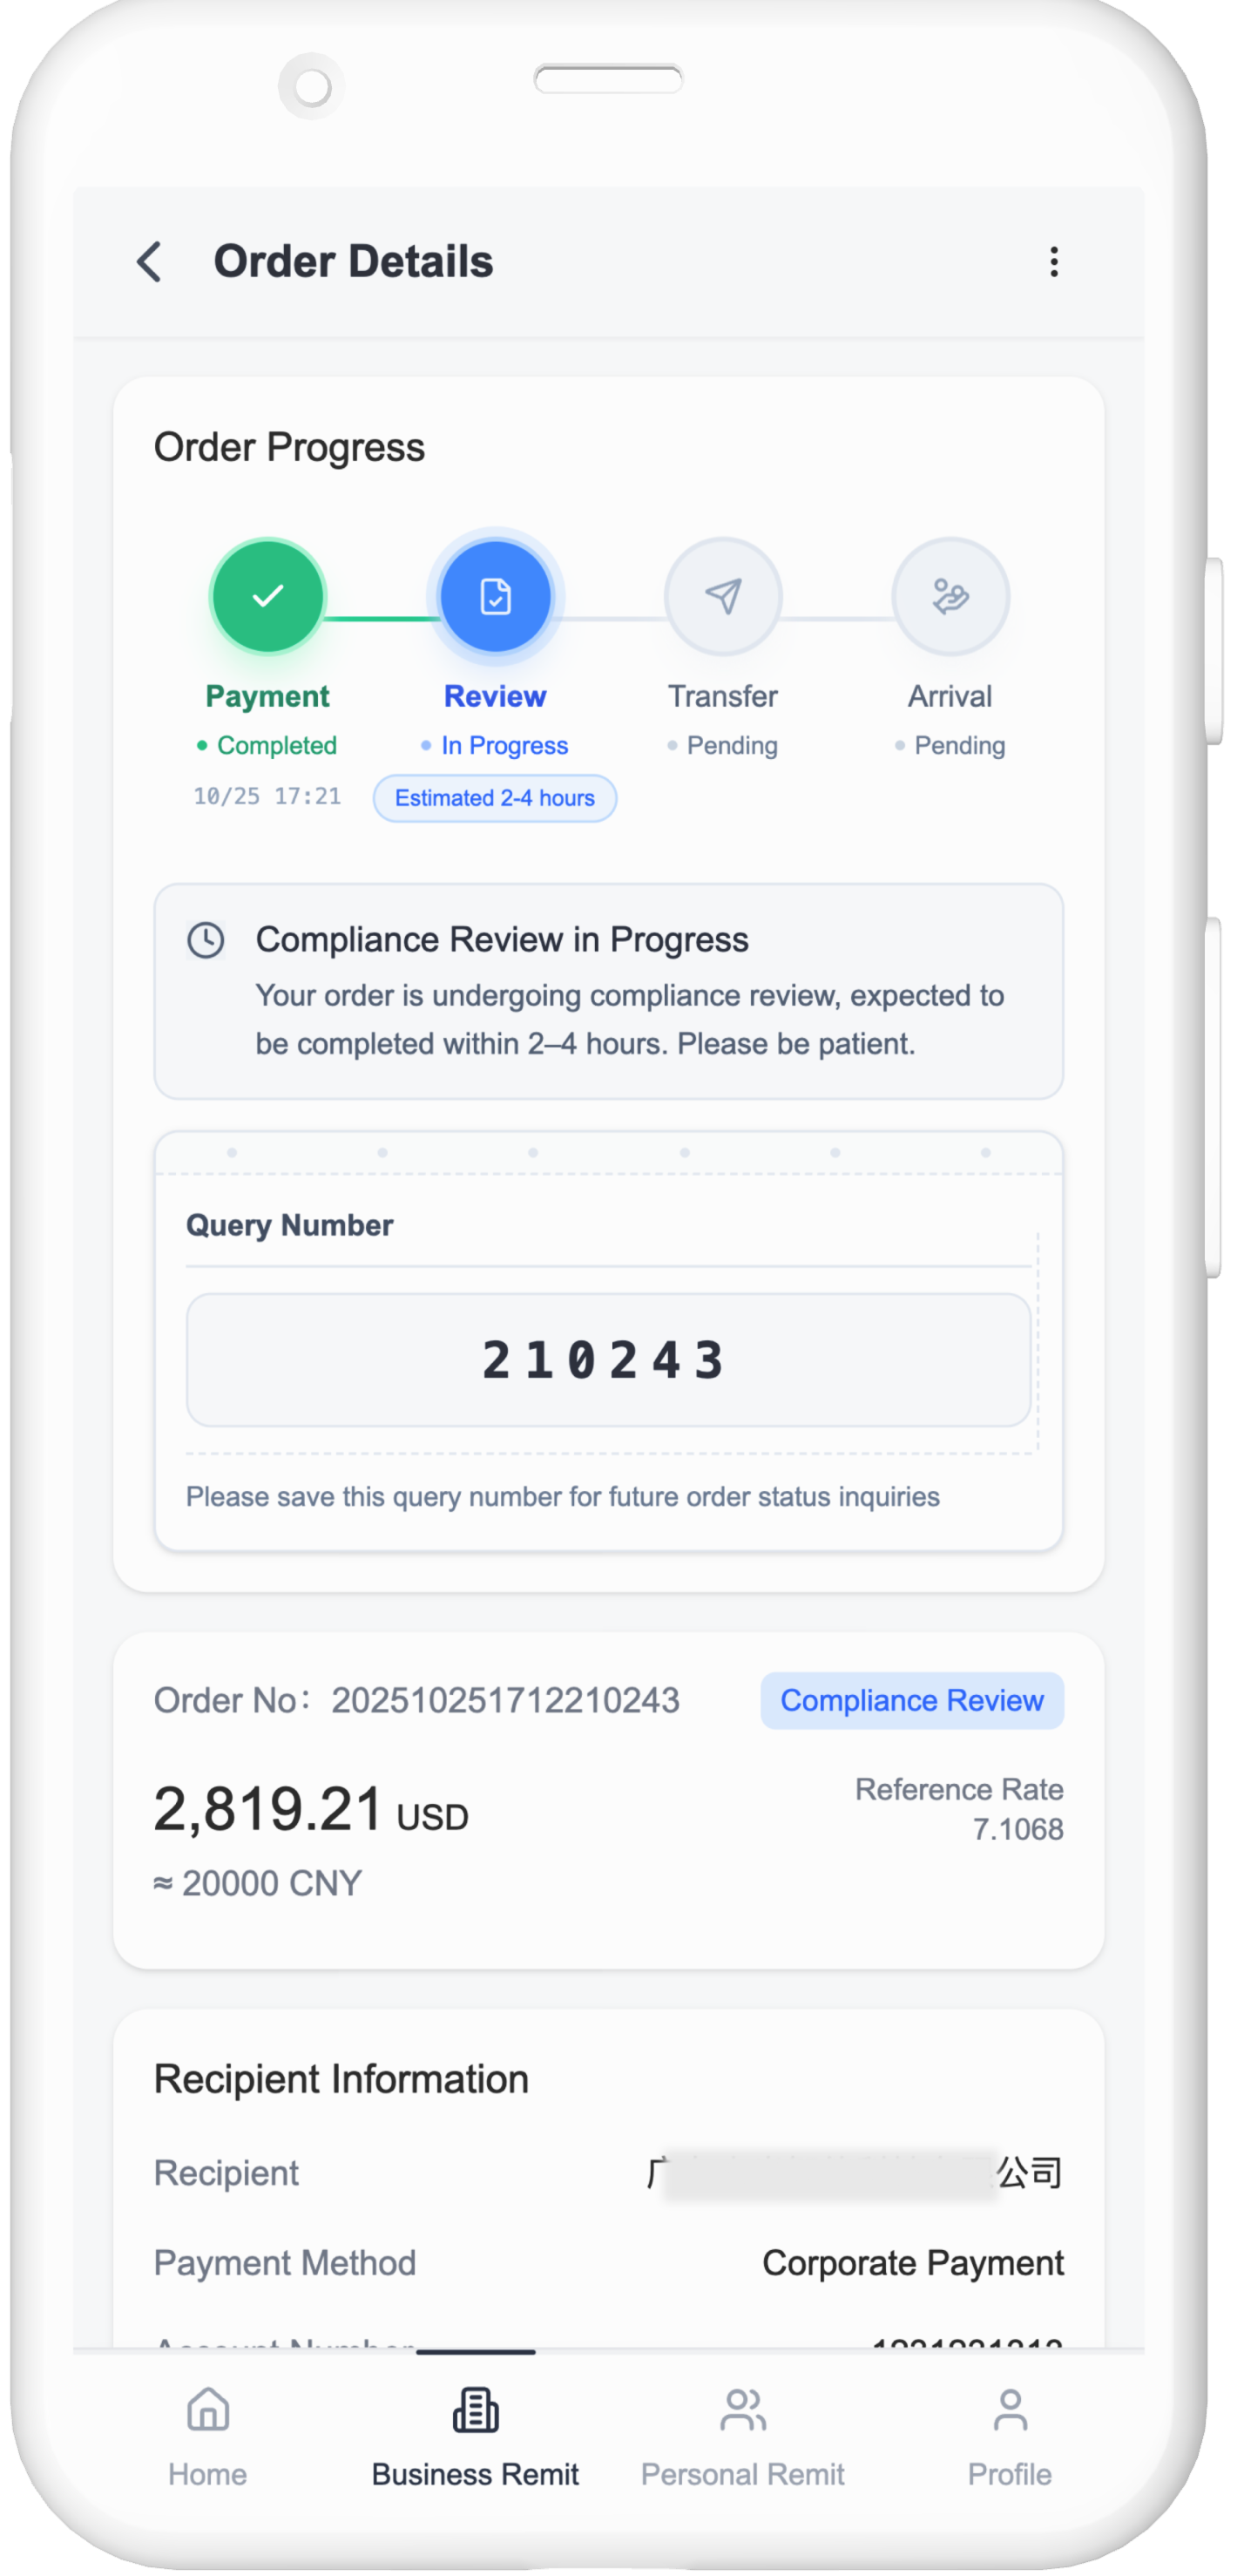
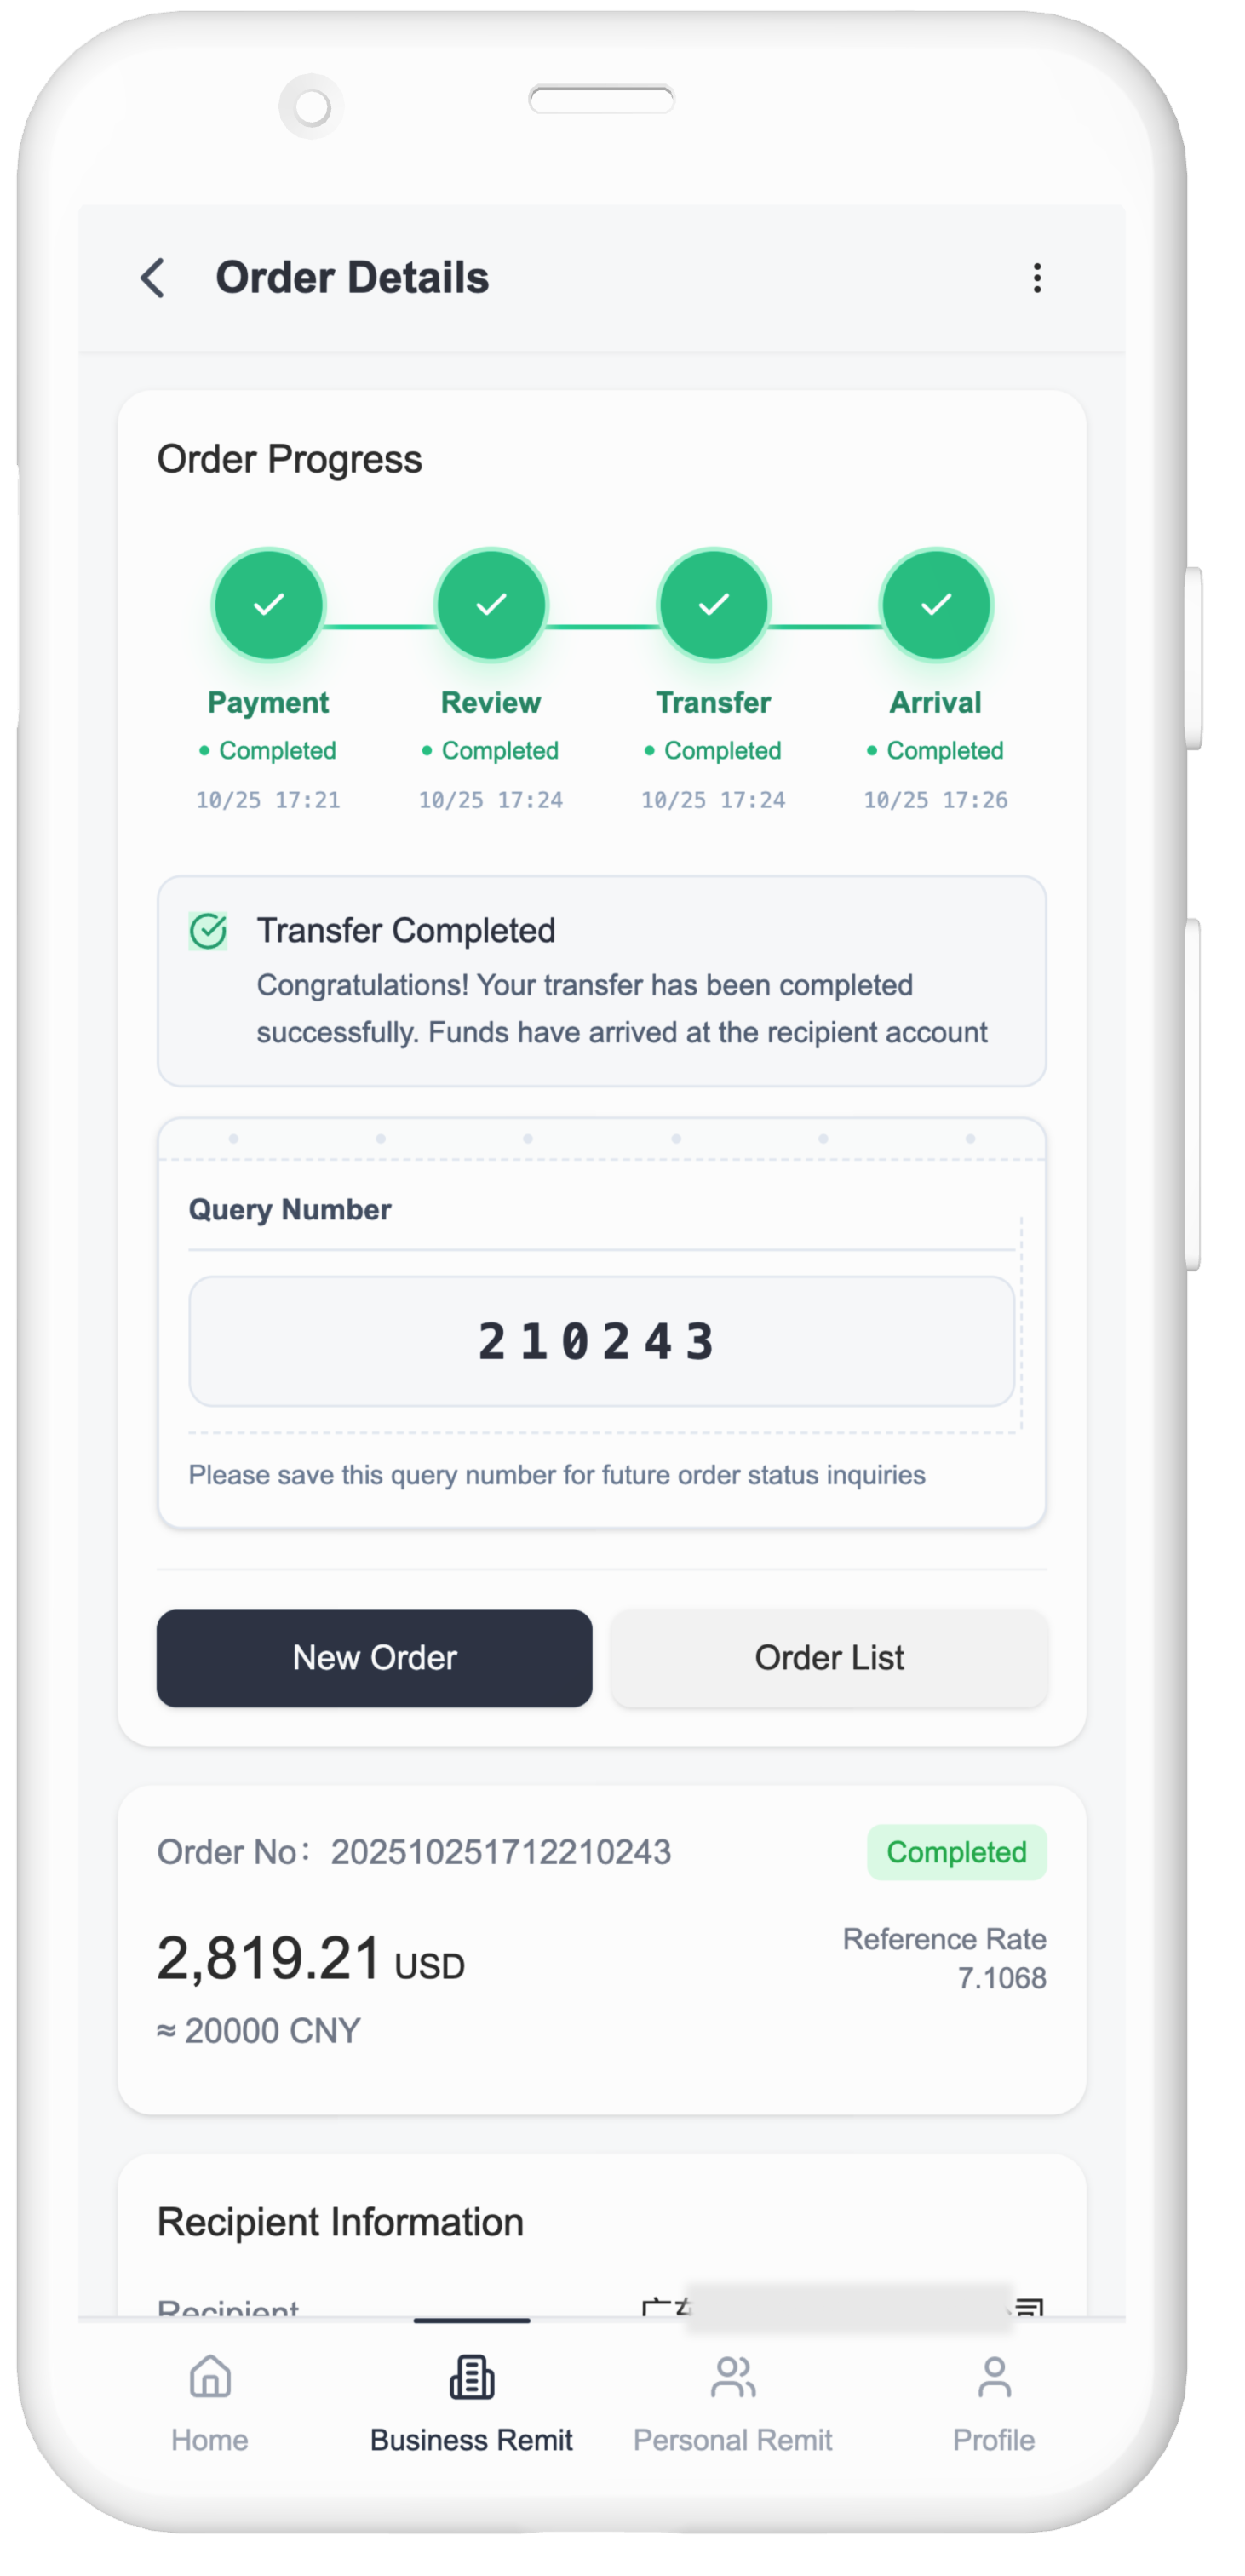
7. Transaction Completed
Funds will be transferred and deposited to the beneficiary account,
usually within 30 minutes after approval